Knowing how to prepare for a recording session comes down to one principle: do everything you possibly can before the clock starts, so your paid studio hours go to capturing great performances rather than figuring things out. That means rehearsing until parts are automatic, finalizing arrangements, prepping your gear, and handling the admin in advance. Preparation is the single biggest factor in how much you get done — and how good it sounds.
Here’s exactly what to lock down before you walk through the door.
Rehearse until it’s automatic
Studio time is the worst place to learn your parts. Rehearse until you can play or sing them without thinking, ideally to a click track at the tempo you’ll actually record at, because almost all studio recording is done to a metronome. If your timing falls apart with a click, practise with one for a few weeks first.
Record your rehearsals on your phone and listen back critically. You’ll hear weak spots — a rushed transition, a flat note, a muddy section — that you can fix for free at home rather than on the clock.
Finalize the arrangements
Decide the structure before you arrive: how many verses, where the bridge goes, which instruments play in each section, and how the song ends. The session is not the time for the band to debate whether to add a second chorus. Write out a simple chart or roadmap for each song so everyone — including the engineer — knows the plan.
Also decide your tracking order and which parts will be overdubbed versus played live. Settling the roles in advance helps too; if you’re not sure who’s calling arrangement decisions, our explainer on producer vs engineer is worth a read.
Make scratch tracks and demos
A rough scratch recording of each song — even just an acoustic guitar and vocal — gives the engineer a reference for tempo, key, structure, and feel before a note is tracked. Send these ahead of time if you can. Many artists go further and demo at home first; the workflow in our guide to recording vocals at home is perfect for cutting demos and ironing out vocal melodies before you pay for studio time. If you have a basic home studio setup, use it to pre-produce as much as possible.
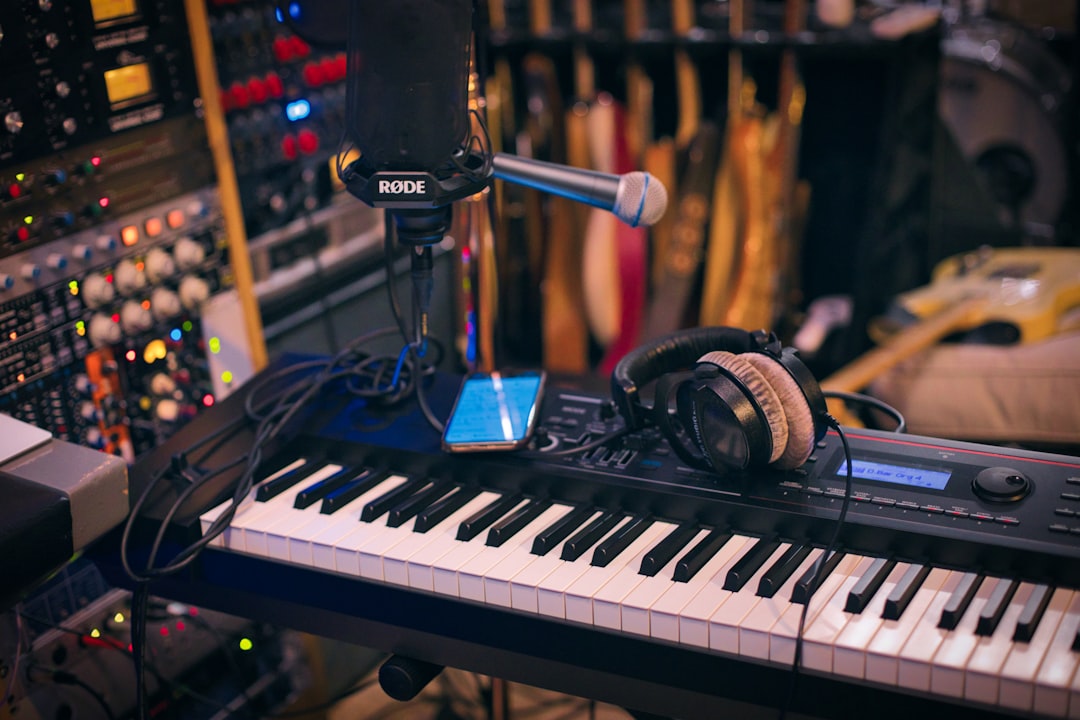
Tune and service your gear
Show up with instruments that are ready to perform:
- Fresh strings on guitars and bass, fitted a day or two early so they’re stretched and holding tune — not put on that morning.
- New drum heads if yours are worn, and a properly tuned kit. Bring spare sticks.
- Intonation and setup checked, so chords ring true up the neck.
- Spares for everything — strings, picks, cables, batteries, drum keys. A dead 9V battery should never cost you studio time.
If a part of your sound depends on a specific pedal, amp, or mic, confirm whether the studio supplies it or whether you should bring your own.
Protect your voice (and your hands)
If you’re singing, treat the days before the session like an athlete treats game day. Sleep well, hydrate consistently for several days beforehand (not just the morning of), and avoid shouting, smoking, and heavy drinking the night before. Warm up your voice the day of, and avoid dairy right before tracking if it makes you phlegmy. Don’t blow out your voice by over-rehearsing the day before — leave something in the tank.
Sort the admin so the day runs smoothly
The unglamorous stuff prevents the most expensive delays:
- Confirm logistics: address, parking, load-in, start time, and how long you’ve booked.
- Confirm what’s included. Day rates and hourly bookings cover different things — check whether editing, mixing, and mastering are part of the price or quoted separately, and whether setup time is billable. Our breakdown of what’s included in a studio day rate spells out exactly what to expect.
- Prepare reference tracks. Bring two or three commercial songs that sound like your target, and be ready to say what you like about each — the vocal sound, the punch of the drums, the width. References save huge amounts of explaining.
- Sort payment and files. Know the payment terms, and agree how you’ll receive your files and who keeps the session.
- Eat and rest. Sessions are long; arrive fed, caffeinated to taste, and not exhausted.
If you haven’t booked your studio time yet and want someone who fits your style and budget, our free service that matches you with a studio or engineer can take some of the guesswork out of choosing.
A quick pre-session checklist
The night before, run through this: parts rehearsed to a click, arrangements finalized, scratch tracks sent, instruments tuned and re-strung, spares packed, references ready, voice rested, logistics and payment confirmed. Tick all of these and you’ll spend the session making music instead of solving problems. From there, you can focus on the parts that matter, like getting the right takes and a great mix afterward.
Frequently asked questions
How early should I start preparing for a session?
Start rehearsing weeks ahead so parts are second nature, and handle gear and admin in the final few days. Re-string instruments a day or two early, and protect your voice for several days before if you’re singing. Last-minute prep almost always shows up in the recording.
Should I record demos before going to the studio?
Yes. Even rough phone or home recordings help you finalize arrangements, catch weak spots, and give the engineer a clear reference. Pre-producing at home means you arrive with decisions made, so paid studio time goes to performance rather than experimentation.
What’s the most common mistake first-timers make?
Under-rehearsing and assuming they’ll figure parts out on the day. Studio time is expensive and the pressure is real, so unprepared parts get worse, not better. If you’ve never tracked before, knowing what to expect at your first session takes the edge off, but the artists who get the most from a session are the ones who walk in already knowing exactly what they’re going to play.


