To set up streaming audio in OBS (OBS Studio), you connect your microphone as an input, set a consistent sample rate, add a few audio filters, and balance your mic against game and music sources. Getting how to set up streaming audio in OBS right means your voice is clear, your levels are steady, and your stream doesn’t sound harsh or noisy.
Here’s a clean, reliable setup that works for most streamers.
Set your global audio settings first
Open OBS Settings and go to the Audio section. Set your sample rate (commonly 48 kHz to match most streaming and video workflows) and confirm your channels. Pick the correct device for Mic/Auxiliary Audio (your USB mic or interface) and Desktop Audio (game and system sound). If you’re unsure why sample rate matters, see sample rate and bit depth explained.
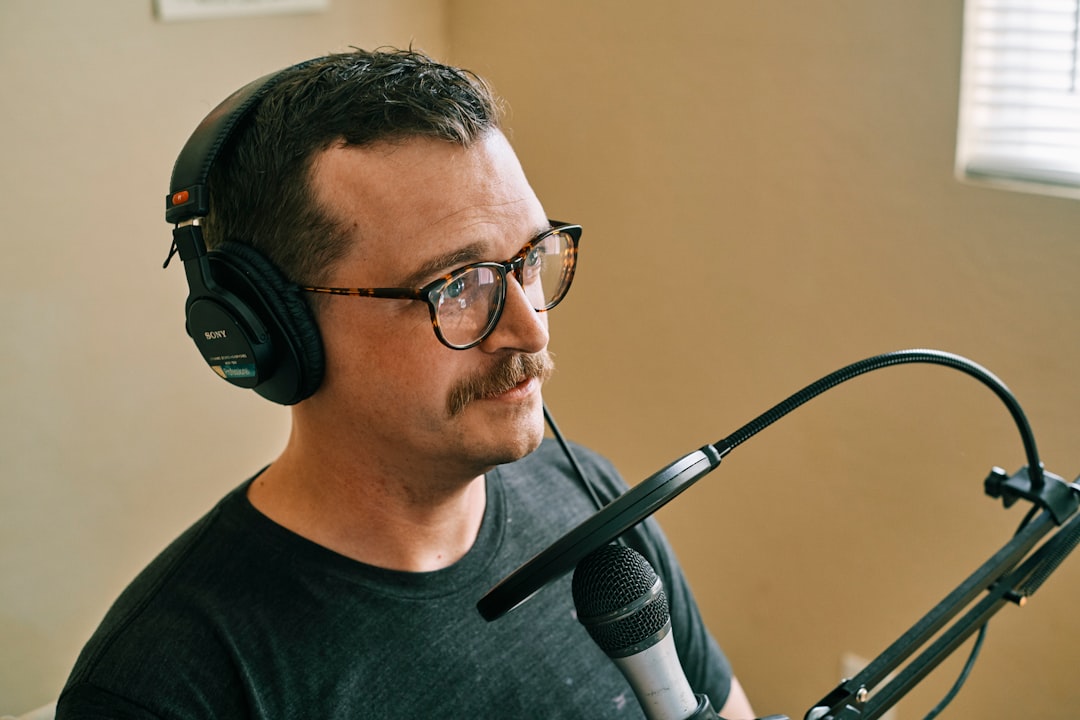
Connect and choose your microphone
A USB mic appears directly as an input; a mic on an interface shows up as that interface. To pick the right mic for a streaming setup, read condenser vs dynamic microphones — dynamics are popular for streaming because they reject keyboard clatter and room noise when you’re close to them. Set a sensible input level so your voice peaks comfortably without clipping; our gain staging guide explains how.
Add audio filters to your mic
In the OBS Audio Mixer, open the gear/filters menu on your mic source. A practical filter chain, in order, is usually:
- Noise Suppression — reduces steady background noise like fans.
- Noise Gate — mutes the mic below a threshold so it’s silent when you’re not talking.
- Compressor — evens out your volume so loud and quiet moments stay consistent.
- Gain / EQ — fine-tune level and tone to taste.
Apply these gently. Heavy processing makes streams sound pumped or robotic. The principles behind these filters are covered in our EQ and compression fundamentals.
How to dial in each filter
The order of the filters matters as much as the settings. OBS processes them top to bottom, so a sensible default is Noise Suppression first, then Noise Gate, then Compressor, then a Gain or EQ at the end to set your final output level. Cleaning up the signal before you compress it means the compressor reacts to your voice rather than to background hiss.
For Noise Suppression, the built-in RNNoise method is a good starting point because it removes broadband noise like fans and air conditioning without much fuss. Only reach for stronger suppression if you genuinely have a noisy room, as aggressive settings can give your voice a watery, underwater quality. If room noise is your real problem, it is usually better to tackle it at the source the same way you would remove background noise from a podcast rather than leaning on heavy filtering.
For the Noise Gate, set the close threshold just below the quietest part of your normal speaking voice and the open threshold a few decibels above it. That gap stops the gate chattering open and shut on every pause. If the start of your words keeps getting clipped, lower the open threshold or add a small attack time so the gate opens quickly enough to catch you.
For the Compressor, a modest ratio (around 3:1 or 4:1) with a few decibels of gain reduction on your loudest moments is plenty for most voices. Use the output or make-up gain to bring the overall level back up after compression. Watch the meter while you talk normally and while you get excited — if the gain reduction is constantly slammed, ease off the ratio or raise the threshold.
Balance your sources and use monitoring
Open Advanced Audio Properties to set the relative volume of your mic, desktop/game audio and music so your voice always sits on top. Set audio monitoring carefully — “Monitor and Output” lets you hear a source while it also goes to the stream, but monitoring your own mic can cause echo, so most people leave the mic on “Monitor Off.” Use closed-back headphones for voice recording and monitoring to avoid your speakers bleeding into the mic.
As a rough starting balance, aim for your voice to sit clearly above your game and music. Music in particular tends to creep up over a long stream, so give it the most headroom. If you ever find yourself raising the game or music to hear it better, that is usually a sign your mic is too quiet rather than the other sources being too low — fix the mic level at the source instead.
Record separate audio tracks
For flexibility, set OBS to capture multiple audio tracks — for example, mic on one track and game/music on another. This lets you re-balance or remove music when you turn streams into clips or upload VODs, which connects neatly with our guide on repurposing content for social media.
In the Output settings, enable several audio tracks for recording, then assign each source to a track in Advanced Audio Properties. A common layout is track 1 for a mixed-down stream feed, track 2 for your isolated mic, and track 3 for game and music. When you later edit a VOD or cut highlights, having the mic on its own track means you can apply different processing, duck the music under your voice, or strip out copyrighted music entirely without touching your commentary.
Common mistakes to avoid
A handful of issues account for most bad-sounding streams. Setting input gain too high so the mic clips is the most damaging, because no amount of filtering recovers a distorted signal — always fix levels at the source first. Stacking too many heavy filters is the next, leaving voices sounding pumped, gated, or robotic. Mismatched sample rates between OBS and your audio device cause crackles and glitches, so keep them identical. And monitoring your own mic through speakers, or even through headphones with the mic set to “Monitor and Output,” is the usual source of echo on a stream.
Test before you go live
Run a short local recording and listen back on headphones. Check that your voice is clear and forward, the gate isn’t cutting off your words, and game audio doesn’t drown you out. A two-minute test now saves an entire stream of bad audio. If you stream on Twitch specifically, it is also worth checking our walkthrough on how to set up audio for Twitch streaming for platform-specific tips.
Frequently asked questions
Why is my mic quiet or distorted in OBS?
Quiet audio usually means the input gain is too low or a gate threshold is set too high; distortion means levels are clipping. Set your gain so speech peaks with headroom, and adjust the noise gate so it opens for your normal speaking voice.
What sample rate should I use in OBS?
48 kHz is a common, safe choice because it matches most video and streaming platforms. The most important thing is keeping it consistent across OBS and your audio device to avoid resampling glitches.
How do I stop echo on my OBS stream?
Echo usually comes from monitoring your own mic or from speakers feeding back into the mic. Set your mic’s audio monitoring to “Monitor Off” and use headphones instead of speakers.
Should I use a noise gate or push-to-talk?
A well-tuned noise gate is fine for most solo streams and keeps your audio sounding natural. Push-to-talk gives you absolute control over when the mic is open, which is handy in noisy environments or when you want to mute side conversations, but it can clip the start of words if you are not used to it. Many streamers use a gate as their default and keep a push-to-talk or push-to-mute hotkey for moments they need to drop off the mic entirely.


