
Two settings confuse almost every beginner: sample rate and bit depth. They sound technical, but the practical takeaway is simple, and we’ll get to the recommended settings quickly.
🔧 Free tool: try our Audio File Size Calculator.
Sample rate
Sample rate is how many times per second your interface measures the incoming audio, in kilohertz (kHz). This is part of what an audio interface does – converting your analog signal into digital samples. 44.1 kHz (CD standard) and 48 kHz (video standard) are the common choices. Higher rates like 96 kHz capture slightly more ultrasonic detail but double your file sizes and CPU load for benefits most people can’t hear.
The reason these numbers exist comes down to a simple rule: to reproduce a frequency accurately, you need to sample it at least twice per cycle. Human hearing tops out around 20 kHz, so a 44.1 kHz rate comfortably covers the entire audible range with margin to spare. That is why CD quality has held up for decades. Going higher does not make the audible part of your recording “more detailed” in a way you can hear – it simply pushes the ceiling further into ultrasonic territory that your speakers and ears never reproduce anyway.
There are a few legitimate reasons to record at 88.2 or 96 kHz: heavy sound design with extreme pitch-shifting and time-stretching, where extra samples give plugins more material to work with, or delivery specs that demand it. For songs, podcasts, voiceovers and most content, the higher rate mostly costs you disk space, processing power and battery life.
Bit depth
Bit depth sets the dynamic range – the distance between the quietest and loudest sound you can record cleanly. 24-bit gives you far more headroom than 16-bit, which means you can record with safe, conservative levels and never worry about quiet recordings sounding noisy.
Each bit roughly doubles the available dynamic range. 16-bit gives you about 96 dB of usable range, which is plenty for a finished, mastered file but leaves little room for error while recording. 24-bit pushes that figure far beyond the noise floor of any affordable interface, so the limiting factor becomes your room and your gear, not the format. In practice this means you can set conservative input levels, leave generous headroom, and still end up with a clean, quiet, detailed recording.
There is also a difference between the bit depth you record at and the bit depth you deliver at. You record and mix in 24-bit (or higher internally), then your DAW converts to 16-bit only at the final export for formats that require it, such as a CD master. This keeps your working files clean and your final files compatible.
What to use
For almost every home studio: 24-bit / 48 kHz. It sounds excellent, keeps files manageable, and matches video projects. Set the same rate in your interface and DAW to avoid clicks – see setting up your interface.
Why 24-bit makes life easier
Because 24-bit has so much headroom, you can follow safe gain staging (peaks around -12 to -6 dBFS) and still capture a clean, detailed recording with room to mix.
How to choose the right settings
If you are unsure, work backwards from where your audio will end up:
- Music for streaming or your own release: 24-bit / 44.1 kHz is traditional, but 48 kHz is equally fine and increasingly common. Either is a safe default.
- Anything paired with video (YouTube, podcasts with video, film): 24-bit / 48 kHz, because video runs at 48 kHz and matching avoids resampling.
- Voiceover and spoken-word podcasts: 24-bit / 48 kHz is plenty; the higher headroom of 24-bit protects you from clipped levels during loud passages.
- Sound design with heavy processing: 24-bit / 96 kHz can help if you do extreme pitch and time manipulation, at the cost of bigger files.
The single most important rule is consistency: pick one sample rate and use it for the whole project, from recording through mixing to export. Mixing rates within one session is what causes pitch and timing problems.
Common mistakes to avoid
A few avoidable errors trip people up again and again:
- Mismatched rates between interface and DAW. If your interface is set to 44.1 kHz and your project to 48 kHz, you can get clicks, dropouts or audio that plays back at the wrong speed. Always match them.
- Chasing 96 kHz for “quality.” It rarely makes an audible difference for music or speech, but it does double your storage and CPU load – which can mean fewer tracks and plugins before your computer struggles, and often forces you to raise your buffer size to cope.
- Recording in 16-bit to save space. The space saved is small, and you lose the safety margin that makes 24-bit so forgiving with levels. Record 24-bit and convert down only at export if you need to.
- Importing files at a different rate. Loops or samples at a different sample rate to your session will be resampled; usually fine, but worth knowing if something sounds slightly off in pitch.
Frequently asked questions
Does a higher sample rate make my recording sound better?
Not in a way most people can hear. 44.1 and 48 kHz already capture the full range of human hearing. Higher rates mainly help with heavy sound-design processing, and they always cost you more disk space and CPU – which can also push up recording latency. For music and speech, the quality of your mic, room and gain staging matters far more than the sample rate.
Should I record in 16-bit or 24-bit?
Record in 24-bit. The extra dynamic range gives you a generous safety margin, so quiet recordings stay clean and you are far less likely to clip. Convert to 16-bit only at the final export, and only if a delivery format such as a CD requires it.
Why do I sometimes hear clicks or pitch issues when I change sessions?
That is almost always a sample-rate mismatch between your audio interface and your DAW, or between imported files and your project. Set both your interface and your project to the same rate and the problem usually disappears.
Shop related gear
A capable interface handles sample rate and bit depth with ease:
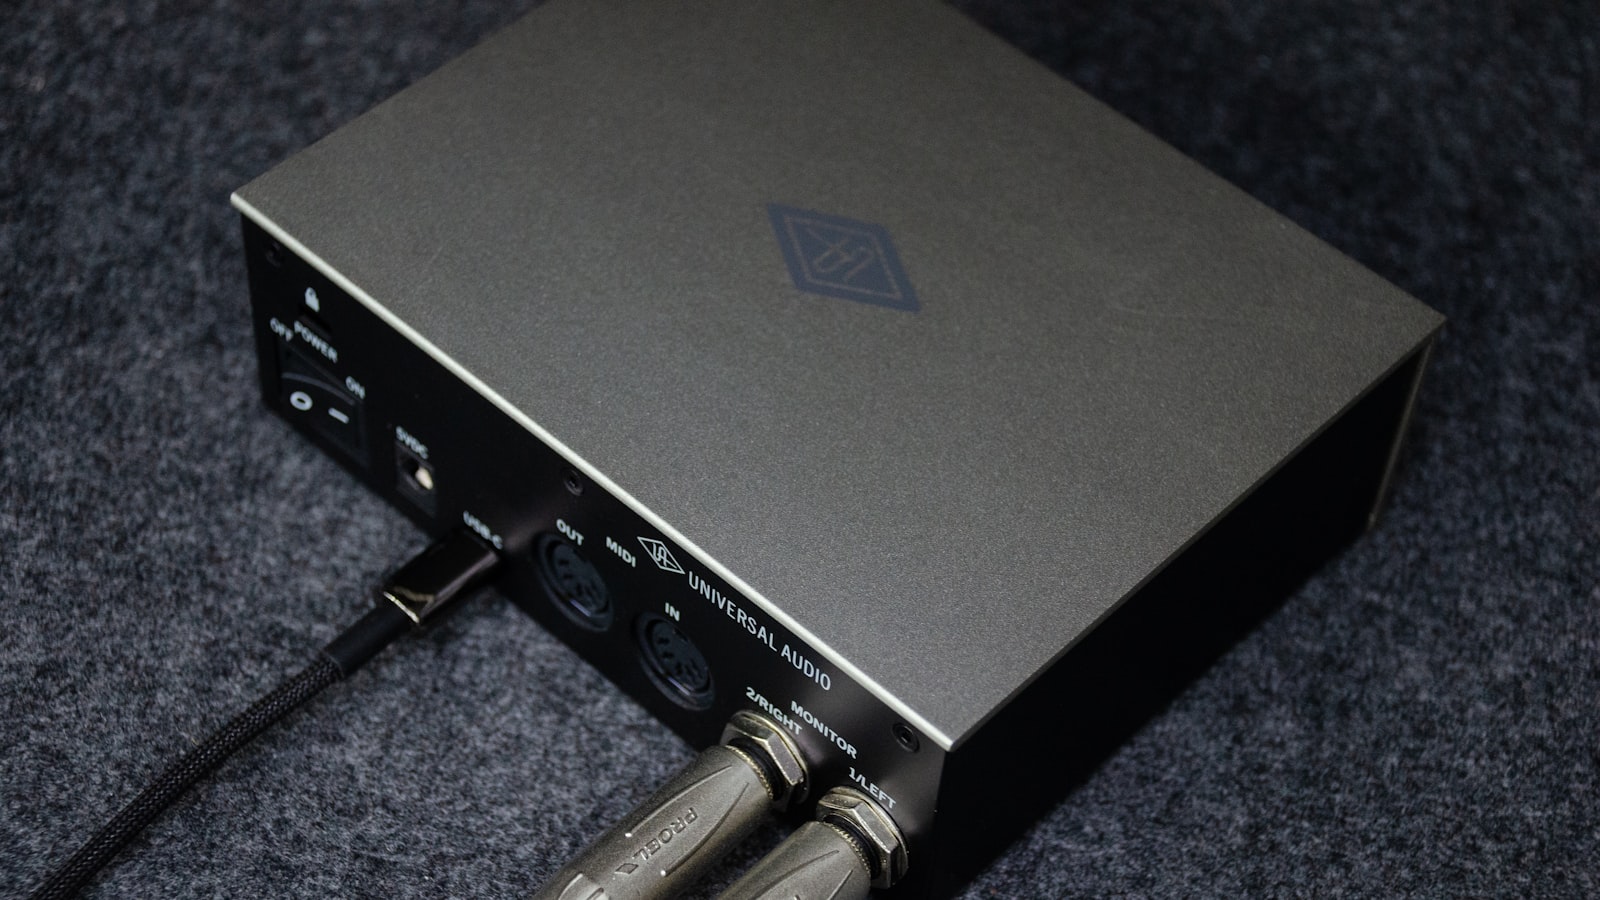
Clean preamps and low-latency USB-C — the sweet spot for most home studios.



