If you want to know how to sound better on a podcast mic, the answer is mostly technique, not gear. Getting close to the microphone, controlling your room, and setting clean gain will do more for your sound than upgrading equipment. Master those fundamentals and even an affordable mic can sound rich and broadcast-ready.
Here is exactly what to adjust, in order of impact.
Get the distance and angle right
The single biggest factor in how to sound better on a podcast mic is proximity. Speak roughly a hand’s width away, around 15 to 20 centimetres, rather than leaning back. Close miking gives you a fuller, more intimate tone and rejects more of the room.
Angle the mic slightly off-axis, pointing at your mouth from the side or just above, rather than straight on. This keeps the warmth while letting hard consonants blow past the capsule instead of into it. Once you find your sweet spot, stay there. Drifting in and out changes your volume and tone from sentence to sentence.
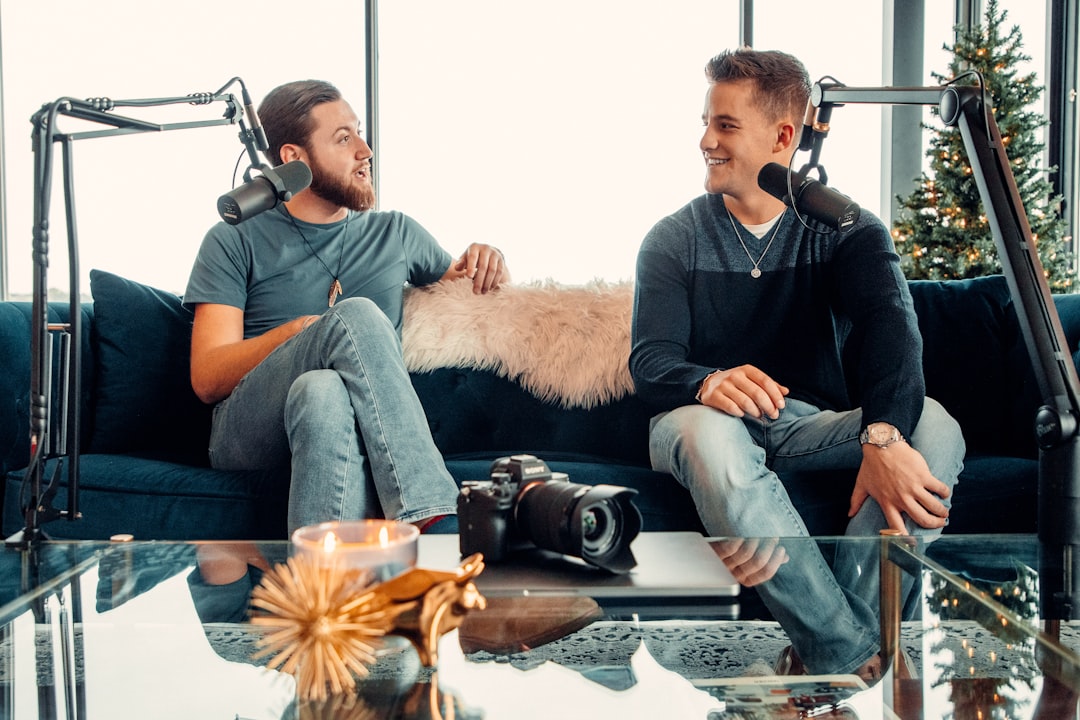
If you tend to move while you talk, a boom arm helps far more than willpower. It lets you bring the mic to a fixed, comfortable position and keeps it there as you gesture or shift in your seat. The goal is a consistent gap between your mouth and the capsule for the whole session, because that consistency is what makes editing painless later.
Tame plosives and sibilance
Plosives are the bursts of air on “p” and “b” sounds that thump the mic. The off-axis angle above helps, and a pop filter or foam windscreen handles most of the rest. Sibilance, the harsh “ess” sound, is reduced by not pointing the mic directly at your teeth and, if needed, a touch of de-essing in your edit.
Understanding your microphone’s pickup pattern helps you position yourself in its strongest, cleanest zone. Our guide to microphone polar patterns explains how cardioid and other patterns reject sound from the sides and rear.
Choose the right type of mic for your room
Dynamic microphones like the kind used in broadcast booths reject room noise well and forgive untreated spaces, which is why many podcasters prefer them. Condensers are more detailed and sensitive but pick up far more of the room, so they reward acoustic treatment. If you are deciding between the two, read condenser vs dynamic microphones. For specific recommendations across budgets, our roundup of the best podcast microphones is a good starting point.
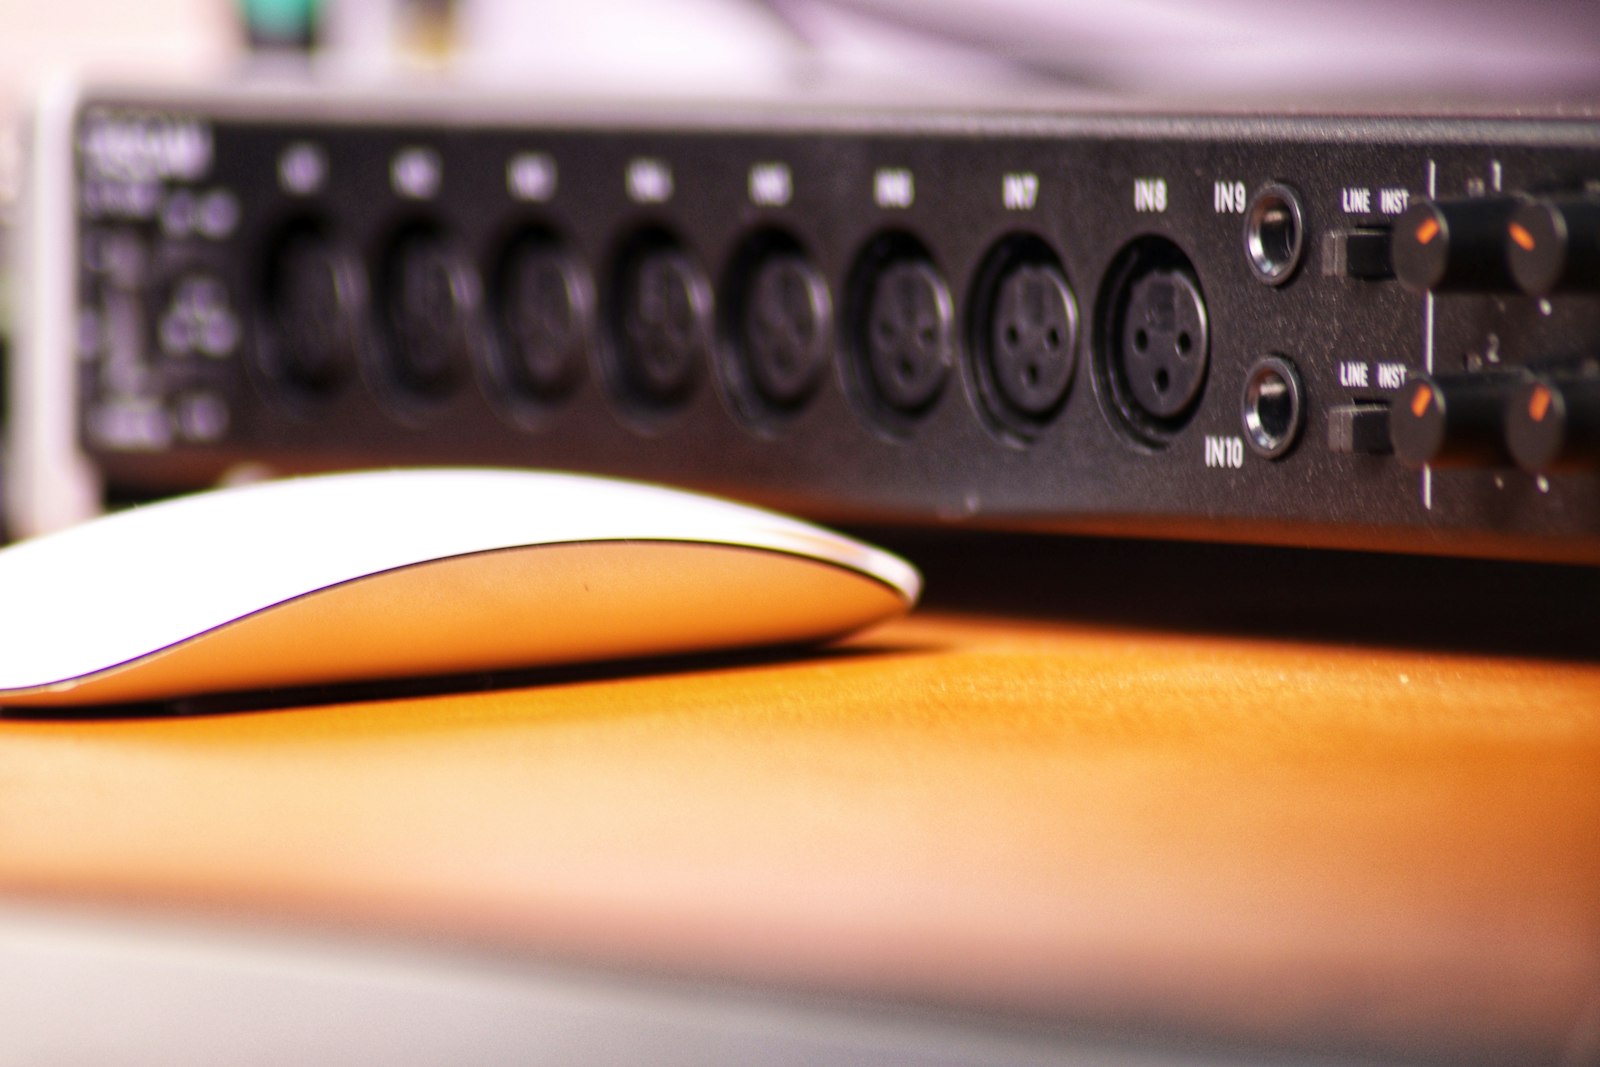
Set clean gain and watch your levels
Set your input gain so your normal speaking voice peaks comfortably below clipping, with headroom for louder moments. Too little gain forces you to boost in post, which raises the noise floor; too much causes distortion you cannot undo. Proper gain staging is the difference between a clean recording and a noisy one. If you use an audio interface, our guide on setting up an audio interface walks through the connections and settings.
As a practical target, aim for your speaking peaks to land somewhere around the middle of the meter rather than near the top. That leaves space for the moments you get animated or laugh without slamming into the ceiling. Do a short test where you speak at your quietest and your loudest, then set the gain for the loud passages so nothing clips. Wearing closed-back headphones while you record lets you hear plosives, mouth noise and room reflections in real time, so you can fix them before they ever reach the file.
Control the room
A bare room with hard walls adds echo that no plugin fully removes. You do not need a studio. Record in a smaller, furnished space, add soft furnishings, or hang blankets around your recording position. Even a closet full of clothes sounds better than a tiled kitchen. Our overview of acoustic treatment for home studios covers cheap, effective options.
The reflections that muddy a voice usually come from the hard surfaces nearest you: the wall behind the mic, the desk in front of you and the bare wall to your sides. Tackle those first. A soft rug under the desk and something absorbent behind the microphone often make a bigger difference than treating the whole room. If your desk is reflective, a folded towel or a thin mat in front of the mic stand will soften the sound bouncing straight up into the capsule.
Use a short warm-up
A relaxed, supported voice simply sounds better. A few minutes of breathing and humming evens out your tone and energy. See our routine for warming up your voice before recording.
Hydration matters too. Sip room-temperature water before and during a session to reduce mouth clicks and dryness, and keep a glass within reach rather than reaching off-mic mid-sentence. Speaking a little more slowly and deliberately than feels natural also reads as confident and clear to the listener, and it gives you cleaner pauses to edit around.
Common mistakes to avoid
A few habits quietly ruin otherwise good recordings. Recording too far from the mic is the most common, and it makes everything sound thin and roomy. Letting your gain ride too high so peaks distort is the second, because clipping cannot be repaired afterwards. Others include facing the mic straight on so every plosive lands in the capsule, recording in a hard, echoey space, and changing your distance constantly so your level wanders. Fix those five and you will already be ahead of most home setups, whatever microphone you own.
Frequently asked questions
Why does my podcast mic sound thin or distant?
You are most likely too far from the mic, or speaking off to the side of its pickup zone. Move closer, around a hand’s width, and aim the capsule at your mouth. Thin sound is almost always a distance problem before it is a gear problem.
Do I need an expensive microphone to sound good?
No. Technique, room control and clean gain matter far more than price. A modest dynamic mic used well will beat an expensive condenser in a noisy, echoey room.
How do I stop background hiss in my recordings?
Set your gain correctly so you are not boosting a quiet signal, use a dynamic mic in untreated rooms, and remove residual noise in editing. Our guide to removing background noise covers the editing side in detail.
Should I use a pop filter or a foam windscreen?
Either helps with plosives, and the right choice depends on your setup. A pop filter mounts a few centimetres in front of the mic and is easy to position precisely, while a foam windscreen slips directly over the capsule and is more compact. Combine one of them with an off-axis angle and you will catch almost all the air bursts before they hit the recording.
How loud should my voice be when I record?
Aim for your normal speaking level to sit comfortably below the top of the meter, with clear headroom for louder moments. Run a quick test covering your quietest and loudest delivery, then set the gain so even the loud passages stay clear of clipping. It is always easier to lift a clean, quiet recording in editing than to rescue one that distorted at the source.