To learn how to record rap vocals, focus on three things: a clean signal, controlled levels, and good mic technique. You do not need an expensive setup — a decent condenser or dynamic mic, an audio interface, a pop filter and a quiet, treated corner will get you professional-sounding takes. Here is a practical, repeatable workflow.
What you need
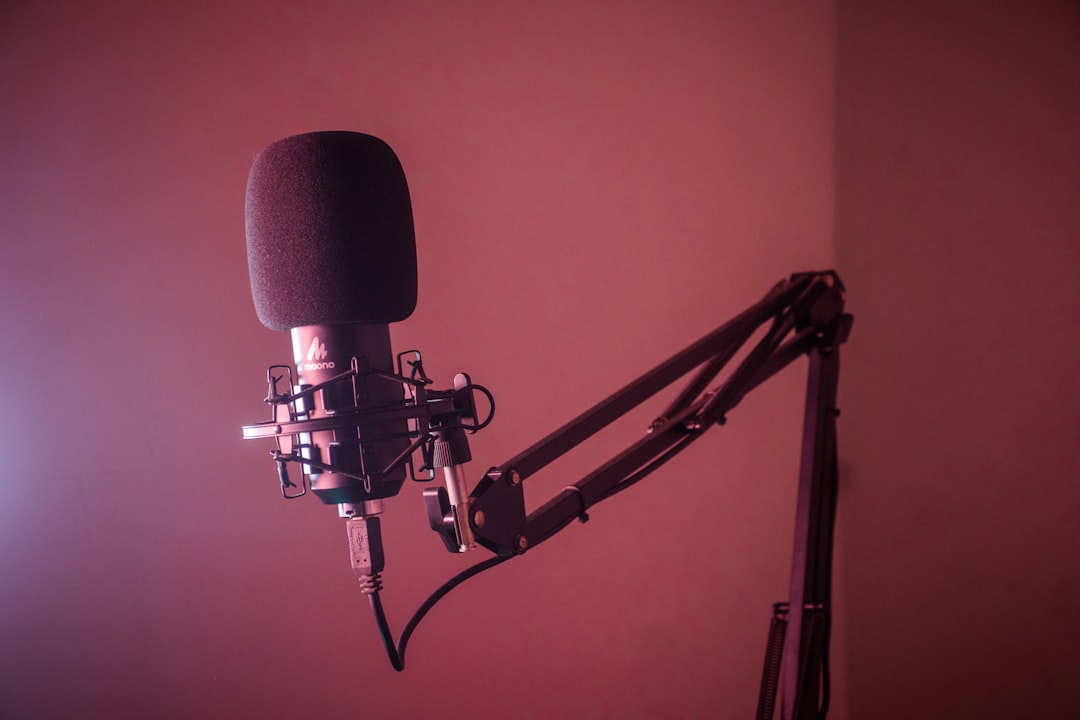
- A microphone. A large-diaphragm condenser captures detail and air, while a dynamic mic like a Shure SM7B or SM58 rejects room noise and handles loud, close delivery well — useful for untreated rooms.
- An audio interface for clean preamp gain. New to interfaces? See how to set up an audio interface.
- A pop filter to tame plosives on hard consonants.
- Closed-back headphones so the beat does not bleed into the mic.
- A DAW to record and arrange your takes.
Set up your space
Rap vocals expose room sound badly because they are dense and upfront. Record in the deadest spot you have — a corner with soft furnishings, a closet of clothes, or behind a couple of acoustic panels. Even a little acoustic treatment reduces reflections that muddy the take. Keep the beat playing on headphones only.
Mic technique for rap
- Distance: sit roughly a fist’s width (15–20cm) from the mic for a present, intimate tone. Move back slightly on loud, aggressive lines.
- Off-axis the plosives: position the pop filter a few centimetres in front of the mic and aim your breath slightly across the capsule, not straight into it.
- Stay consistent: hold a steady distance so your level and tone do not jump between lines.
- Cardioid pattern: use a cardioid polar pattern to reject the room behind you. Learn more in polar patterns explained.
For more on placement, our vocal mic placement guide applies directly to rap.
Set your levels (gain staging)
Rap delivery is dynamic and often loud, so leave headroom. Aim for peaks around -6 dBFS so the loudest lines do not clip. Perform your most aggressive line while setting gain — if that does not clip, quieter lines will be safe. If you are new to this, read gain staging explained. Record clean and dry; add effects in the mix, not on the way in.
Recording the takes
- Main take: record the lead vocal in full passes, then comp the best lines together.
- Doubles: record the same lines again on a separate track to thicken hooks and key phrases. Pan or layer them in the mix.
- Ad-libs: capture echoes, hype words and background phrases on their own tracks so you can place them freely.
- Punch-ins: fix individual lines by punching in rather than re-recording everything.
Performance and timing
The recording chain only matters once the performance is locked in. Rap lives and dies on timing, so the way you track has a direct effect on how tight the final vocal feels. A few habits make a noticeable difference. For broader workflow advice that carries over to any session, our general vocal recording tips are worth a read:
- Set a comfortable monitor mix. Pull the beat down so you can hear yourself clearly over it. If the instrumental is too loud you will instinctively push and shout, which wrecks your level consistency and tires your voice within a few takes.
- Ride just ahead of, or right on, the grid. Most rap sits tight to the beat, but small pushes and pulls are what give a flow its character. Record to a click or the beat itself and resist the urge to quantise the feel out of it later.
- Record in sections. Track verse by verse or even bar by bar for dense, fast passages. Stacking clean four- and eight-bar chunks is far easier to comp than chasing one perfect full-length pass.
- Warm up first. Run the verse two or three times before you commit. Your diction, breath control and energy all improve once you are warm, and the keepers usually come after the first couple of passes.
How to layer doubles and ad-libs
Layering is what separates a flat home demo from a record that sounds finished. Use it deliberately rather than doubling everything:
- Double the hook, not the whole verse. Tight doubles on the chorus and on key punchlines make them jump out. Doubling every line of a verse usually just smears the diction and buries the lead.
- Match the phrasing exactly. A good double tracks the consonants and word endings of the lead so the two reads lock together. Sloppy timing on a double sounds like flam, not thickness.
- Give ad-libs their own space. Pan them off-centre, drop them slightly behind the lead in level, and let them answer the main line rather than fight it.
- Keep takes organised. Name and colour your tracks — lead, double, ad-libs, hype — so the mix session stays readable. A tidy session is faster to mix and easier to revisit. For more ways to stack vocal layers without clutter, build the arrangement track by track.
Common mistakes to avoid
- Recording too hot. Chasing a loud waveform leads to clipping on the aggressive lines. Track conservatively and turn it up in the mix instead.
- Beat bleed into the mic. Open-back or loud headphones leak the instrumental onto your vocal track, which is impossible to remove cleanly. Use closed-back cans at a sensible volume.
- Inconsistent distance. Drifting toward and away from the capsule makes tone and level jump around, creating extra work in the mix. Mark your spot and hold it.
- Printing effects on the way in. Reverb, delay and autotune committed during tracking cannot be undone. Record dry and shape the sound later.
- Skipping room treatment. An untreated, reflective room is the single most common reason home-recorded rap sounds amateur. Deaden the space before blaming the mic.
Quick mixing pointers
Once tracked, the basics carry most of the result: subtractive EQ to clean mud and harshness, compression to even out the dynamic delivery, and a touch of reverb or delay for space. Start with EQ and compression fundamentals and how to mix vocals. For more techniques, browse the recording techniques hub.
Frequently asked questions
Condenser or dynamic mic for rap?
Both work. Condensers capture more detail and air, ideal in a quiet, treated room. Dynamics like the SM7B reject room noise and handle loud, close delivery well, making them forgiving in untreated spaces.
Should I record with effects on?
No. Record clean and dry, then add EQ, compression, reverb and autotune in the mix. Printing effects on the way in locks you into choices you cannot undo later.
How loud should my recording level be?
Aim for peaks around -6 dBFS to leave headroom for loud lines and ad-libs. Set gain while performing your most aggressive line so nothing clips during the real take.
How many takes should I record?
There is no fixed number — record enough full passes that you have a clean option for every line, then comp the best moments together. For dense or fast verses, tracking in shorter sections and punching in problem lines is usually quicker than aiming for one flawless take.
Do I need to treat my room to record rap?
You do not need a fully treated studio, but rap vocals are dense and upfront, so they expose a bad room quickly. A deadened corner, a closet of clothes, or a couple of acoustic panels behind the mic will dramatically clean up your takes for very little money.


