
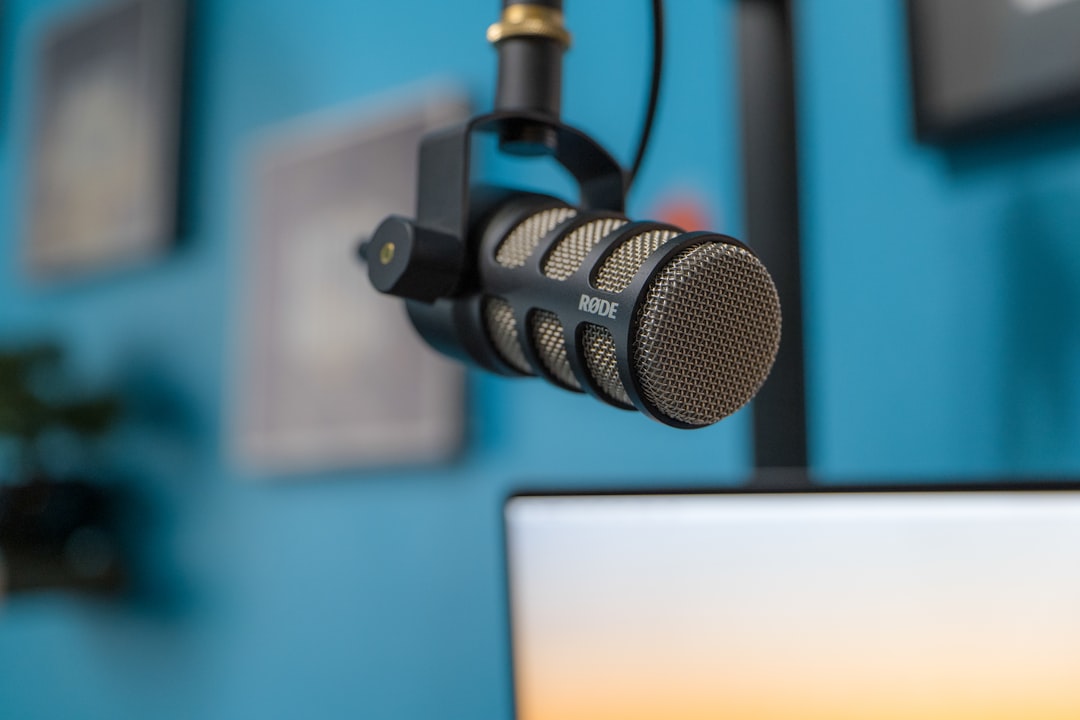
Podcast audio quality matters more than fancy gear. With a suitable microphone, a treated-enough room and good levels, you can sound professional from home. Here’s the practical workflow.
Choose the right microphone
For untreated rooms, a dynamic microphone is usually best – it rejects room echo and background noise. A USB mic keeps it simple; an XLR mic plus interface scales to multiple hosts. If you’re building out a permanent space, it’s worth planning the whole home podcast studio around how many people you expect to record at once.
Whichever route you take, the way you use the mic matters as much as the model. Speak close – a hand’s width away – and slightly off-axis so plosives (hard “p” and “b” sounds) blow past the capsule rather than into it. A pop filter or foam windscreen helps further. Keep your mouth a consistent distance from the mic throughout a take; drifting nearer and further is one of the most common reasons home recordings sound uneven from sentence to sentence.
Treat the room (a little)
Record in the least echoey room you have and add soft furnishings or absorption. Listeners forgive a lot, but boxy echo is the giveaway of an amateur recording.
You don’t need a purpose-built booth. A room with a carpet, curtains, a sofa and a bookshelf is already working in your favour, because every soft surface soaks up reflections that would otherwise smear your voice. Avoid bare, square rooms with hard floors and parallel walls – bathrooms and empty kitchens are the worst offenders. If you can only record in a lively room, getting closer to the mic and turning down its gain is the quickest fix, because more of what the mic hears is then your direct voice rather than the room around it.
Set levels and record each voice separately
- Set levels so peaks sit around -12 to -6 dBFS.
- Record each host on their own track for independent editing.
- Do a short test and listen on headphones before the real take.
Leaving headroom below 0 dBFS is deliberate, not laziness. Voices get louder when people get excited or lean in, and a peak that clips the converter is distortion you cannot repair afterwards. It is always easier to raise a quiet-but-clean recording in editing than to rescue one that has already gone over the top. Recording each voice to its own track is the single biggest quality upgrade for multi-host shows: it lets you fix one person’s level, cut their coughs, or remove crosstalk without touching anyone else. If you regularly host several voices in one room, our guide to recording a podcast with multiple people covers the mic and routing setup in more depth.
Choose your recording software
The software you record into matters less than how you set it up, so don’t agonise over the choice. A free, multitrack editor is more than enough to make a polished show, and any tool that lets you arm several tracks at once will cover a host-plus-guests setup. The one feature worth insisting on is per-track recording, so each voice lands on its own lane rather than being mixed down into a single file you can never separate again.
Before you hit record, set your project to capture at a sensible quality and stick with it across every episode. Record in an uncompressed format such as WAV while you work, and only export to a compressed MP3 at the very end, once all your editing and levelling is done. Editing a compressed file and re-exporting it repeatedly throws away a little quality each time, whereas keeping a clean master until the final step means you can always go back and re-render. Save a copy of your project file and your raw takes too; the day a published episode needs a correction, you will be glad the originals still exist.
Handling remote guests
For remote guests, use a dedicated remote-recording tool that captures each person locally (so your audio isn’t at the mercy of their connection), or have them record their own side. Then edit, level and lightly EQ and compress each track.
Before any remote session, send your guest a short checklist: use wired headphones to stop echo, sit in a quiet, soft-furnished room, get close to whatever mic they have, and silence phone and computer notifications. A guest on earbuds in a treated-enough room will almost always sound better than one on an expensive mic in a tiled kitchen. Always start a local backup recording on your own machine too, so a dropped connection or a failed upload never costs you the whole conversation.
A simple post-production chain
Editing doesn’t need to be elaborate. A reliable order is: trim the dead air and false starts first, then apply a gentle high-pass filter to roll off low rumble below the voice, then a touch of EQ and compression to even out the dynamics so quiet and loud passages sit closer together. Finish by normalising the whole episode to a consistent loudness target so listeners don’t reach for the volume control between your show and the next. Do the same processing on every episode and your sound becomes recognisably yours.
Common mistakes to avoid
Most home-podcast problems come from a handful of repeat offenders. Recording too far from the mic pulls in room echo and forces you to over-amplify, which raises the noise floor. Monitoring through laptop speakers instead of headphones hides issues until it’s too late. Skipping a short test take means you only discover a wrong input or a buzzing cable after you’ve recorded an hour. And over-processing – piling on compression and noise reduction until voices sound robotic – usually does more harm than the problem it was meant to fix. Capture a clean signal first; it makes every later step easier.
Frequently asked questions
Do I need an expensive microphone to start a podcast?
No. A modest dynamic microphone used close-up in a quiet, soft room will outperform a costly one used badly in an echoey space. Technique, mic distance and the room matter far more than the price tag, so spend your first effort on those before upgrading gear.
Should each host record on a separate track?
Yes, wherever possible. Separate tracks let you balance each voice, remove one person’s background noise, and edit out interruptions without disturbing the others. For remote guests, recording each person locally achieves the same thing and protects you from connection dropouts.
How loud should my podcast be?
While recording, aim for peaks around -12 to -6 dBFS to leave safe headroom. For the finished episode, normalise to a consistent loudness so it matches other podcasts and stays comfortable across headphones, phone speakers and car systems. Consistency between episodes matters more than chasing the maximum possible volume.
What file format should I record and publish in?
Record and edit in an uncompressed format such as WAV so you keep full quality while you work, then export the finished episode to MP3 for publishing. MP3 keeps file sizes small enough for fast downloads and is supported everywhere, while your WAV master stays untouched in case you need to re-edit later. Avoid editing and re-exporting an MP3 several times over, as each pass discards a little more quality.
How can I reduce background noise without a treated room?
Tackle the source before reaching for software. Move closer to the mic and lower the gain so your voice dominates over the room, switch off fans, air-conditioning and noisy computers during takes, and pick the quietest, most soft-furnished room you have. A light high-pass filter in editing will clean up low rumble, but heavy noise reduction tends to make voices sound hollow, so use it sparingly and only after you have captured the cleanest signal you can.



