

Where you place the mic matters as much as which mic you own. These vocal placement fundamentals will instantly improve your takes – no new gear required. They sit at the heart of any solid approach to recording vocals at home.
Distance and the proximity effect
Most vocals sit best with the mic 15-20 cm (6-8 inches) from the singer. Move closer and the proximity effect adds warmth and bass, which can sound intimate but muddy; back off and you capture a more natural tone plus more of the room. Working in tight up against the grille is a form of close miking, with all the warmth and all the plosive risk that brings. Adjust distance to taste and to suit your room.
Use a pop filter
Place a pop filter a few centimetres in front of the mic to stop plosives (the p and b bursts) from overloading the capsule, without dulling the sound. Have the singer aim just over or to the side of it rather than straight into it.
Angle to control sibilance and tone
- Angling the mic slightly off-axis (pointing at the mouth from above or the side) reduces harsh ss sounds on bright voices.
- Pointing more at the nose adds body; more at the mouth adds clarity and air.
- Small moves make big differences – record short tests and listen back.
Mind the room, not just the mic
A sensitive condenser captures everything around it, so an untreated room can ruin an otherwise great take. If your space is live, get closer, use a dynamic mic, or add absorption behind and around the singer. New to mic types? Read condenser vs dynamic microphones first.
Set the level before you set the placement
Placement and gain work together, so it pays to dial in your recording level early. Have the singer perform the loudest part of the song while you set the gain on your interface or preamp. Aim for peaks somewhere in the region of -12 to -6 dBFS, which leaves comfortable headroom so a sudden belted note does not clip. If you find yourself pushing the gain right up just to register a signal, move the singer closer rather than running the preamp flat out, where it adds hiss. Conversely, if the meters are slamming into the red even at modest gain, step back a little. Getting this balance right at the source means less cleanup later and a cleaner foundation for mixing – our guide to gain staging goes deeper if you want the full picture.
How to find the sweet spot in five minutes
You do not need a trained ear to find good placement – you need a method and a pair of headphones. Work through these steps and you will land on a usable position quickly:
- Start at a sensible default. Mic at mouth height, roughly a fist-and-a-half away (about 15-20 cm), pop filter in between, capsule pointing at the mouth.
- Record a short reference take. Capture 15-20 seconds that includes both quiet and loud phrases, and any tricky p, b or s sounds.
- Change one thing at a time. Move 5 cm closer, then tilt the mic up slightly, then off to the side – recording the same line each time so you can compare like for like.
- Listen on headphones, not speakers. Plosives, sibilance and room reflections are far easier to hear when the monitoring path is closed and quiet.
- Mark the winner. Once a position sounds right, note the distance and angle (a strip of tape on the floor for the singer’s feet helps) so you can recreate it next session.
The goal is a tone that already sounds close to finished before any processing. If a position needs heavy EQ to fix, it is usually the wrong position.
Common vocal placement mistakes
- Eating the mic. Singing right on the grille piles on the proximity effect and exaggerates every breath and plosive. Unless you want that deliberate intimate sound, keep a hand’s width of space.
- Drifting off the mic. Inexperienced singers sway and turn their heads, so the level and tone wander between phrases. A fixed reference point – the pop filter, or a mark on the floor – keeps them consistent.
- Forgetting the back of the mic. A cardioid mic rejects sound from behind, so what sits behind the singer matters. Point the rear of the mic at the noisiest or most reflective surface in the room.
- Singing straight into the pop filter. Aiming slightly over or past it, rather than dead-on, keeps plosive bursts from sneaking around the edge.
- Ignoring desk and floor reflections. Sound bouncing off a nearby desk, laptop screen or hard floor returns to the mic a fraction of a second late and hollows out the tone. Throw something absorbent across the offending surface.
Frequently asked questions
How far should a vocalist stand from the microphone?
As a starting point, around 15-20 cm (6-8 inches) suits most voices and songs. Move in closer for a warm, intimate, bass-heavy sound thanks to the proximity effect, or back off for a more natural, open tone that captures a little more of the room. Let the song and the singer’s volume guide the final distance.
Why does my vocal recording sound boomy or muddy?
The usual culprit is the proximity effect from singing too close, which boosts the low end. Try increasing the distance slightly or angling the mic off-axis. If the muddiness lingers even at a sensible distance, your room is likely contributing reflections – some absorption around the singer will tighten things up. A few more vocal recording tips can help you chase down stubborn tone problems.
Do I really need a pop filter, or can I just use EQ?
A pop filter is far better than fixing plosives afterwards. A hard p or b burst can overload the capsule and create a low-frequency thump that EQ cannot fully remove without thinning the whole vocal. The filter stops the problem at the source, which is always preferable to repairing it in the mix.
Shop related gear
The vocal-recording essentials referenced in this guide:
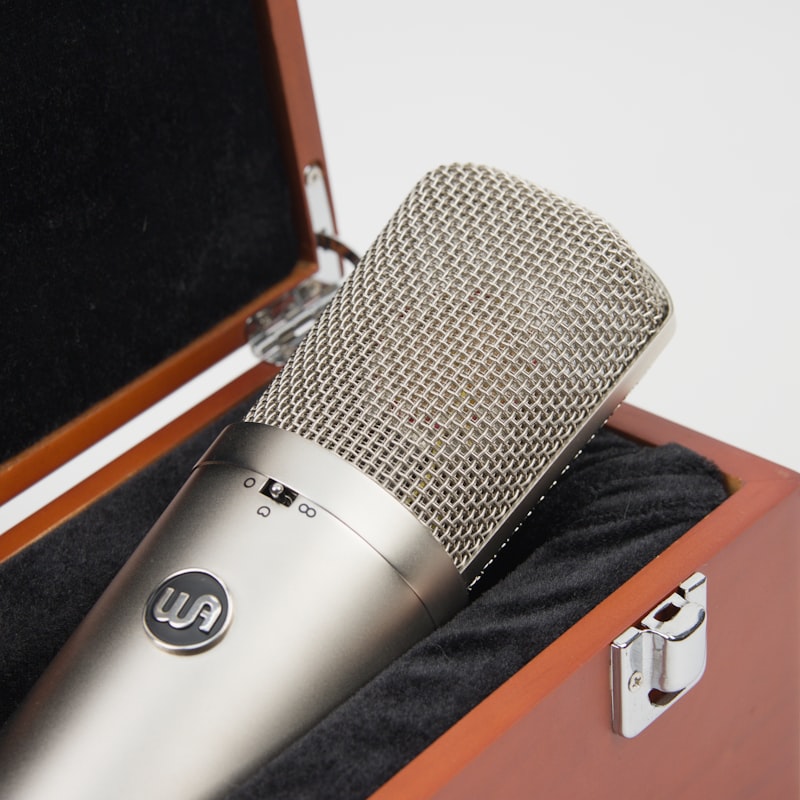
A versatile cardioid mic tuned for clear, present vocals at home.
Tames plosives and protects your capsule — an essential vocal-recording accessory.



