Ableton for beginners starts with one idea that makes Ableton Live different from other DAWs: it has two views. Session View is a grid for jamming and looping clips, and Arrangement View is the traditional left-to-right timeline. Learn how clips, devices and these two views work together and you can both improvise ideas and arrange them into a finished song. Live is especially loved for electronic music and live performance.
Session View vs Arrangement View
Session View shows a grid of slots where each cell holds a clip (a loop of audio or MIDI). You trigger clips freely to experiment with combinations, which is great for building ideas and performing live. Arrangement View is a horizontal timeline like most DAWs, where you lay clips out over time to build the final structure. You can record your Session jam straight into the Arrangement, then edit it. Press Tab to switch between the two views.
Clips, the core building block
Everything in Live is a clip. An audio clip holds a recording or sample; a MIDI clip holds notes you draw or play in. Double-click a clip to open the Clip View at the bottom, where you edit notes, set loop points and adjust playback. Clips are what you trigger in Session View and arrange in Arrangement View, so getting comfortable with them is the key first step.
Making beats and melodies with MIDI
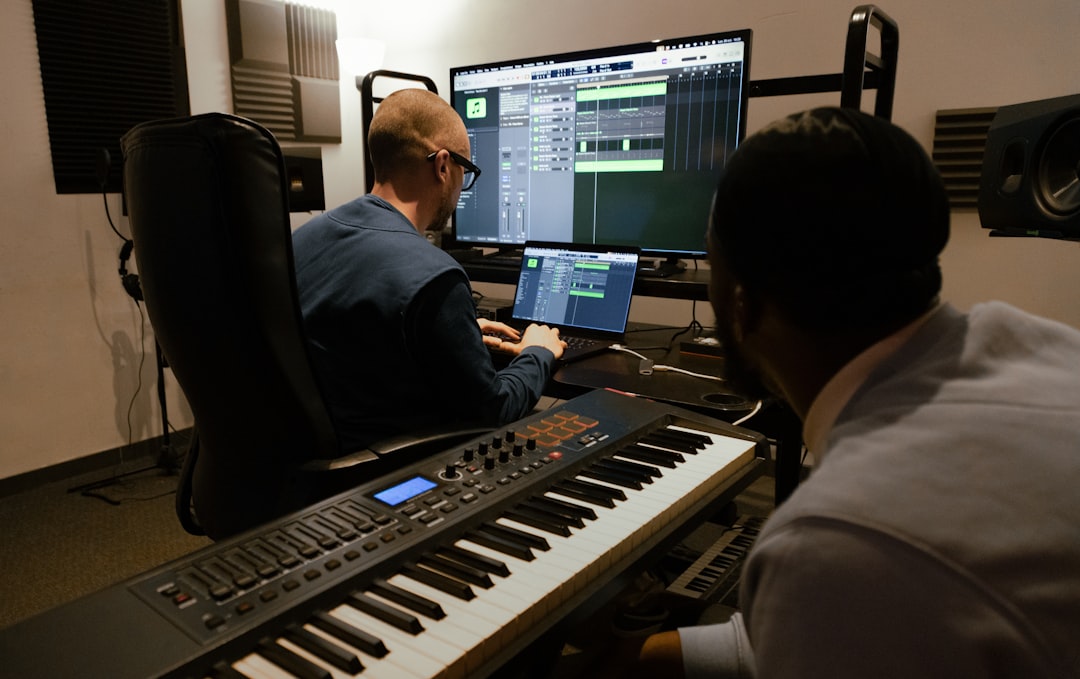
Create a MIDI track, drop an instrument onto it (Live’s Drum Rack for beats, or a synth like Operator or Wavetable for melodies), and draw notes in the MIDI editor. Drum Rack maps one sound per pad, making it easy to program grooves. Many producers prefer to play parts in rather than draw them, so one of the best MIDI keyboards is a worthwhile early purchase. For writing parts, lean on our guides to how to make a melody and how to make chords for a song — Live also has Scale and Chord MIDI effects that help you stay in key.
Audio recording and warping
To record audio, set your interface in Preferences > Audio, arm an audio track and hit record — our audio interface setup guide covers the hardware side. Live’s standout feature is warping: it analyses audio and locks it to your project tempo, so loops and recordings stay in time even if you change the BPM. This makes sampling and remixing remarkably easy.
Devices: instruments and effects
Live’s instruments and audio effects are called devices, and you drag them onto tracks from the browser on the left. The stock devices — EQ Eight, Compressor, Reverb, Delay and the rest — are genuinely good and enough to mix a whole track. Build solid habits with our gain staging guide and the EQ and compression fundamentals. Note that Live comes in different editions; the larger editions add more instruments and sounds, but the workflow is identical.
Arranging and exporting
Once you have clips you like, record or drag them into Arrangement View and build your structure with contrast between sections. To get tracks finished rather than looping forever, see how to actually finish a song. When you are done, use File > Export Audio/Video, set the range and render a WAV master or MP3 to share — our walkthrough on how to export a song from your DAW covers the settings that matter.
Getting around: a few habits that speed everything up
Live rewards a few simple workflow habits early on. Keep the browser on the left open and treat it as your library: instruments, effects, samples and your own saved clips all live there, and you can preview sounds before dragging them in. Use folders called Collections (the coloured labels) to bookmark the devices and packs you reach for most, so you are not hunting every session.
Learn to freeze and flatten tracks when your computer starts to struggle. Freezing renders a track’s devices to audio temporarily so the CPU can rest; flattening makes that permanent. This keeps a big project playable on a modest laptop. Equally, get into the habit of grouping related tracks (select them and press Cmd/Ctrl+G) so your drums, vocals or synths each collapse into a single tidy channel with its own group effects.
Finally, lean on the metronome and a clear tempo from the start. Because warping ties audio to the project BPM, setting a sensible tempo before you record saves a lot of correction later. A click track also makes Session jams line up cleanly when you commit them to the Arrangement.
Common beginner mistakes
The most common trap is never leaving Session View. Looping clips is addictive, but a song needs structure, contrast and an ending — so commit your ideas to the Arrangement early and shape them. A close second is collecting endless third-party plugins and sample packs before you have mastered the stock devices; Live’s built-in instruments and effects are more than enough to finish a polished track, and learning them deeply beats spreading yourself thin.
Watch your levels, too. Stacking loud clips and devices quickly pushes the master into clipping. Mix at sensible gain, leave headroom, and check the master meter stays out of the red. New users also tend to over-quantise everything to a rigid grid; a little timing variation and groove (try the Groove Pool) often feels more musical than perfectly snapped notes. Lastly, save often and save versions — keep a copy when a project is going well, so an experiment never costs you a take you liked.
A first-track workflow
- In Session View, build a few clips: drums, chords, a bassline and a melody.
- Trigger clips together to find combinations you like.
- Record or drag your favourites into Arrangement View.
- Arrange the sections with contrast, then add devices to mix.
- Export your finished track.
Frequently asked questions
Is Ableton Live good for beginners?
Yes, especially for electronic music, sampling and live performance. The clip-based Session View makes experimenting fast and intuitive, and the stock devices are strong. There is a free trial, and the workflow is the same across editions, so you can start small.
What is the difference between Session and Arrangement View?
Session View is a non-linear grid for triggering and looping clips to jam and build ideas. Arrangement View is a standard timeline for laying those ideas out into a finished song. You typically sketch in Session and finalise in Arrangement.
What is warping in Ableton?
Warping is Live’s time-stretching engine. It analyses audio and locks it to your project tempo, so samples and recordings stay in sync even when you change the BPM. It makes working with loops and remixing far easier than in many other DAWs.
Which edition of Ableton Live should a beginner buy?
Start with the free trial to learn the workflow, then choose based on how many built-in instruments and sounds you want; the views, recording, warping and core devices behave the same across editions. Many beginners are well served by a smaller edition and only upgrade once they hit a clear limit, since the way you actually work in Live does not change.


