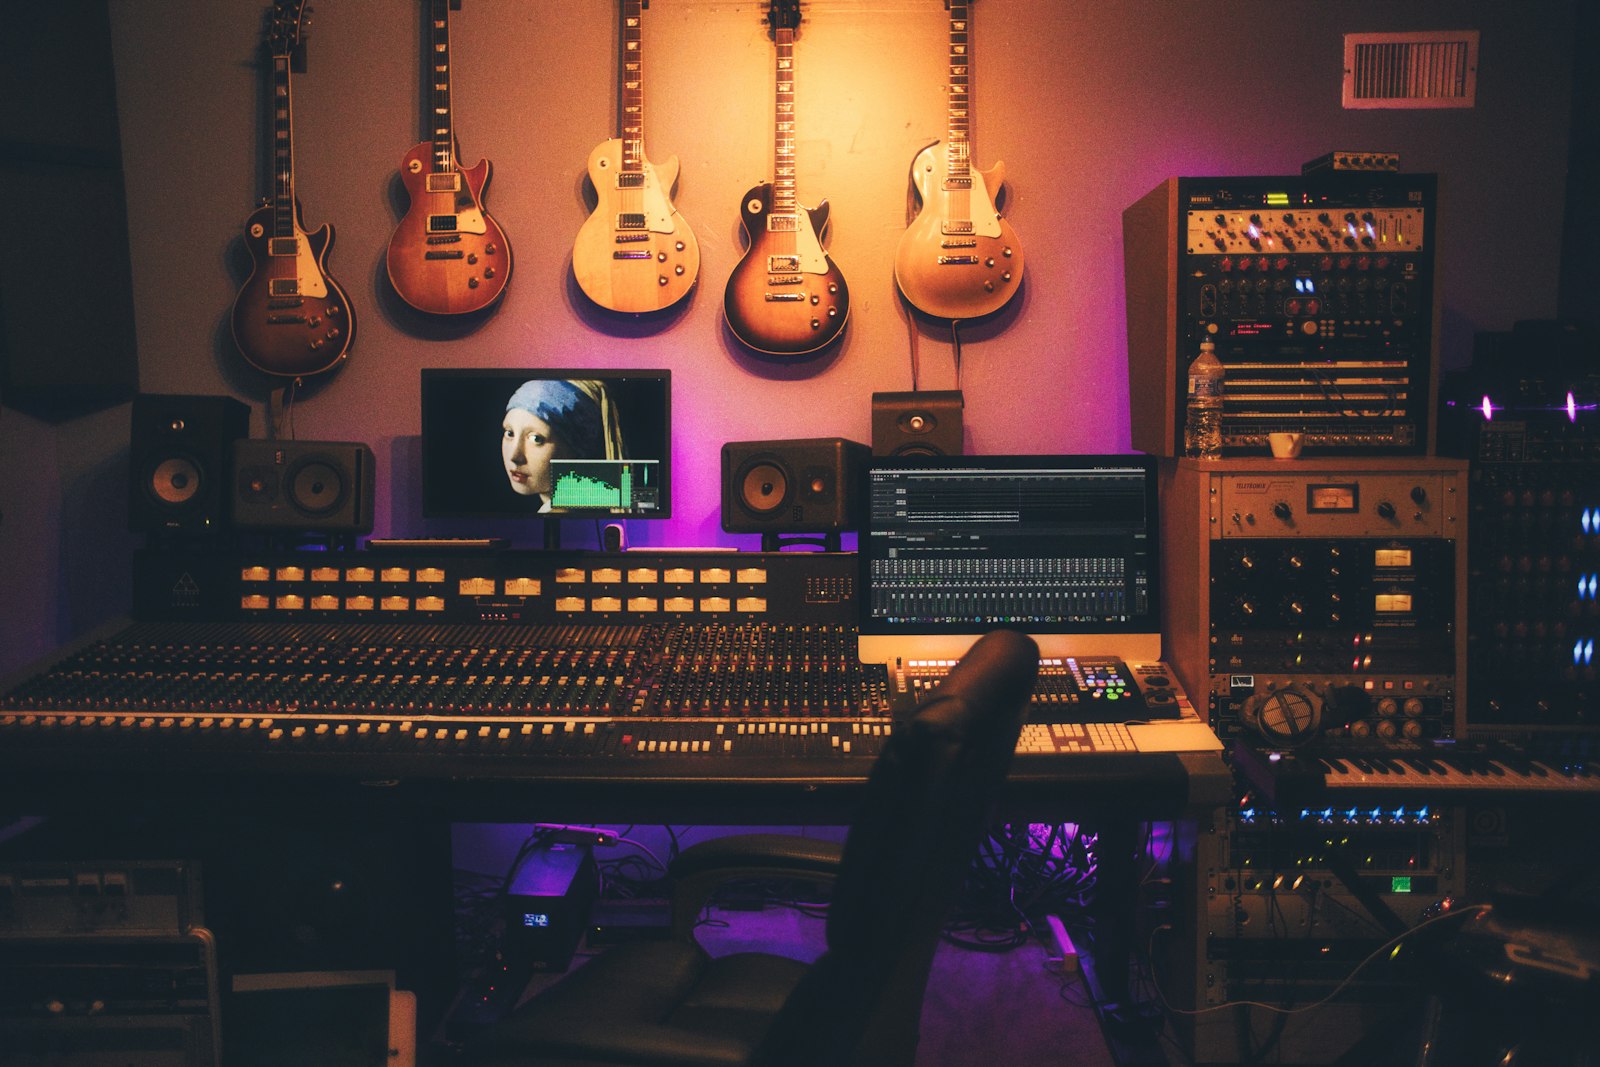
The gap between a bedroom recording and a professional one is smaller than most people think. Getting studio quality vocals at home is less about spending thousands on a signal chain and more about controlling four things you can address today: the microphone and how it is placed, your gain staging, the room, and your monitoring. Nail those and an affordable condenser through a modest interface will deliver takes that hold up in a real mix. Here is exactly how to do it.
The signal chain that delivers studio quality vocals at home
You need three pieces: a large-diaphragm condenser microphone, an audio interface with a clean preamp and phantom power, and a pair of closed-back headphones. A Rode NT1, Audio-Technica AT2020, or sE Electronics X1 S all punch well above their price for vocals. Feed the mic into an interface like a Focusrite Scarlett, Universal Audio Volt, or Audient iD – all provide the +48V phantom power a condenser requires.
Add two cheap but crucial accessories: a pop filter to stop plosive bursts from “p” and “b” sounds, and a shock mount to isolate the mic from floor and desk vibration. Skipping these is the single most common reason home vocals sound amateurish.
Microphone placement and technique
Position the mic 15-20 cm (6-8 inches) from your mouth with the pop filter about 8 cm in front of the capsule. Sing slightly off-axis – aim your voice just past the edge of the grille rather than dead center – to reduce harsh plosives and sibilance while keeping the tone full.
Understand the proximity effect: the closer you get, the more low-end the mic adds. Six inches gives a warm, radio-ready weight; back off to 25-30 cm for airy, natural tones on softer passages. Skilled singers “work the mic,” leaning in for quiet lines and pulling back on belted notes to keep levels even – do this deliberately and you will need far less compression later.
- Record standing up with good posture for better breath support and projection.
- Keep a consistent distance so overdubs and harmonies match.
- Angle the mic slightly downward toward your mouth to encourage an open, forward tone.
Gain staging and buffer settings
Set your interface gain so your loudest belted phrase peaks around -12 to -6 dBFS. That headroom keeps you clear of 0 dBFS, where digital clipping introduces harsh, permanent distortion that no plugin can repair. When in doubt, track a touch quieter – 24-bit recording has enormous dynamic range, so a clean low signal raises perfectly, while a clipped one is ruined.
For latency-free monitoring while you sing, drop your buffer size to 64 or 128 samples, or use the interface’s direct-monitoring feature so you hear your voice through the hardware instead of through the DAW. Bump the buffer back up to 512 or 1024 samples once you move on to mixing, where low latency no longer matters and a larger buffer prevents audio dropouts. If you hear a slapback delay of your own voice in the cans, that is a monitoring path problem – our guide on how to fix latency when recording walks through it.
Treating an untreated room
A great mic in a bad room still sounds like a bad room. Vocals are especially sensitive to short reflections that add a boxy, hollow quality. You do not need a purpose-built booth – you need to control the reflections nearest the mic:
- Record in the room’s least reflective spot, facing soft furnishings rather than a bare wall or window.
- Hang a thick duvet or moving blanket behind and beside the mic to absorb early reflections. A partially open closet full of clothes is a genuinely good vocal space.
- Add a rug and avoid recording in bathrooms, kitchens, or empty rooms with hard parallel walls.
- A reflection filter behind the mic helps, but soft material around your whole recording position helps more.
For a deeper walkthrough, see our companion piece on removing echo when recording.
Processing without over-cooking it
Studio vocals are edited and mixed, but the goal is to enhance a good take, not rescue a bad one. A sensible order:
- Clean up: High-pass filter around 80-100 Hz to strip rumble, then edit out breaths, clicks, and mouth noise.
- Compress: Gentle compression (a few dB of gain reduction, medium attack, fast release) evens out level swings. Precision de-essing and dynamic EQ from a plugin like FabFilter Pro-DS or Pro-Q keeps sibilance and resonances in check.
- Tame harshness: If a specific frequency jumps out, a resonance-suppressor such as soothe2 smooths it dynamically without dulling the whole track.
- Add space: A short plate reverb and a subtle slap delay place the voice in a believable room. Keep it tasteful.
Record several full passes and comp the best phrases together – professional lead vocals are almost always assembled this way. Double the chorus and pan the copies for width. Do all of this on top of a well-placed mic, honest levels, and a controlled room, and you will have genuinely studio-quality vocals at home. For quick pitch and tempo checks before you commit a take, the free utilities in our audio tools hub save time.