
Learning how to record a full song at home comes down to a repeatable workflow: plan the arrangement, set a tempo and a click, lay a foundation track, build up the parts, then comp and clean everything before you mix. You do not need a pro studio — a laptop, a DAW, an interface and one decent microphone are enough to finish a real song from start to end.
Below is the order that keeps a home recording project on the rails, so you finish with usable tracks instead of a folder of half-takes.
Plan the song before you hit record
Decide the structure first — intro, verse, chorus, bridge — and sketch it on paper or in your DAW’s timeline as markers. Knowing the map prevents you from recording parts you later cut. Set the tempo in BPM and pick a key. If you are not sure of the tempo, tap it in against the demo until it feels right.
Build a click track or a simple drum loop next. Everything you record will lock to this, so it has to be solid from the start.
Track the foundation first
Start with whatever instrument carries the groove — usually drums (programmed or recorded), then bass, or a scratch guitar/keys part. The goal is a rhythmic and harmonic skeleton that every other part references.
- Programmed drums: quantise lightly so they breathe; avoid 100% rigid grids unless the genre calls for it. If you are tracking a live kit instead, recording drums at home covers the setup.
- Bass: record direct (DI) through your interface for a clean, editable signal — see how to record bass guitar for the details.
- Scratch part: a rough guide vocal or chord track helps everyone (including you) stay oriented.
Watch your levels here — set gain so peaks land well below clipping. Our guide to gain staging covers exactly how to dial this in.
Layer the rest of the parts
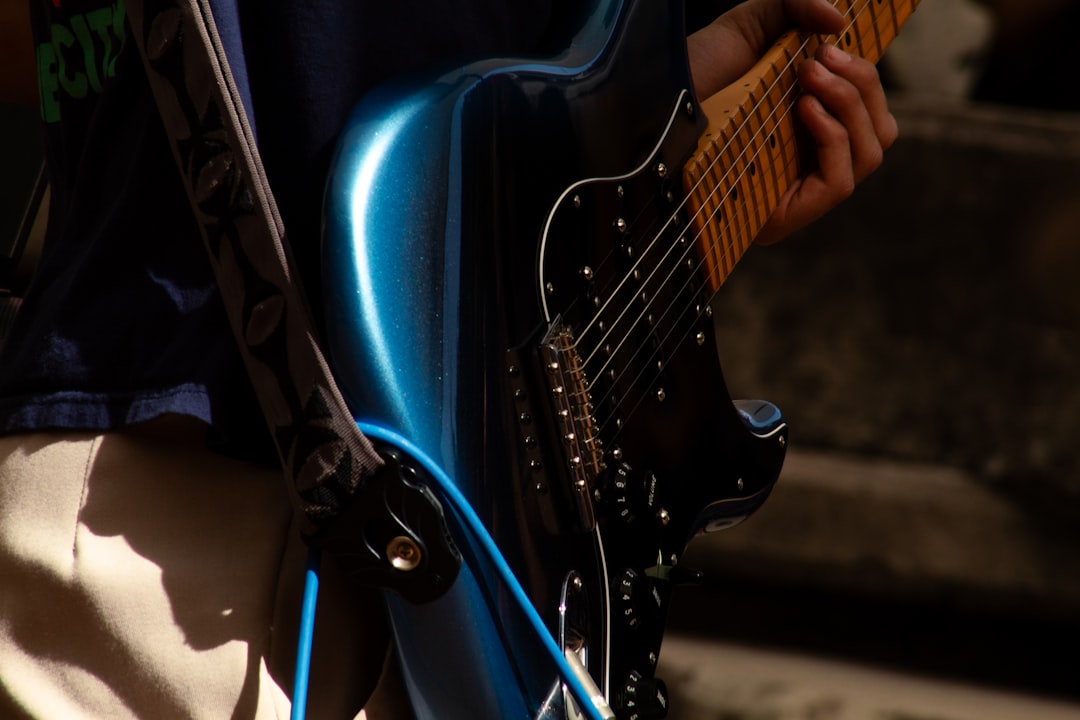
With the foundation down, overdub the remaining instruments one at a time. Record each part to the click and the existing tracks playing in your headphones. For guitars, see how to record electric guitar; for acoustic parts, how to record acoustic guitar walks through mic placement.
Do a few full takes of each part rather than punching constantly. More complete takes give you better material to comp from later.
Record the vocals
Vocals usually go last so they sit on top of a near-finished backing track. Track the lead in several passes, then doubles and harmonies as needed. Monitor on headphones, keep a little reverb in your cue mix for comfort (not on the recorded signal), and stay consistent with mic distance. Our home vocal recording guide goes deeper on the technique.
Comp, clean and edit
Comping is choosing the best moments across your takes and stitching them into one strong performance. Work line by line, fix obvious timing and tuning issues, trim silence, and fade edits so there are no clicks. This editing stage is what separates a tidy home recording from a messy one.
Get the room and the gain right before anything else
Two things will sabotage a home recording faster than any wrong plugin choice: a noisy, reflective room and badly set gain. Spend a few minutes on both before you commit a single take, because neither is fixable later.
For the room, record in the most absorbent space you have — a room with a sofa, a bed, curtains and a carpet behaves far better than a hard, empty box. You are not trying to make it silent, just less live. Pulling a microphone away from bare walls and angling it so reflections do not bounce straight back into it does most of the work. For close-up vocal and acoustic takes, even a few cushions or a duvet behind and to the sides of the mic will tame the worst of the slapback.
For gain, aim for healthy peaks that sit comfortably below the top of the meter rather than chasing the loudest possible signal. Modern recordings are made at 24-bit, which gives you a huge amount of headroom, so there is no penalty for tracking a little conservatively. A take that never clips but sits a touch quiet can always be brought up; a clipped take is ruined. Track in a quiet moment of the day, switch off fans and noisy laptops where you can, and your recordings will need far less cleaning up.
How to keep a song project moving to the finish
Most home recordings stall not because of gear but because the project loses momentum. A few habits keep it moving:
- Finish a rough version end to end first. Get a playable, complete arrangement down — even with placeholder parts — before you perfect anything. A song you can hear in full is far more motivating than a verse you have polished ten times. If a quick demo is your goal, our guide on how to make a demo shows the leanest path.
- Limit takes per part. Decide in advance how many passes you will record (three to five is usually plenty) and comp from those rather than chasing an endless “perfect” take.
- Save and back up versions. Keep dated session copies so you can experiment without fear of losing a good state.
- Take ear breaks. Tired ears make bad decisions. Step away regularly and reference your mix at a low volume.
Common mistakes to avoid
The errors that trip up most beginners are predictable, which means they are easy to design out of your workflow:
- Recording too hot. Pushing levels into the red to sound loud only adds distortion you cannot remove.
- Skipping the click. Without a steady tempo reference, overdubs drift and editing becomes a nightmare.
- Mixing while you track. Adding heavy effects or committing to processing before the arrangement is finished locks in decisions too early. Capture clean signals and shape them later.
- Ignoring headphone bleed. Turn the cue mix down when recording quiet vocals so the click and backing track do not leak into the microphone.
- Leaving the session messy. Unlabelled, uncoloured tracks slow you down at mix time and lead to mistakes.
Prep for mixing
Before you mix, label every track, colour-code groups, set rough fader balances, and remove anything you are not using. A clean session makes mixing faster and clearer. When you are ready, our beginner’s guide to mixing your first song takes it from here, and you can browse more in the recording techniques hub.
Frequently asked questions
What gear do I need to record a full song at home?
At minimum: a computer with a DAW, an audio interface, one microphone, and a pair of closed-back headphones. That is enough to record vocals and acoustic instruments and to program drums and synths in software.
Should I record to a click track?
Yes for most modern productions, because it keeps every overdub aligned and makes editing far easier. If your song is meant to feel loose or rubato, you can play to a quiet guide instead, but plan for tougher editing.
In what order should I record the instruments?
Lay the rhythmic foundation first (drums, then bass), add harmonic and melodic parts next, and record lead vocals last so they sit on a finished-sounding backing track.
How long does it take to record a full song at home?
It varies hugely with experience and arrangement, but a focused beginner can often track a simple song over a weekend and a couple of evenings. Treat your first few songs as practice runs — the workflow gets noticeably faster once the steps become second nature.
Can I record a whole song with just one microphone?
Yes. Program your drums and synths in the DAW, record bass and electric guitar direct, and use that single microphone for vocals and any acoustic instruments. Recording one part at a time means a single good mic can capture an entire song.



