
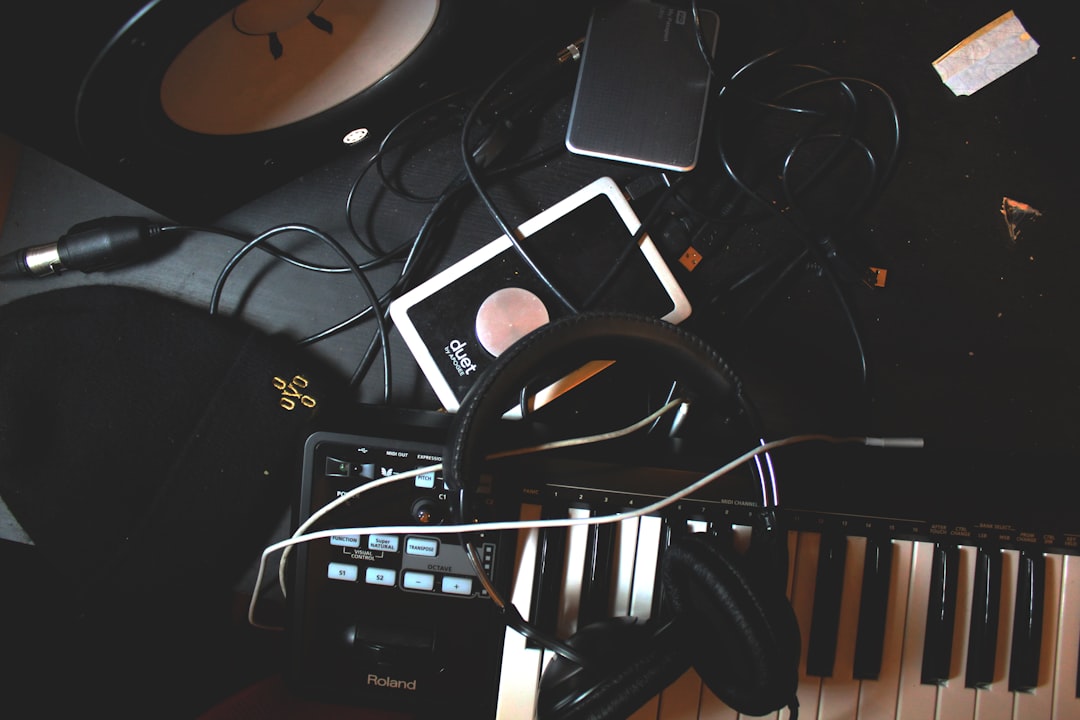
To record multiple tracks at once, you need an audio interface with enough separate inputs for every source, then one DAW track per source, with each track’s input set to a different interface channel and every track record-armed at the same time. Plug each mic or instrument into its own input, create a matching audio track for each, arm them all, set levels, and hit record. Everything then lands on its own track so you can mix each source independently afterwards. This guide walks the whole workflow in order and covers the settings people miss.
Violet Recording is reader-supported — we may earn a commission from links on this page, at no extra cost to you.
What you need to record multiple tracks at once
Simultaneous multitrack recording is really a counting exercise: the number of things you can capture at the same moment equals the number of separate inputs your interface has. A 2-input interface records two sources at once; an 8-input interface records a small band. So the first job is matching hardware to the session.
- A multi-input audio interface. Look at how many microphone preamps and line/instrument inputs it actually has — not just how many jacks. Two combo XLR inputs means two simultaneous sources. Recording a drum kit, a vocalist and a guitar together needs eight or more inputs, which usually means a larger interface or adding a preamp with ADAT expansion.
- Enough cables and stands. One cable per source, plus mic stands for anything you’re miking. It sounds obvious, but a band session stalls fast when you’re one XLR short.
- A DAW that records audio. Any of them handle this — Reaper, Logic Pro, Ableton Live, FL Studio, Studio One, GarageBand. If you don’t own one yet, our roundup of the best free DAWs for beginners covers the free options that do it well.
- Headphones for everyone playing. Live musicians need to hear the click and each other without speakers bleeding into the mics, so a headphone amp or an interface with multiple headphone outs helps once more than one person is tracking.
If you’re still getting the interface talking to your computer, set that up first with our walkthrough on how to set up an audio interface, then come back.
Connect every source and confirm your DAW sees all the inputs
Plug each source into its own interface input and keep track of which is which — input 1 is the kick mic, input 2 the snare, input 3 the bass DI, and so on. Write it down. When you’re staring at eight identical meters later, that list is what stops you routing the vocal to the wrong track.
Open your DAW and point it at the interface in the audio preferences. On Windows, select the interface’s ASIO driver; on macOS it appears as a Core Audio device. The exact menu differs by DAW — in Reaper it’s under Options > Preferences > Audio > Device, in Ableton under Preferences > Audio, in Logic under its audio settings, in FL Studio under Audio Settings — but the goal is the same: your interface, not the built-in laptop audio, must be the active device. Set a modest buffer size (128 or 256 samples) so monitoring stays responsive; if you get crackles or drift, our explainer on audio latency covers why and how to fix it.
Create one track per source and set each input separately
This is the core of the whole thing: one audio track for each source, each pointed at a different physical input. Add as many audio tracks as you have sources — not one stereo track for everything. If four inputs all feed a single track, you get a muddy mono blend you can never unpick.
The wording varies, but the idea is identical everywhere. On each audio track, open its input selector and assign a unique interface channel: track 1 gets Input 1, track 2 gets Input 2, and so on. Choose mono inputs for single mics and DIs — a stereo input on a single mic records silence on one side and sounds off-centre. Reserve stereo inputs for genuine stereo pairs, like overhead drum mics or a stereo keyboard.
- Logic Pro / GarageBand: set each track’s Input to a different mono input (Input 1, Input 2, Input 3…) in the track’s channel strip or when you create it.
- Ableton Live: in each audio track’s In/Out section, set “Audio From” to Ext. In and pick a different channel per track.
- Reaper: arm each track and set its record input to a different mono input.
- FL Studio: route through the Mixer — give each source its own mixer insert, set each insert’s input to a different interface channel, and arm each for recording.
Arm every track at once — the setting most people miss
Here’s where first-timers get stuck: they arm one track, arm the next, and the first one un-arms itself. That’s because several DAWs default to arming only one track at a time, and you have to turn that behaviour off.
- Ableton Live: switch off Exclusive Arm in the Record/Warp/Launch preferences. With it on, arming one track disarms the others; with it off, you can arm as many as you like. You can also select all the tracks and arm together while holding the modifier key.
- Logic Pro: click the Record Enable (R) button on each track you want to capture. Logic lets you record-enable multiple tracks at once by default, so just enable one per source before you roll.
- GarageBand: multitrack recording works, but you may first need to show the Record Enable button in each track’s header (via the track header configuration), then enable it on every track you want to record.
- Reaper / FL Studio: arm the record button on each track or mixer insert individually — there’s no exclusive-arm restriction to fight.
Once every source’s track is armed and monitoring its own input, you should see a separate meter moving for each one when the musicians play. If a meter is dead, that track’s input or arm state is wrong — fix it now, not after the take.
Set levels on each input and record the take
Set gain one source at a time. Have each player perform their loudest moment while you turn that channel’s physical gain knob until peaks land around -12 to -6 dBFS, never touching 0. This is just clean gain staging, and doing it per input keeps every track strong without clipping. Always set level with the interface’s gain knob, not a DAW fader — the fader comes after conversion and can’t undo clipping that already happened at the input.
For live players, latency matters. Use the interface’s direct (hardware) monitoring so performers hear themselves instantly, and turn the DAW’s software monitoring for those tracks off so nobody hears a doubled signal. Set a count-in or click if the performance needs to stay in time — our free browser metronome in the Violet Recording tools is handy for rehearsing the tempo first. Then arm the transport, hit record, and capture everyone in one pass. Leave a second of silence at the top and tail for editing room, stop, and confirm every track actually captured audio before you move on.
Common problems and quick fixes
- Only one track records: exclusive arm is on (Ableton) or you only record-enabled one track. Arm every source’s track.
- Two tracks record the same thing: you assigned the same input to more than one track. Give each track a unique channel.
- A track is silent: wrong input channel, cable in the wrong jack, or phantom power off for a condenser mic — check your input map. Our note on phantom power explains the last one.
- Clicks, dropouts or the recording stops mid-take: your drive or CPU can’t keep up with many simultaneous tracks. Raise the buffer size a little and record to a fast internal SSD, not a slow external drive.
- Everything lags what the players do: latency — switch to hardware monitoring and lower the buffer.
With clean multitrack captured, the payoff arrives at the mix, where each source lives on its own fader. Browse the rest of our recording techniques hub, and when you’re ready to balance the parts, our beginner’s guide to mixing your first song takes it from raw tracks to a finished mix. If you’re capturing a full drum kit this way, most stock channel EQs and compressors handle the job, but a dedicated third-party drum-processing suite is a genuine upgrade for taming an eight-mic kit, and Plugin Boutique carries the well-known ones.
Frequently asked questions
Can I record multiple tracks at once with a 2-input interface?
Yes, but only two sources simultaneously — for example a vocal and a guitar, or a stereo pair. Each of the two inputs goes to its own mono track. To capture more than two things at the same moment, such as a whole drum kit, you need an interface with more inputs, or one that expands via ADAT to add extra preamps.
Why does arming a second track turn off the first one?
Some DAWs restrict recording to one track at a time by default. In Ableton Live this is the Exclusive Arm preference — turn it off and you can arm several tracks together. In Logic Pro, use the Record Enable button on each track; in GarageBand you may need to reveal the Record Enable button in the track header first. Once multiple tracks are armed, they all capture in the same pass.
Can I combine two audio interfaces to get more inputs?
On macOS you can, by creating an Aggregate Device in Audio MIDI Setup that stacks two interfaces into one device your DAW sees. It works, but syncing two clocks over USB can cause drift and glitches, so a single interface with enough inputs — or one with ADAT expansion — is more reliable for serious multitrack sessions.



