
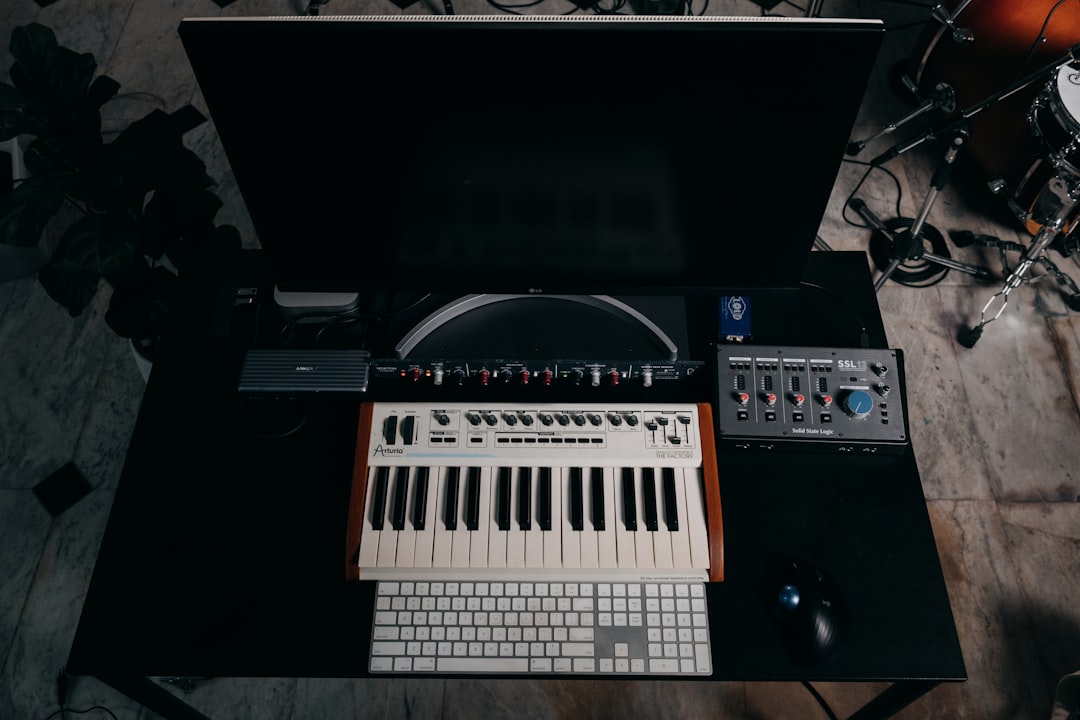
FL Studio for beginners comes down to learning five windows: the Channel Rack, the Step Sequencer, the Piano Roll, the Playlist and the Mixer. Once you understand how those connect — patterns hold your parts, the Playlist arranges them, and the Mixer processes the sound — you can make a full track. FL Studio’s pattern-based workflow is famously beginner-friendly, which is why it is one of the best beat-making software options for beat-making and electronic music.
The interface at a glance
When FL Studio opens you will see the Toolbar and Transport at the top, with the main windows floating below. The key panels are the Channel Rack (your instruments and a step sequencer), the Piano Roll (for writing melodies and chords), the Playlist (the timeline where the song is arranged), and the Mixer (where you EQ, compress and add effects). Each has a toolbar button to show or hide it.
The floating-window layout throws some people at first, because windows overlap and can be moved freely. Do not fight it — drag the panels into an arrangement that suits your screen and save it. Most producers keep the Channel Rack and Playlist visible at all times, then call up the Piano Roll and Mixer as needed. Learning the handful of shortcuts to toggle each window (F5 to F9) will speed everything up and stop you hunting through menus mid-idea.
Channel Rack and Step Sequencer
The Channel Rack lists every instrument and sample in your project. Each row has a line of step buttons — click them to program a beat, and each lit step triggers that sound on that part of the bar. This is the fastest way to make drums: load a kick, snare and hi-hat, then click steps to build a groove. Click a channel name to open its instrument and tweak the sound.
By default the step sequencer shows sixteen steps, which equals one bar of sixteenth notes. That is enough for most drum patterns, but you can swap to the Piano Roll on any channel when you want finer timing, velocity changes or longer phrases. A common early win is to add small velocity differences to hi-hats and a touch of swing so the groove breathes rather than sounding rigidly quantised.
The Piano Roll
For melodies, chords and basslines, right-click a channel and choose Piano Roll. You draw notes onto a grid where pitch runs vertically and time runs horizontally. FL Studio’s Piano Roll is one of the best in any DAW, with handy tools for chords, arpeggios, strumming and scale highlighting so you stay in key. If you are new to writing parts, our guides on how to make a melody and how to make chords for a song pair perfectly with it.
Patterns and the Playlist
FL Studio is pattern-based. You build short patterns (a drum loop, a chord progression) and then arrange them along the Playlist timeline to form the full song — intro, verse, chorus and so on. Unlike some DAWs, Playlist tracks are flexible: any track can hold patterns or audio. Drag your patterns into the Playlist, stack them, and you have an arrangement. For getting tracks finished rather than looping forever, see how to actually finish a song.
The Mixer and effects
The Mixer is where mixing happens. Route each instrument to its own mixer track (set the “Track” target on the channel), then add effects like EQ, compression and reverb in the slots on the right. FL Studio ships with capable stock plugins — Fruity Parametric EQ 2, Fruity Limiter, Fruity Reverb and more — which are plenty to learn on. Build solid level habits early with our gain staging guide and the EQ and compression fundamentals.
Recording and exporting
To record audio or MIDI, set up your interface in Options > Audio Settings, arm a mixer track or instrument, and hit record. If you are wiring up hardware, our how to set up an audio interface guide helps. When the song is done, go to File > Export and choose WAV for a master or MP3 for sharing; our walkthrough on how to export a song from your DAW covers the right settings. FL Studio’s lifetime free updates mean the version you buy keeps improving.
A first-track workflow
- Program a drum pattern in the Step Sequencer.
- Write chords and a melody in the Piano Roll.
- Add a bassline that follows your chords.
- Arrange your patterns in the Playlist with contrast between sections.
- Route everything in the Mixer, add EQ and effects, then export.
How to choose the right FL Studio edition
FL Studio is sold in tiers, and the main difference is which features and bundled plugins you get rather than the core workflow. The cheapest editions limit audio recording and some advanced tools, while higher tiers unlock full audio tracking and the complete plugin set. For most beginners the practical question is simple: if you only plan to make beats and electronic music with built-in instruments, a lower edition is fine; if you intend to record vocals or live instruments seriously, choose an edition with unlimited audio recording so you are not boxed in later. If you are still weighing FL against other options, our Ableton Live vs FL Studio comparison breaks down how the workflows differ. Because every paid edition includes lifetime free updates, it is usually better to buy the tier that matches where you want to be in a year, not just where you are today.
Common beginner mistakes
A few habits trip up almost everyone when they start. Avoiding them early will save you a lot of frustration.
- Collecting plugins instead of learning the stock ones. The included instruments and effects can produce finished, professional tracks. Master them before spending money on extras.
- Never leaving the loop. It is easy to perfect an eight-bar loop forever. Push patterns into the Playlist and build a real arrangement with sections that change.
- Mixing too loud and too early. Leave headroom, keep your master fader below clipping, and do serious mixing once the arrangement is settled rather than tweaking EQ on every idea.
- Ignoring CPU and project organisation. Name your channels and mixer tracks, colour-code sections, and freeze or render heavy instruments if playback starts to stutter.
Frequently asked questions
Is FL Studio good for beginners?
Yes. Its pattern-based workflow, excellent Piano Roll and simple Step Sequencer make it one of the easiest DAWs to start with, especially for beat-making and electronic music. The free trial lets you do everything except reopen saved projects, so you can learn before buying.
Do I need to buy plugins to start in FL Studio?
No. The stock instruments and effects cover drums, synths, EQ, compression, reverb and more — enough to produce finished tracks. Learn those first before adding third-party plugins.
What is the difference between a pattern and the Playlist?
A pattern is a short reusable block, like a drum loop or chord sequence. The Playlist is the full-song timeline where you arrange those patterns into a complete arrangement. Patterns are the building blocks; the Playlist is the structure.
Can I record vocals and live instruments in FL Studio?
Yes, as long as your edition supports audio recording. Set your audio interface in Options > Audio Settings, arm a mixer track, and record straight into the Playlist. Lower editions restrict audio recording, so check your tier before relying on it for tracking vocals or guitars.
How long does it take to learn FL Studio?
You can make a basic beat within an hour of opening it. Becoming comfortable across all five core windows usually takes a few weeks of regular practice, and mixing well is a longer skill you build over months. Focus on finishing short tracks rather than chasing perfection, because completing songs teaches you faster than tweaking one loop endlessly.



