
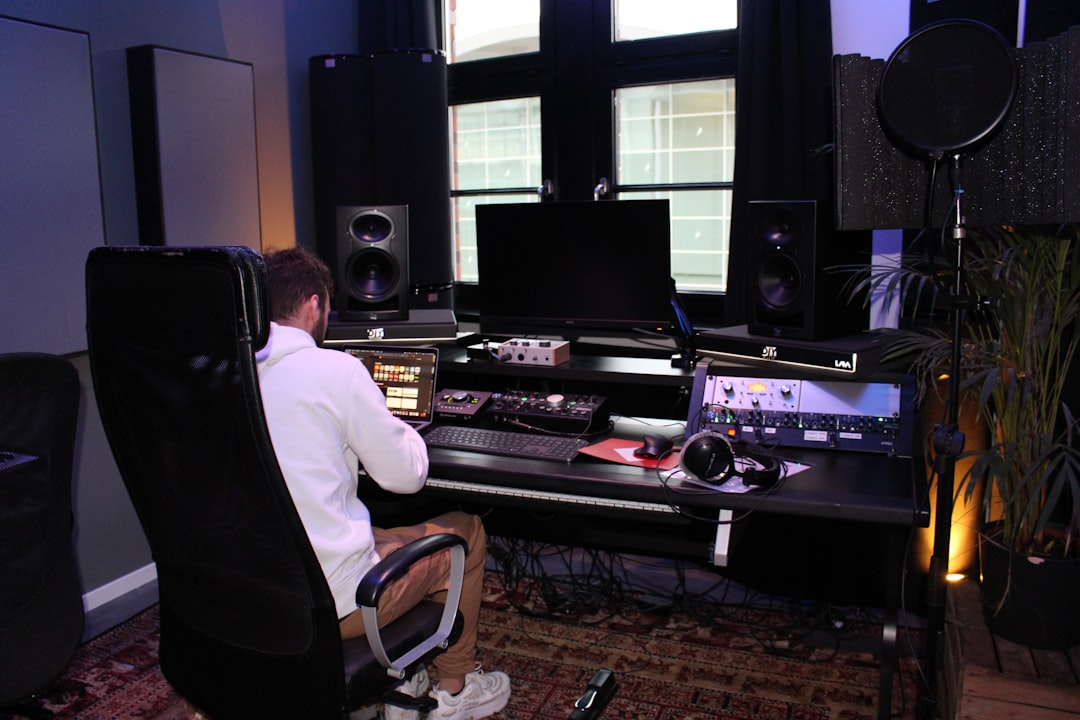
To build acoustic panels you wrap a slab of porous mineral wool or rigid fibreglass in breathable fabric inside a simple timber frame, then mount it with an air gap behind. That’s the whole secret. These DIY panels outperform thin foam at a fraction of the cost, and a basic woodworking setup is all you need. The material does the work — the frame just holds it and makes it look finished.
One thing up front: these are absorbers. They control reflections inside a room. They do not soundproof, so don’t expect them to keep noise from escaping — that’s a different job entirely.
Why Mineral Wool, Not Foam
Effective absorption comes from dense, porous material with depth. Rigid mineral wool such as Rockwool (Rockboard) or rigid fibreglass like Owens Corning 703 absorbs broadband energy well down into the low mids. Thin acoustic foam only touches the high frequencies, and egg cartons are a myth with no useful absorption. Thickness matters: 50 mm (2″) covers mids and highs, while 100 mm (4″) reaches lower. For the difference between the two main materials, see Rockwool vs fiberglass for acoustic panels.
What You’ll Need
- Rigid mineral wool or fibreglass slabs (50–100 mm thick).
- Timber for the frame — light, straight lengths sized to your slab.
- Breathable fabric (you must be able to blow through it; if you can’t, it reflects highs instead of letting them pass).
- Wood screws or corner brackets, a staple gun, a saw, a drill.
- A dust mask, gloves and eye protection — mineral fibres irritate skin and lungs, so always wear protection when cutting.
Choosing Your Materials
Two numbers decide how a panel performs: the density of the slab and the depth of the build. Aim for a medium density — something in the region of 40 to 60 kg/m³ works well for broadband panels. Too light and the material is flimsy and less effective in the mids; too dense and it starts reflecting energy back into the room rather than absorbing it. The rigid “board” products sold for acoustic and thermal use sit in this sweet spot, which is why they are the standard choice.
For the frame, lighter timber is easier to hang and less likely to sag a large panel over time. Plane or sand any rough edges so the fabric pulls clean. On fabric, breathability beats looks every time: a loose-weave cotton, linen or purpose-made speaker cloth all pass air freely. Hold a swatch to your mouth and breathe through it — if it puffs your cheeks, it is too tight and will mirror the top end straight back at you. Avoid anything with a rubber backing, vinyl coating or a tight upholstery weave.
Step by Step
- Build the frame. Cut your timber so the inside of the frame matches the slab dimensions. Screw or bracket it into a rectangle. Keep the frame depth equal to or slightly less than the slab so the material sits proud and contacts the wall surface it absorbs.
- Fit the slab. Place the mineral wool inside the frame. A snug fit holds it without compression. For a thicker low-end panel, you can stack two slabs or leave space for an air gap (see below).
- Wrap the fabric. Lay the fabric face-down, set the frame on top, pull the fabric taut and staple it to the back of the frame. Work opposite sides alternately to avoid wrinkles, and fold the corners cleanly like wrapping a parcel.
- Add a dust membrane (optional). A thin breathable cloth around the wool before the final fabric stops loose fibres shedding over time. Don’t use plastic — it would block the highs.
- Mount it. Hang on a cleat or screw to wall studs. Leaving a 25–100 mm air gap behind the panel improves low-frequency absorption for free.
The Air Gap Trick
Mounting a panel a few centimetres off the wall lets it absorb lower frequencies than its thickness alone would suggest. Porous absorbers work best where air particle velocity is high, which is away from the wall surface, so an air gap effectively “deepens” the panel. A 50 mm panel on a 50 mm gap behaves more like a thicker absorber. It’s the cheapest performance upgrade you can make.
Common Mistakes to Avoid
The errors that ruin a DIY panel are nearly always avoidable. Watch for these:
- Using soft batt insulation instead of rigid board. Loft-roll insulation slumps inside the frame and leaves gaps. Rigid slabs hold their shape and stay put.
- Choosing fabric you can’t breathe through. A handsome but tight upholstery cloth turns an absorber into a reflector for the high frequencies. Test before you cut.
- Compressing the slab to fit. Cramming oversized material into a tight frame squashes the pores and reduces absorption. Cut the slab to fit the frame, not the other way round.
- Building everything 50 mm thick. Thin panels barely touch the low mids. Mix in some 100 mm builds, or add air gaps, so you are treating more than just the top end.
- Spreading panels evenly for symmetry. A tidy grid looks nice but ignores the acoustics. Treat the points that actually cause problems first — corners and reflection points — before worrying about appearance.
Where to Put Your Finished Panels
Build several and place them in priority order: corners for bass, then first reflection points, then the ceiling and rear wall. Use the mirror trick in how to find your first reflection points and the layout in where to place acoustic panels. For corners specifically, build thicker traps as in how to build a bass trap, follow the corner workflow in how to treat room corners, and to hang one overhead see what are acoustic clouds. This sits within the wider plan in acoustic treatment for home studios.
Safety Notes
Always wear a mask, gloves and long sleeves when handling and cutting mineral wool or fibreglass — the fibres irritate. Cut outdoors or in a ventilated space, and wrap finished panels fully so nothing sheds. Once sealed in fabric, the panels are safe and clean to live with.
Frequently Asked Questions
What thickness should I build acoustic panels?
Use 50 mm for general mid and high control and 100 mm where you want lower-frequency absorption. Adding an air gap behind any panel pushes its useful range lower without more material.
Can I build acoustic panels with regular fabric?
Only if it’s breathable. Hold it up and try to blow air through it — if air passes easily, high frequencies will reach the absorber. Tightly woven or backed fabric reflects the top end and defeats the purpose.
Is it cheaper to build acoustic panels than buy them?
Almost always, especially for thick broadband and corner traps. DIY panels from mineral wool give you the most absorption per dollar; commercial panels from brands like GIK Acoustics or Primacoustic mainly buy you convenience and finish.
How many acoustic panels do I actually need?
There is no single number, but most small rooms need more than people expect. A practical starting point is to treat the corners and the first reflection points, then listen and add more if the room still sounds lively. Treating roughly a fifth to a third of the hard surface area is a reasonable target for a home studio, as covered in how many acoustic panels do you need — build in stages rather than all at once so you can judge the effect as you go.



