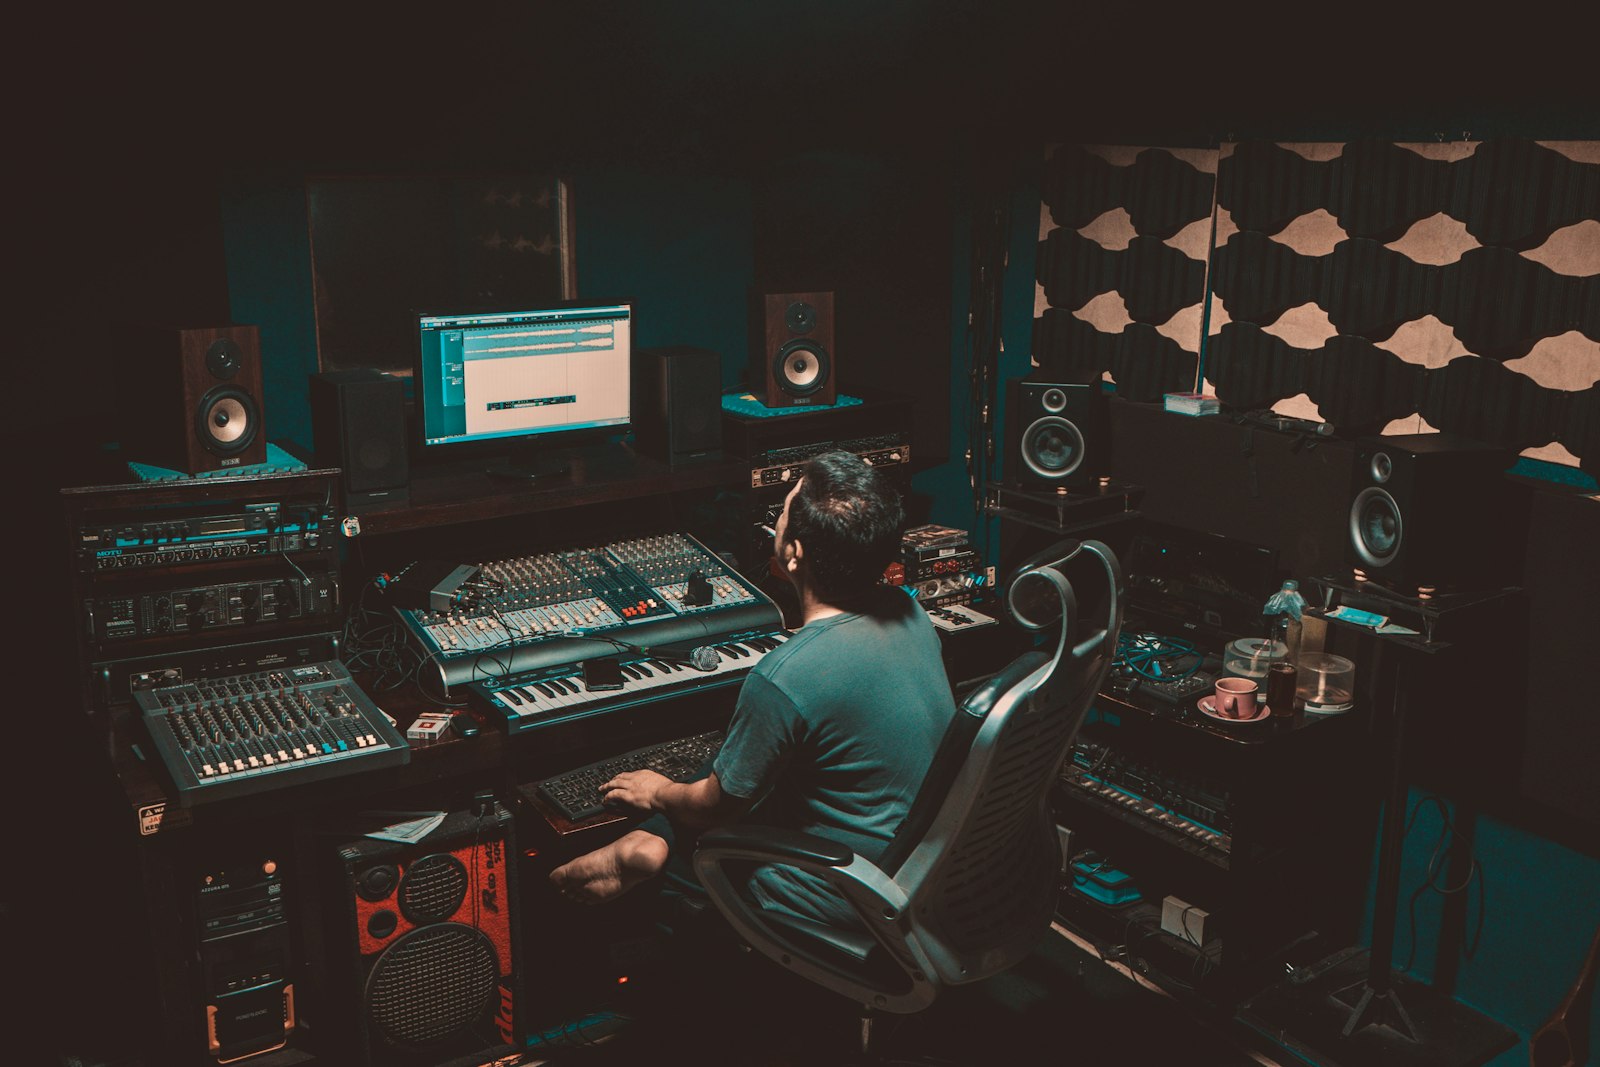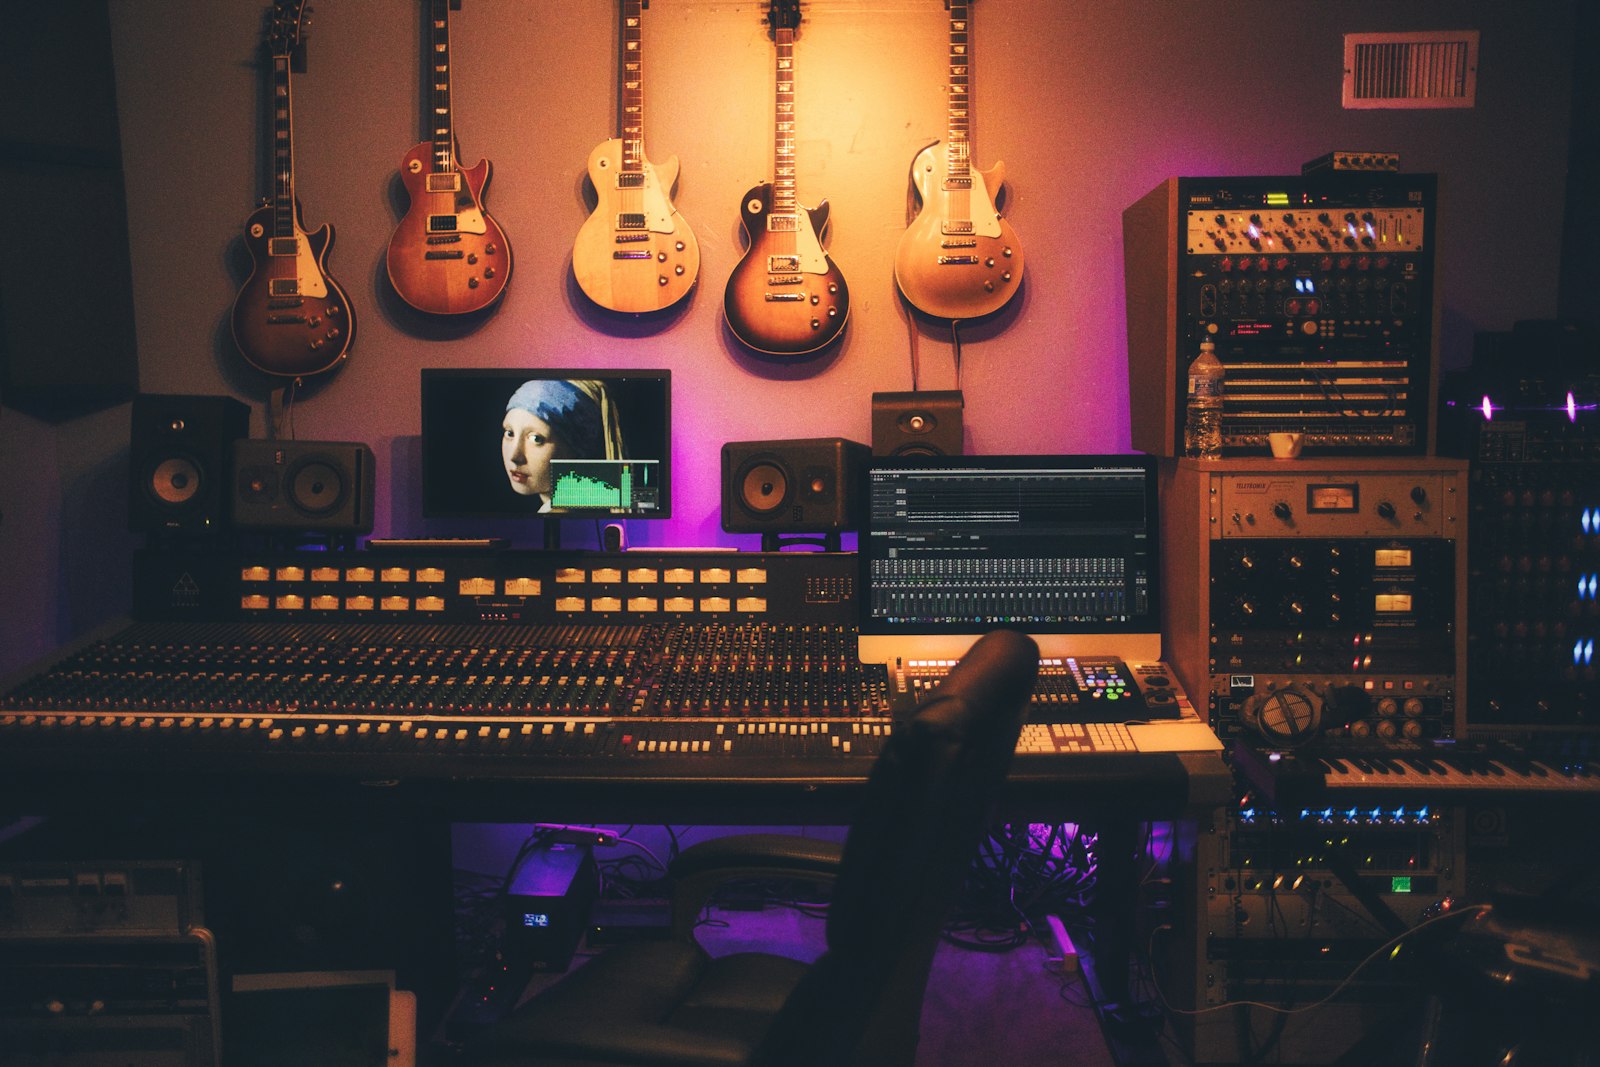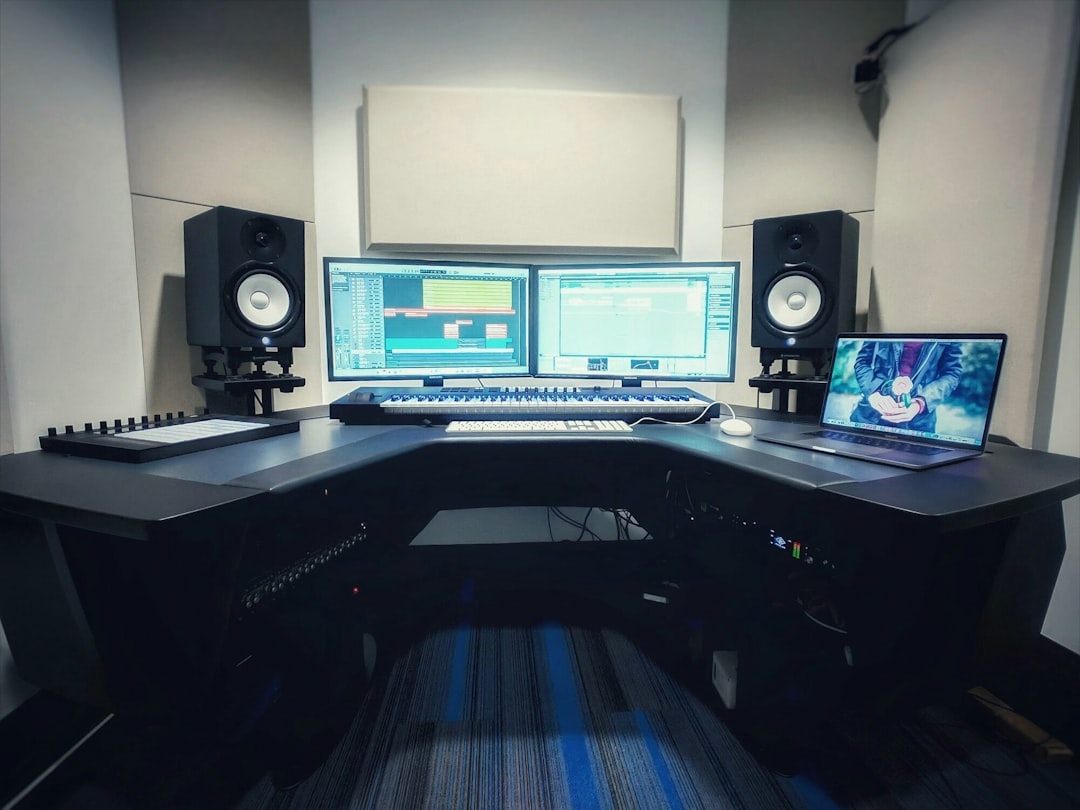
Capturing several musicians at once is a different discipline from tracking one instrument, and the moment you try to record a band live in a home space you run into three hard problems at once: not enough inputs, microphone bleed between instruments, and getting everyone a headphone mix they can actually play to. This guide lays out a realistic plan for tracking a full band at home, whether you cut everything live together or layer parts one at a time.
Decide how you’ll record a band: live or layered
Your first decision shapes everything else.
- Layered (overdubbing): record to a click or scratch track one instrument at a time. This needs only a couple of inputs, gives total control, and lets you fix anything, but it loses some live energy and takes longer.
- Live tracking: everyone plays together and you capture it all at once. It keeps the feel and interplay, but demands many inputs, careful mic placement to control bleed, and a room big enough to separate sources.
A popular hybrid is to track drums, bass, and a rhythm guitar live for the feel, then overdub clean guitars, lead lines, and vocals. That gives you a solid, human foundation without needing a large console of inputs for every part.
Count your inputs
Drums alone can eat most of a home interface. A workable channel plan:
- Minimal drum kit (4 mics): kick, snare, and a stereo overhead pair. Add a mono room mic if you have a channel spare.
- Bass: one DI, plus an optional amp mic.
- Guitar amps: one SM57 each.
- Scratch vocal: one dynamic mic, re-recorded properly later.
That’s already 8-10 inputs. A typical 2-input interface can’t do live band tracking; you’ll want an 8-input interface, or one with ADAT expansion via an 8-channel preamp to reach 16. If you only have two inputs, commit to the layered approach.
Mic plans that control bleed
Bleed is sound from one instrument leaking into another instrument’s mic. A little glues a live recording together; too much robs you of control. Manage it with distance, directionality, and physical barriers.
Drums are the loudest source and the priority. A dependable starter kit:
- Kick: a dynamic like a Shure Beta 52 or AKG D112 inside the shell, 5-10 cm from the beater for attack, or near the resonant head for more boom.
- Snare: an SM57 about 2-3 cm above the rim, angled down at the head, pointing across toward the centre.
- Overheads: a stereo condenser pair about 90-120 cm above the kit. Use a spaced or XY pair and measure equal distances to the snare so it stays centred and phase-coherent.
Guitar and bass amps should sit in different rooms or corners from the drums where possible, close-miked with dynamics to reject the kit. Bass is best taken as a DI to avoid bleed entirely, with an optional amp mic blended in. Keep amps out of the drummer’s overheads by angling cabinets away and using cardioid mics whose rear rejection faces the drums.
Gain staging across many channels
With a dozen mics open, disciplined levels matter more than ever. Set each channel’s gain individually so its loudest hits peak around -12 to -6 dBFS. Drums have brutal transients, so set the kick and snare gain while the drummer plays their hardest, and leave extra headroom; a clipped snare transient ruins the whole take. Don’t try to make everything hot; consistent, conservative levels across channels are easier to mix and keep the summed signal clean. Record at 24-bit so low levels still have plenty of resolution.
Latency and headphone monitoring
Every player needs to hear themselves and each other in time, or the performance falls apart. Use your interface’s low-latency direct monitoring so musicians hear the live inputs with effectively zero delay, rather than routing everything through the DAW. Set the DAW buffer to 128 or 256 samples while tracking as a balance between latency and stability with many channels open; a struggling CPU that clicks mid-take is worse than a couple of extra milliseconds. A dedicated headphone amp or a mixer with multiple cue sends lets each player get a slightly different balance, which dramatically improves timing and tuning.
Room, isolation and noise
You rarely have separate booths at home, so use what you have:
- Put the drummer in the liveliest room and guitar amps in closets or separate rooms with the door on the cable.
- Use duvets, moving blankets, and mattresses as makeshift baffles between sources.
- Take DIs on bass and even guitars alongside amp mics, so you can reamp cleanly later if bleed becomes a problem.
- Kill HVAC and buzzing lights during takes; with many open mics, background noise stacks up fast.
Editing and mixing a live band capture
Once tracked, phase alignment is your first job: check the kick and snare against the overheads and flip polarity where the low end thins. Gate or edit drum spill only lightly, since natural bleed helps a live recording sound cohesive. Carve space with EQ so bass and kick don’t fight (high-pass guitars, dip guitar lows around 100-200 Hz), and use tools like FabFilter EQ for precise carving. Buss compression across the whole band, catching just a couple of dB, glues the performance together.
Recording a band at home is mostly logistics and planning; get the input count, mic isolation, and monitoring right and the mix almost handles itself. For interface and preamp advice see our home recording setup guide, use the click and tuning utilities on the free audio tools hub to keep the band tight, and our drum mixing guide digs deeper into taming overheads and bleed.