
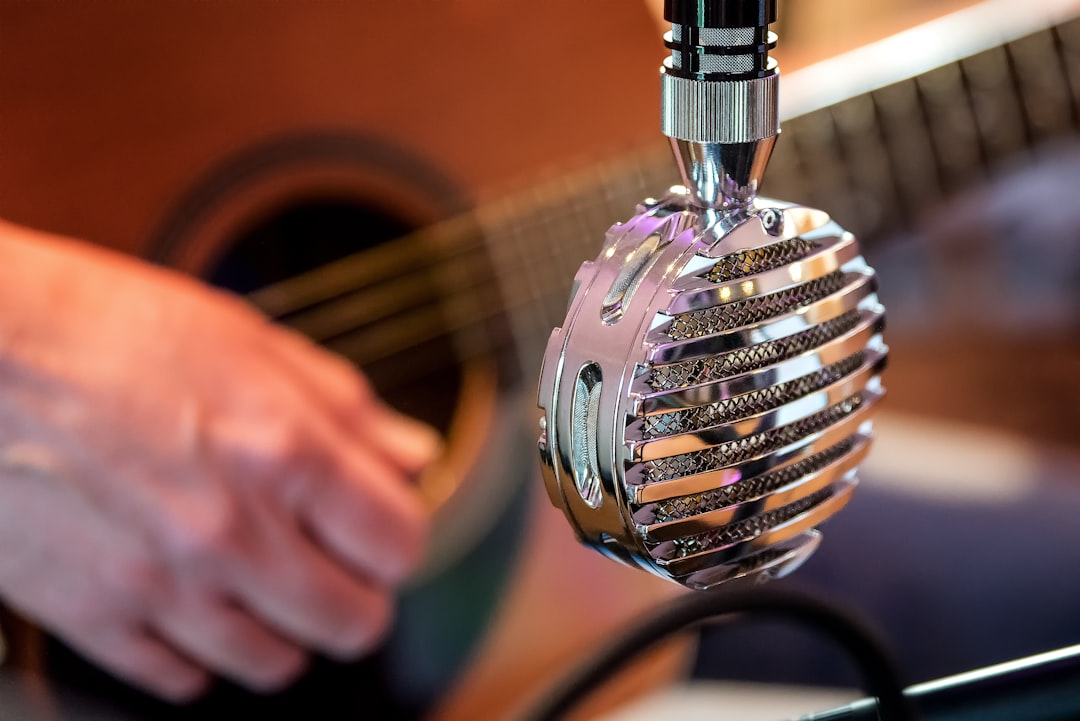
Electric guitar gives you two great options at home: mic up a real amp, or record direct and use an amp simulator. Both can sound professional – here’s how to do each well.
If you have not picked up an instrument yet, start with our guide to the best electric guitars for beginners, then come back here to record it.
Option 1: Mic the amp
Point a dynamic microphone (a classic choice handles high volume well) at the speaker grille, a few centimetres away. Aim at the centre of the cone for a brighter, more aggressive tone; move toward the edge for a warmer, darker sound. Small position changes make big tonal differences – experiment and listen back. For a deeper walkthrough of mic choices and placement, see our full guide to recording a guitar amp.
Option 2: Go direct (DI + amp sim)
Plug the guitar into your interface’s instrument (Hi-Z) input and use an amp-simulator plugin in your DAW. It’s quiet, repeatable, neighbour-friendly, and you can change the ‘amp’ after recording. Modern sims sound excellent. See setting up your interface for the Hi-Z input, and our guide to recording guitar without an amp if you’re going fully direct.
Get your levels and tone right
- Set healthy levels with headroom – guitars have sharp transients.
- Record the DI signal even when micing an amp, so you can re-amp later.
- Tame a boomy room with a little treatment when micing.
Once tracked, shape it in the mix with EQ and compression.
How to choose between an amp and a sim
There’s no single right answer – it depends on your room, your neighbours, and how settled you are on a tone. If you already own an amp you love and you can play it at a sensible volume, micing it captures the way the speaker and room move air, which is hard to fake completely. If you live in a flat, record at night, or like to keep your options open, going direct is the more practical choice. A useful rule of thumb: pick the amp when the tone is the point of the part, and pick the sim when convenience and flexibility matter more than chasing that last few per cent of feel.
If you are choosing an amp to mic up, it helps to pick one that sounds good at the volume your room allows. Our guide to the best guitar amps covers options for home, practice and gigs.
You don’t have to commit to one approach forever. Many home players record the DI every time, monitor through a sim while tracking so it feels inspiring to play, and then decide later whether to re-amp through a real cabinet. That way a take is never locked to a tone you might regret.
Dialling in mic position step by step
When you’re micing an amp, the position of the microphone is effectively your most powerful tone control, so it’s worth spending a few minutes on it rather than settling for the first placement. Start with the mic almost touching the grille cloth and pointed straight at the centre of the speaker cone. Play a steady riff and listen back over headphones or monitors, not just in the room, because the recorded sound is what actually matters.
From there, make one change at a time so you can hear what each move does. Sliding the mic from the centre of the cone toward the edge trades brightness and bite for warmth and body. Angling the mic slightly off-axis instead of dead-on tames harsh top end. Pulling it back from the grille lets a little more of the cabinet and room into the sound, which can add depth but also picks up more of any untreated room. Decide on a tone that suits the song, then commit to it – chasing tiny differences forever is the quickest way to never finish a recording.
Getting a fuller sound
A single guitar can sound thin on its own in a busy mix. The classic trick is double-tracking: play the same part twice as two separate takes, then pan one hard left and the other hard right. Because the two performances differ in tiny ways, they spread the guitar wide and make it feel bigger without simply turning it up. This works far better than copying one take and panning the copy, which only sounds louder, not wider.
If you’re micing an amp, you can also try blending two microphones – for example a dynamic up close and a second mic a little further back – but only if you can keep them in phase. If the combined sound goes thin or hollow when you bring the second mic up, flip its polarity or nudge it slightly until the low end returns. When in doubt, one well-placed mic almost always beats two badly placed ones.
Common mistakes to avoid
- Recording too hot – guitars peak sharply on attack, so leave headroom rather than pushing levels near the top.
- Over-driving the input on a clean part, then wondering why it sounds harsh or fizzy. Back the gain off and let the part breathe.
- Stacking too much high gain. Heavily distorted tones lose definition when layered; a tighter, slightly cleaner tone often sits better in a full mix.
- Forgetting to mute unused strings and tame fret noise – small handling issues become obvious once compression is added later.
- Not recording a clean DI alongside an amped take, which removes your safety net if the tone doesn’t fit the final mix.
Frequently asked questions
Do I need an expensive amp to get a good home recording?
No. A modest amp recorded carefully in a treated corner can sound excellent, and a good amp simulator removes the amp from the equation entirely. Placement, playing, and gain staging matter far more than the price of the gear.
What is re-amping and do I need to do it?
Re-amping means sending a recorded clean DI signal back out into a real amp (or a sim) after the fact, so you can change the tone without replaying the part. You don’t have to do it, but recording the DI takes no extra effort and keeps the door open, which is why it’s a good habit. If it’s new to you, our explainer on what reamping is covers the full signal chain.
Why does my guitar sound thin in the mix?
Usually it’s a combination of too much high gain, a single narrow take fighting for space, or unhelpful low-mid build-up. Try double-tracking and panning wide, ease off the distortion, and use EQ and compression to carve room for the guitar against the bass and vocals.



