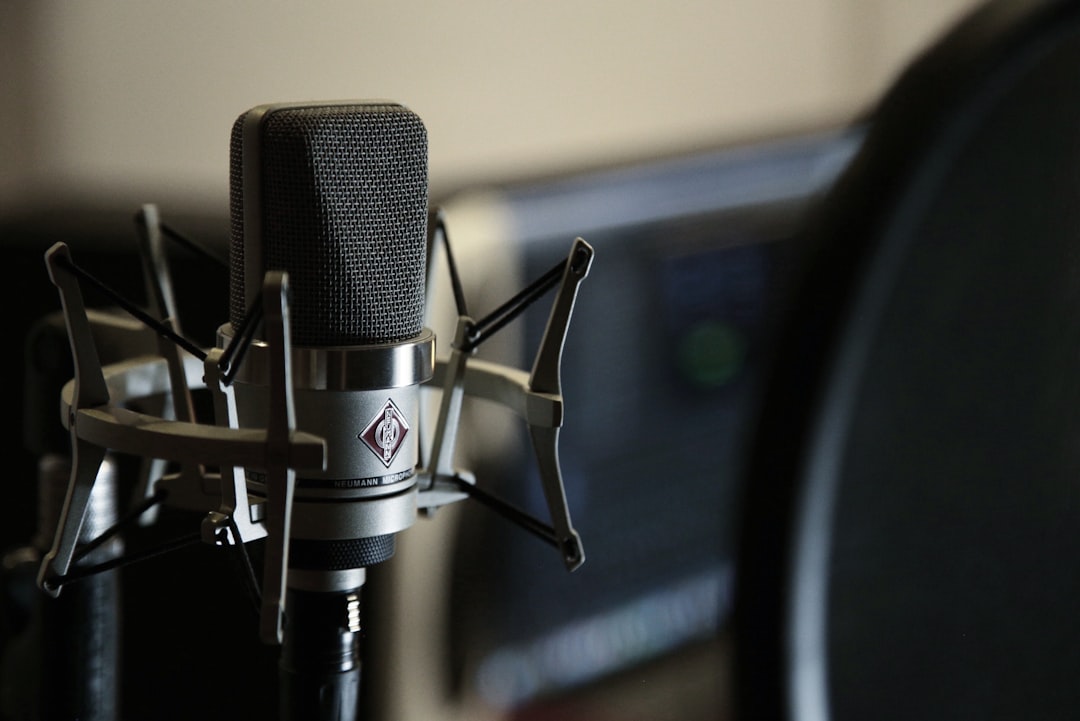
When you record with two mics, you can capture a wider, more realistic stereo image or reinforce a single source from two angles. The trick is keeping the two microphones in phase so they reinforce each other instead of cancelling out. Get the placement right and two mics sound dramatically bigger than one.
This guide covers the main stereo techniques, dual-mic mono setups, and the phase rules that keep everything sounding solid.
Why use two microphones?
Two mics give you options a single mic cannot:
- Stereo width: capture the natural spread of a piano, acoustic guitar, drum kit, or room.
- Tone blending: mic one source two ways — say a bright and a warm mic on the same guitar — and balance them later.
- Source separation: capture two performers or two parts of a kit on their own tracks.
Stereo miking techniques
The three workhorse stereo techniques each trade width against mono compatibility. For a deeper dive into each one, see our guide to stereo recording techniques.
- XY (coincident): two cardioid mics with capsules touching, angled 90 degrees apart. Excellent mono compatibility and tight imaging, with a narrower stereo field.
- ORTF (near-coincident): two cardioids spaced about 17 cm apart at a 110-degree angle. A natural, wide image that still sums well to mono.
- Spaced pair (A/B): two mics a few feet apart. The widest, most spacious sound, but the most prone to phase issues if you are careless.
A matched pair of small-diaphragm condensers is the classic choice for these. See large vs small-diaphragm condensers for why, and our overview of microphone polar patterns for how pattern choice shapes the image.
Two mics on one source (mono blend)
You can also use two mics on a single source and sum them to mono. A common approach on guitar amps is one dynamic close to the cone and one condenser pulled back, blended to taste. On a snare you might mic top and bottom — the same logic scales up when you mic a full drum kit. This is about tone, not width — but phase still matters, especially when one mic is farther away.
The 3:1 rule and phase
The biggest risk with two mics is phase cancellation, where the same sound arrives at each mic at slightly different times and the frequencies cancel, leaving a thin, hollow tone.
- 3:1 rule: when miking one source with two mics at different distances, place the second mic at least three times as far from the first as the first is from the source. This minimises bleed-related phase issues.
- Check in mono: always audition a two-mic recording in mono. If the low end disappears, you have a phase problem.
- Flip polarity: try the polarity switch on one mic to hear which setting is fuller, and nudge mic position to fine-tune.
How to choose the right technique
Pick your approach by what the source needs, not by what looks impressive on paper. Start with the result you want and work backwards.
- Need a safe, predictable stereo recording? Reach for XY. Because the capsules sit almost on top of each other, there is barely any time difference between them, so the recording stays solid even if it later gets folded down to mono on a phone speaker or in a club PA.
- Want width that still sounds natural? ORTF is the sweet spot. It mimics the spacing and angle of human ears, so it captures a believable sense of room and placement while remaining reasonably mono-safe.
- Recording a large, ambient source in a good-sounding room? A spaced pair gives the biggest, most enveloping image — ideal for a grand piano, a choir, or a drum kit where you want the room to breathe. Just commit to checking mono carefully.
- Chasing tone rather than width? Use the two-mic mono blend. Two different mics on one cabinet or one acoustic guitar let you dial in a composite tone that no single mic could deliver.
When in doubt, set up two techniques side by side on a short test take and compare. Your ears will pick the winner faster than any rule can.
Common mistakes to avoid
Most two-mic problems come down to a handful of repeat offenders:
- Never checking mono. A recording can sound huge in stereo and collapse to nothing in mono. Audition mono before you commit to a take, not after the session.
- Ignoring distance differences. If one mic is closer than the other, the same sound reaches each capsule at a different time. Honour the 3:1 rule or align the tracks afterwards in your DAW.
- Mismatched mics for stereo. Using two different models for a stereo pair gives an uneven, lopsided image. Save odd pairings for the deliberate tone-blend approach, and use a matched pair for true stereo work.
- Forgetting to label the channels. Note which mic is left and which is right as you record. Swapping them later flips your stereo image and can undo careful placement.
- Over-spreading the pair. Pushing a spaced pair too far apart leaves a weak, hollow gap in the centre of the image. Widen gradually and listen as you go.
Levels and setup
Match your input gains so the two mics are balanced going in, and leave headroom on both — our gain staging guide covers the targets. You will need an interface with two inputs and ideally matching preamps; if you are setting yours up, see how to set up an audio interface. For where two-mic technique fits among other methods, browse the recording techniques hub.
Frequently asked questions
What is the easiest two-mic stereo technique for beginners?
XY is the most forgiving. The two capsules sit together, so timing differences are tiny and the recording sums to mono cleanly with little risk of phase cancellation. It gives a tighter stereo image than spaced pairs, which is a fair trade for reliability.
What is the 3:1 rule?
When you mic one source with two mics, place the second mic at least three times farther from the first mic than the first mic is from the source. This reduces phase problems caused by the same sound reaching both mics at different times.
Why does my two-mic recording sound thin in mono?
That hollow, thin sound in mono is phase cancellation. The two mics are capturing the source at slightly different distances, so frequencies cancel when summed. Try flipping polarity on one mic, repositioning, or moving the mics closer together.
Do I need two identical microphones?
For true stereo techniques like XY, ORTF, or a spaced pair, a matched pair gives the most even, balanced image. For a tone-blend on a single source, mismatched mics are actually an advantage — pairing a bright mic with a warmer one lets you combine the best of both.


