
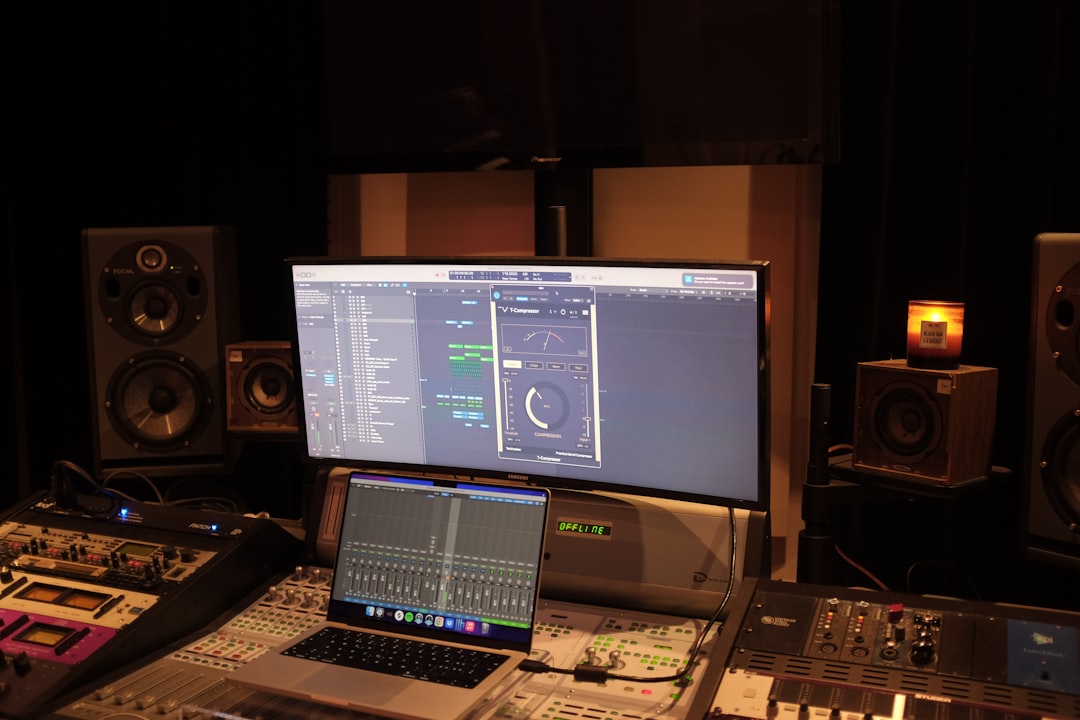
This FabFilter Pro-C review examines Pro-C 2, a compressor that has quietly become a studio staple because it does one thing exceptionally well: it shows you exactly what compression is doing while sounding as clean or as aggressive as you need. Where many compressors hide their behaviour behind vintage needles and mojo, FabFilter Pro-C draws the gain-reduction curve, the input and output levels and the knee right on screen, which makes it one of the best compressors to learn on and one of the most reliable to mix with. This review covers what Pro-C 2 offers, its honest limitations, and the exact settings that make it sing on vocals, drums and the mix bus.
Pro-C 2 is not an emulation of a specific hardware unit. Instead it gives you eight selectable compression styles, from clean and transparent to punchy and pumping, so one plugin covers most jobs you would otherwise reach for several compressors to do.
What this FabFilter Pro-C review found in the styles
The heart of Pro-C 2 is its style selector. Clean is a transparent, near-invisible compressor for gentle level control. Classic behaves like a smooth optical/VCA hybrid that flatters vocals. Opto emulates the slow, program-dependent feel of an optical compressor, lovely on vocals and bass. Vocal is tuned for the fast, dense control a lead vocal needs. Mastering and Bus are gentle, low-distortion styles built for glue across a group or a full mix. Punch preserves transients for drums, and Pumping is a deliberately aggressive style for effect. Each style changes the underlying attack, release and knee behaviour, so switching styles is far more than a cosmetic label. Around that you get a full-featured sidechain with its own EQ, a switchable knee, lookahead, an auto-release option, mid/side and stereo-link controls, and one of the clearest metering displays in any compressor.
Pros and cons in this FabFilter Pro-C review
- Pros: Genuinely transparent when you want it and characterful when you push it; the on-screen gain-reduction curve is the best teaching tool in any compressor; eight styles cover vocal, bus, mastering and drum duties in one plugin; excellent built-in sidechain with EQ and external input; auto gain and knee controls; very low CPU; clean at extreme settings where cheaper plugins distort.
- Cons: It has no analog saturation or console colour, so if you want a plugin to add weight and harmonics rather than just control dynamics, this is not it; the depth of options can overwhelm a beginner who just wants three knobs; and it is premium-priced when capable stock compressors ship with every DAW.
Exact settings from this FabFilter Pro-C review
For a lead vocal, start with the Vocal or Classic style, a 3:1 ratio, a medium attack around 5 to 10 ms so consonants punch through, a release of 40 to 80 ms or Auto, and pull the threshold down for 3 to 6 dB of gain reduction on the loudest words. If the vocal still jumps around, add a second Pro-C 2 in series doing another gentle 2 to 3 dB rather than asking one instance to do 10 dB. For a bass guitar, the Opto style with a 4:1 ratio, 10 to 20 ms attack and 100 ms release evens out notes without killing the pluck.
On the drum bus, choose the Punch style, a 4:1 ratio, a slower 10 to 30 ms attack to keep the hits snapping, 100 to 200 ms release and 3 to 6 dB of gain reduction. Engage the sidechain high-pass around 80 to 120 Hz so the kick does not pump the whole kit. On the mix bus, switch to the Bus or Mastering style, 2:1 ratio, 30 ms attack, Auto release, and only 1 to 2 dB of gain reduction for glue. Whatever you do, use the auto-gain or match output by ear so you are judging compression, not loudness.
Two under-used features are worth building into your habits. The first is the sidechain EQ: click into the sidechain panel and high-pass the detection signal around 80 to 120 Hz so kick and bass energy stop over-triggering the compressor on the vocal or the bus, which is the single most common cause of pumping in home mixes. You can also boost the sidechain around 5 to 8 kHz to make Pro-C 2 behave like a de-esser, clamping only when sibilance spikes. The second is the parallel/mix knob built into the plugin: instead of setting up a separate return, dial the Mix control to blend the dry signal back in, which lets you compress a drum bus hard for density at, say, 60 to 70 percent wet while the untouched transients keep the punch. Using lookahead of a few milliseconds on peaky sources also lets the compressor catch fast transients it would otherwise miss.
Who should buy it after this FabFilter Pro-C review
If you want one compressor that is clean when you need control and aggressive when you want effect, and you value seeing what the plugin is doing, Pro-C 2 is a superb, do-it-all choice and an excellent teacher. It will not add analog grit, so pair it with a saturator or a modelled compressor when you want colour. If you are still learning to hear compression, spend time with the free ear-training and metering tools in our free audio tools hub first, and read how dynamics fit into the wider chain in our mixing guide before spending money. The honest verdict of this review is that Pro-C 2 is one of the most versatile and transparent compressors available, and for a home studio building a lean plugin set, its ability to replace several single-purpose compressors is exactly what makes it worth the money.



