
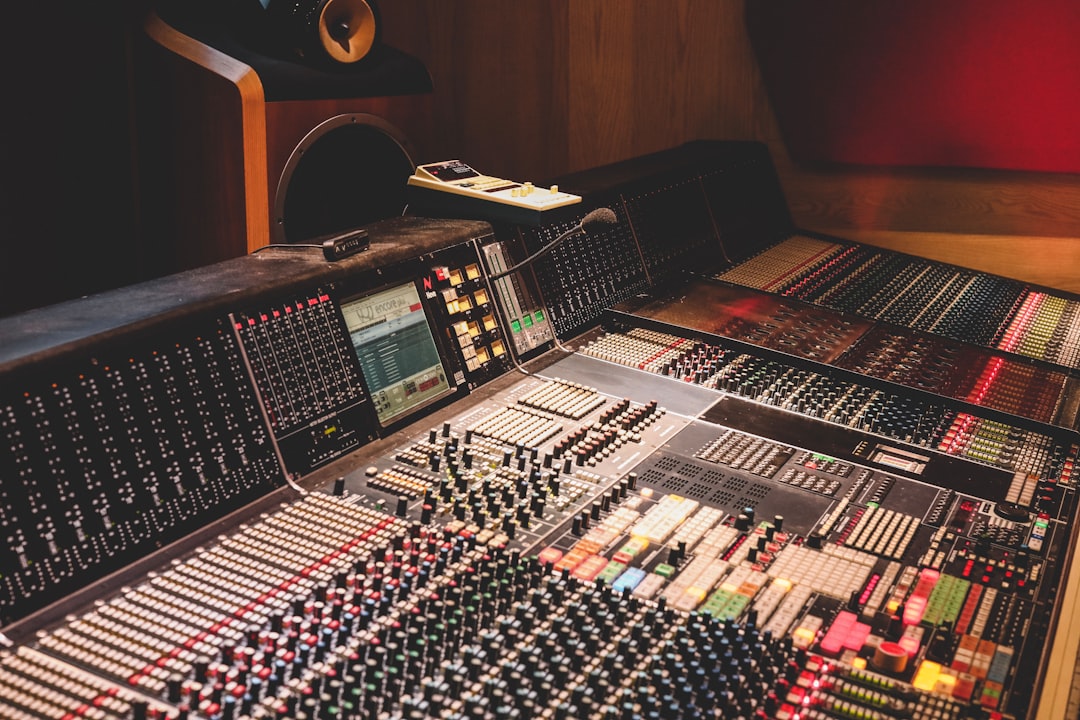
If you make instrumentals for artists or beat marketplaces, learning how to master a beat is what makes yours stand out in a playlist of a hundred. The twist is that a beat is rarely the finished record: an artist will usually rap or sing over it, so your master has to sound loud and polished on its own while still leaving room for a vocal later. That balance changes a few of the moves you would make on a full song. Here is a practical, specific chain built for instrumentals, with the reasoning behind every step.
Decide what the beat is for before you touch loudness
Your target depends on the destination. For a beat-store preview or a “type beat” video, you want it competitive and loud, so aim for around -8 to -10 LUFS integrated with a true-peak ceiling of -1 dBTP. Streaming services normalise to roughly -14 LUFS integrated and will turn a hot file down, but a loud preview still reads as punchy and finished next to quieter uploads. If you are handing untagged stems or a track-out to an artist for them to record and mix, do the opposite: keep the instrumental at around -12 to -14 LUFS and leave 3-6 dB of headroom so their engineer can fit the vocal without fighting a brick-walled beat. Put a meter on the bus first; the free Youlean Loudness Meter shows integrated LUFS and true-peak so you master to a number, not a feeling.
Clean the low end so the beat holds together
Most beats are carried by an 808 or sub and a kick, and if those are uneven the whole thing pumps under the limiter. Handle the foundation before you push volume:
- High-pass at 25-30 Hz to remove subsonic rumble that wastes headroom without adding audible weight.
- Gentle broad EQ. A wide -1 to -1.5 dB dip around 200-250 Hz clears the low-mid mud where kick and 808 overlap. A broad +1 dB shelf above 10 kHz adds air to hats and samples. Keep every master EQ move under 2 dB; bigger changes belong back in the beat itself.
- Multiband on the sub. A multiband compressor on the band below roughly 100 Hz with 1.5-3 dB of gain reduction evens out 808 notes so each one lands with the same weight. This is what makes a beat feel “solid” rather than lumpy.
A precise EQ such as FabFilter Pro-Q makes these small moves visible and lets its dynamic bands double as sub control if you would rather not add a separate multiband.
Glue and loudness, with vocal room in mind
Add a gentle bus compressor for cohesion: 2:1 ratio, around 30 ms attack to protect the kick transient, auto release and just 1-2 dB of gain reduction. Then set the limiter. Ceiling at -1 dBTP, and lower the threshold until you hit your chosen LUFS target. For a loud preview, 3-6 dB of peak reduction is fine; past 7-8 dB the hats get crushed and the 808 loses attack, which reads as “cheap” in a crowded market. A transparent limiter like FabFilter Pro-L 2 gives you multiple algorithms and true-peak limiting so post-codec peaks stay in check.
Here is the beat-specific tip: do not scoop the 1-4 kHz range aggressively even though it sounds a little brighter. That band is exactly where a lead vocal sits, so if you leave it natural the artist’s voice will slot in without a fight. If you are delivering a version for the artist to record on, ease off the limiter by a couple of dB and keep the master gentle so their engineer inherits headroom, not a wall.
Reference, translate and deliver
Compare your instrumental against a couple of professionally released beats in the same style, loudness-matched so tone is what you are judging. A tool like ADPTR MetricAB level-matches instantly so you do not mistake “louder” for “better.” Then run the real-world checks:
- Phone and laptop speakers, where the sub vanishes; if the groove still reads, your kick and the 808’s harmonics are carrying it.
- Mono fold-down to confirm wide sample effects do not phase-cancel and the drums stay centred and solid.
- Earbuds and car, the two places buyers actually audition beats.
How to master a beat without the amateur mistakes
A handful of errors show up again and again in home-made instrumental masters, and each is easy to avoid once you know it:
- Over-limiting to chase loudness. A beat crushed to -6 LUFS with 9 dB of gain reduction loses its hats and 808 attack, and on streaming it gets turned down to the same level as a cleaner master anyway. You keep the damage and lose the loudness war regardless.
- Widening the low end. Stereo-spreading the sub might sound big on headphones, but it collapses in mono on a club system or phone speaker and the bass loses power. Keep everything below about 120 Hz mono and solid.
- Mastering a mix that is not ready. If the 808 and kick clash or the sample is muddy, no master fixes it. Go back and rebalance the beat; mastering only polishes what is already working.
- Skipping the reference. Without a professional beat to compare against, you have no anchor and your ears drift over a long session. Level-match and A/B often.
Export a 24-bit WAV with dithering only on the final bounce, and if you sell online, render a separate MP3 preview from the same master. For the mix-stage moves that make mastering effortless, see our mixing and mastering guides, and grab the free loudness and peak meters in the audio tools hub for quick checks between sessions. Control the low end, respect the -1 dBTP ceiling, and pick a loudness target that matches where the beat is going, and you will master an instrumental that sounds finished and still welcomes a vocal.



