
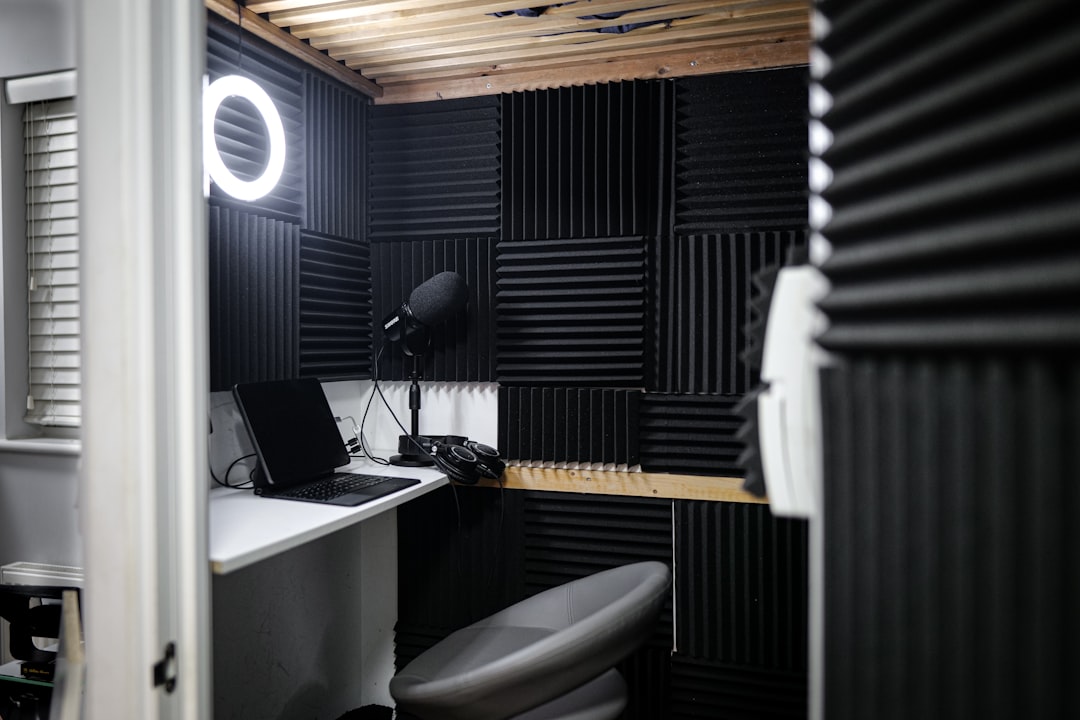
To treat a basement studio, plan around its three quirks: a lot of hard, reflective concrete, a low ceiling, and the risk of damp. The acoustic priorities are heavy bass trapping, first-reflection control, and ceiling treatment — plus moisture-aware mounting so your panels don’t degrade. This is acoustic treatment, which controls sound inside the room; soundproofing the floor above is a separate job covered in soundproofing vs acoustic treatment.
What you face when you treat a basement studio
Basements often have concrete or block walls and floors that reflect strongly and store almost no energy, so the room rings and the bass piles up hard. Ceilings tend to be low, which brings the floor-ceiling reflection close and exposed joists, ducts and pipes into play. And basements can be humid, which matters when you’re hanging porous panels. The good news is basements are often quieter and more isolated than upstairs rooms to begin with. For the underlying physics, see how sound behaves in a room.
It helps to think about why concrete behaves so differently from a normal stud wall. A drywall partition is a thin, springy membrane: it flexes slightly when bass hits it and bleeds off some low-frequency energy as it does, which is why ordinary rooms have a softer, more forgiving low end. Concrete and block do the opposite. They are rigid and massive, so they reflect almost everything back into the room, including the deep bass that gives basements their characteristic boom. That same rigidity is great for isolation but works against you acoustically, which is why a basement usually needs more treatment, not less, than a comparable room upstairs.
Step 1: Deal with the boomy low end first
Hard concrete reflects bass efficiently, so corner trapping is even more important here than usual. Fill the vertical corners floor-to-ceiling with thick porous traps — mineral wool such as Rockwool, or rigid fibreglass like Owens Corning 703 — and treat the wall-ceiling junctions. Go thick; porous traps need depth to reach low frequencies. See how to treat room corners and our bass traps guide.
Prioritise the corners where two walls meet the floor or ceiling, because that is where bass pressure builds the most. If you can only do a few traps to start with, put them in the vertical wall-to-wall corners behind and to the sides of your listening position, then expand to the wall-ceiling edges. Depth matters more than surface area: a trap that is four to six inches thick, ideally with an air gap behind it, reaches much lower than a thin tile of the same material, and it is low-frequency control that a concrete room needs most.
Step 2: Tame reflections off hard surfaces
Bare concrete causes flutter echo and a long, harsh reverb tail. Treat the first reflection points on the side walls with broadband absorption, and add more general absorption than you would in a drywall room because there’s nothing soft to begin with. Find the points with the mirror trick from finding your first reflection points, then follow where to place acoustic panels.
Two opposing hard walls create flutter echo — that rapid, metallic “zinging” you hear when you clap in an untreated concrete room. Breaking up just one of each parallel pair with absorption is usually enough to kill it. Spread your panels around rather than clustering them all on one wall, so you absorb evenly across the room instead of deadening one half and leaving the other live. The goal is a controlled, neutral room, not an anechoic dead box; over-treating only the high frequencies while leaving the bass untouched is a common way to end up with a dull-sounding yet still boomy space.
Step 3: Treat the low ceiling
A low ceiling puts the floor-ceiling reflection right on top of you, so a cloud above the listening position is high priority. If you have exposed joists, you can mount absorption between them or fill the cavity, which doubles as useful bass control. Just keep panels clear of any pipes or wiring that need access.
Step 4: Manage damp and mounting
Humidity is the basement-specific concern. Damp mineral wool or fibreglass loses performance, can sag, and may grow mould. Run a dehumidifier if the space is humid, keep panels slightly off the floor rather than resting on concrete, and leave an air gap behind them (which also improves low-frequency absorption). Use breathable fabric so trapped moisture can escape, and check panels occasionally. Don’t seal porous absorbers in plastic.
Where you can, mount panels and traps to the wall or ceiling rather than standing them on the slab, since concrete floors can wick moisture upward. A small air gap between the panel and a concrete surface keeps the material from sitting in any condensation and, conveniently, also lets it absorb lower frequencies. Aiming for a stable relative humidity in roughly the forties to fifties is a sensible target for both your treatment and any gear stored down there; a cheap hygrometer takes the guesswork out of it.
Step 5: Set up and measure
Position the desk along the shorter wall, symmetrical left-to-right, away from the dead centre of the room. Then measure with the free Room EQ Wizard (REW) and a calibrated mic such as the miniDSP UMIK-1 — basements with concrete often have dramatic modal peaks worth seeing on a graph. Room correction software like Sonarworks SoundID Reference, IK ARC or Dirac can clean up what physical treatment leaves behind. See how to set up your mix position.
Treat measurement as a before-and-after loop rather than a one-off. Take a baseline measurement of the empty room first, add your corner traps and re-measure, then add reflection and ceiling treatment and measure again. Seeing the modal peaks shrink as you add material tells you whether you have enough bass trapping or need more, and stops you reaching for software correction to fix a problem that more absorption would solve better. Remember that room correction can tame peaks but cannot fill in deep nulls, so physical treatment should always come first.
Common mistakes when treating a basement
The most frequent error is reaching for thin acoustic foam and expecting it to fix the boom. Foam absorbs highs but does almost nothing below a few hundred hertz, so a foam-only basement ends up dull on top and still boomy underneath. The second mistake is ignoring damp until panels sag or smell musty — sort the humidity out before you hang anything porous. The third is confusing treatment with isolation and being disappointed when nicely absorbed panels do nothing to stop sound reaching the rest of the house. And finally, treating only the walls while leaving the corners and ceiling bare wastes the room’s biggest opportunities for low-end control.
A note on isolation
Basements transmit sound and vibration into the floor above through the structure. If quiet upstairs is the goal, that’s soundproofing — decoupling, mass and sealing — not the absorption work here. Treat the two as separate projects so you don’t expect panels to do an isolation job.
Frequently asked questions
Why does my basement sound so boomy?
Hard concrete reflects bass efficiently and the room’s modes pile up against rigid boundaries. Heavy corner bass trapping with thick porous material is the main fix; thin foam won’t help the low end.
Will damp ruin my acoustic panels?
It can. Humid mineral wool or fibreglass loses performance, sags and risks mould. Run a dehumidifier, keep panels off the concrete floor with an air gap, use breathable fabric, and never seal them in plastic.
Does treating my basement stop sound reaching upstairs?
No. Absorption controls sound inside the room. Stopping sound and vibration travelling into the structure above requires soundproofing — decoupling, added mass and sealing — which is a different project.
How much treatment does a concrete basement need?
More than a normal drywall room of the same size, because there is nothing soft to start with and the rigid walls reflect bass strongly. Prioritise thick corner bass traps and a ceiling cloud first, then add broadband panels at the first reflection points, and let measurements tell you when you have enough.



