
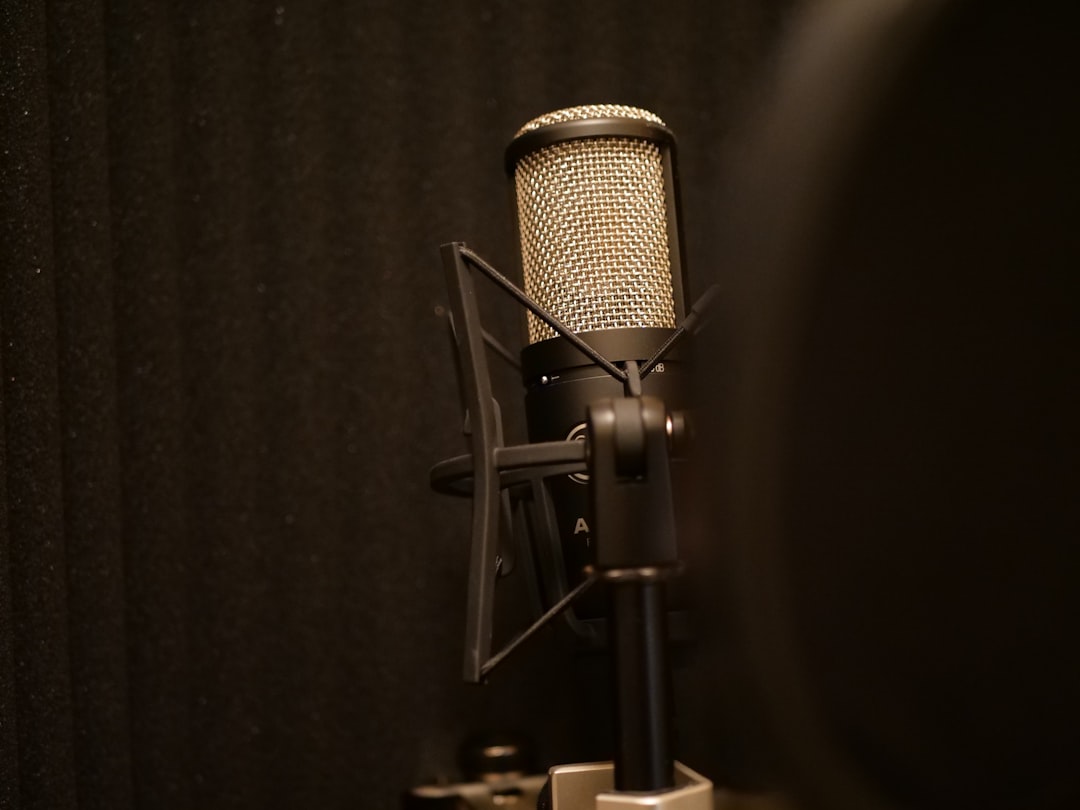
Close miking is the technique of placing a microphone very near a sound source — typically a few inches away — to capture a strong, direct signal with minimal room sound. It is the default approach for most home-studio recording because it gives you a clean, focused track with good isolation and a high signal-to-noise ratio.
If you have recorded vocals an inch from a pop filter or put an SM57 right against a guitar cab, you have already used close miking.
How close miking works
When a mic sits close to the source, the direct sound is far louder than the reflected room sound reaching the mic. The result is a track that is upfront, detailed and easy to control at the mixing stage. Because the room contributes so little, close miking works well in untreated or small spaces — which is exactly why it suits home studios. Distance is the key variable; the principles are the same as in microphone placement for vocals.
The advantages of close miking
- Isolation: each source gets its own clean track with little bleed from other instruments — essential when tracking a band or layering parts.
- Less room sound: a poor-sounding room contributes far less, so close miking forgives untreated spaces.
- Strong signal: a loud, direct signal sits well above the noise floor.
- Detail and presence: you capture the intimate detail of a performance — breath, pick attack, finger noise.
- Control at mix: a dry, close-miked track lets you add your own reverb and delay to taste.
The downsides to watch for
- Proximity effect: directional mics boost low frequencies as you move closer, making sources sound bassier or boomier. You can use this for warmth or tame it with a high-pass filter and a little distance.
- Less natural sound: very close miking can sound unnatural compared with how an instrument sounds in the room, because you lose the natural blend the distance provides.
- Plosives and pops: close vocal miking emphasises blasts of air on “p” and “b” sounds, which is why a pop filter is essential.
- Spot sound, not whole: a close mic hears one part of a large source, so on something like a piano or drum kit you capture a section, not the full instrument.
Close miking vs distant miking
The opposite approach, distant or room miking, places the mic further back to capture the instrument blended with the room’s natural acoustics. It sounds more natural and spacious but needs a good room and offers less isolation. Many recordings combine both: a close mic for definition and a room mic for size, blended together. This is the exact approach used when you record a guitar amp with a close mic plus a room mic, and it contrasts with the ensemble-blend goal of recording a choir, where distance is usually preferred.
How to close mike a source step by step
Good close miking is mostly a matter of careful, deliberate placement. The process is the same whatever you are recording:
- Start at the loudest, most central point of the source. For a guitar cab that is somewhere over the speaker cone; for a voice it is roughly mouth height, slightly off to the side. This gives you a sensible starting point to adjust from.
- Set a distance first. A few inches is a good opening position. Closer brings more body and more proximity effect; further back lets a little more room and air into the sound. Move the mic, not the fader, to find the tone.
- Aim the mic and listen to the angle. Pointing straight on captures the brightest, most direct sound. Angling the capsule off-axis softens harshness and can tame sibilance or pick attack without losing level.
- Check your level. Set a healthy signal with plenty of headroom before you commit — the loudest moment of the take should peak comfortably short of clipping.
- Move in small amounts. An inch of movement changes the tone more than most plugins will. Record short test takes, compare them, and only then start the real session.
Because the pickup pattern of your mic affects how much off-axis sound and proximity effect you get, it pays to understand microphone polar patterns before you experiment. Whatever the source, set a healthy level with headroom as part of good gain staging.
Common close-miking mistakes
- Getting too close and chasing the bass. If a source sounds boomy or muddy, back the mic off slightly or engage a high-pass filter rather than trying to fix it later with EQ.
- Ignoring plosives on vocals. Without a pop filter and a little off-axis angle, close vocal takes are littered with low-end thumps that are hard to remove cleanly.
- Forgetting the rest of the room. Close miking reduces room sound but does not eliminate it. Hard, reflective surfaces near the mic can still colour the take, so soft furnishings nearby help.
- Phase problems with two mics. When you blend a close mic and a room mic, time and polarity differences can thin out the sound. If you regularly record with two microphones, nudge one track in your DAW or flip its polarity until the combination sounds fuller, not weaker.
- Set and forget. A position that works for a quiet verse may be wrong for a belted chorus. Re-check placement when the dynamics of the performance change.
When to use close miking
Reach for close miking when you want isolation, you are recording in an untreated room, or you want maximum control at the mix. It is the right default for home vocals, electric guitar cabs, snare and kick drums, bass cabinets, and podcasts. For more on capturing sources well, browse the recording techniques hub.
Frequently asked questions
What counts as close miking?
Generally, placing a mic within a few inches up to about a foot of the source counts as close miking. The defining feature is that direct sound dominates and the room contributes very little.
What is the proximity effect in close miking?
Proximity effect is the bass boost directional microphones produce as they get closer to a source. It can add desirable warmth to a voice or make a recording boomy, so use distance and a high-pass filter to manage it.
Is close miking better than room miking?
Neither is universally better. Close miking gives isolation, control and forgiveness in poor rooms, while room miking captures a more natural, spacious sound in a good-sounding space. Many engineers blend both.
How close should the microphone actually be?
There is no single right answer, but a few inches is a sensible starting distance for most sources. Move closer for more weight and intimacy, and back off for a more natural, balanced tone. Let your ears, not a tape measure, settle the final position.
Can I use any microphone for close miking?
Most microphones can be placed close, but dynamic mics are popular for loud sources because they handle high sound-pressure levels well, while condensers capture more detail on quieter or more delicate sources. The microphone’s polar pattern matters more than its type, since it governs how much off-axis sound and proximity effect you get.



