
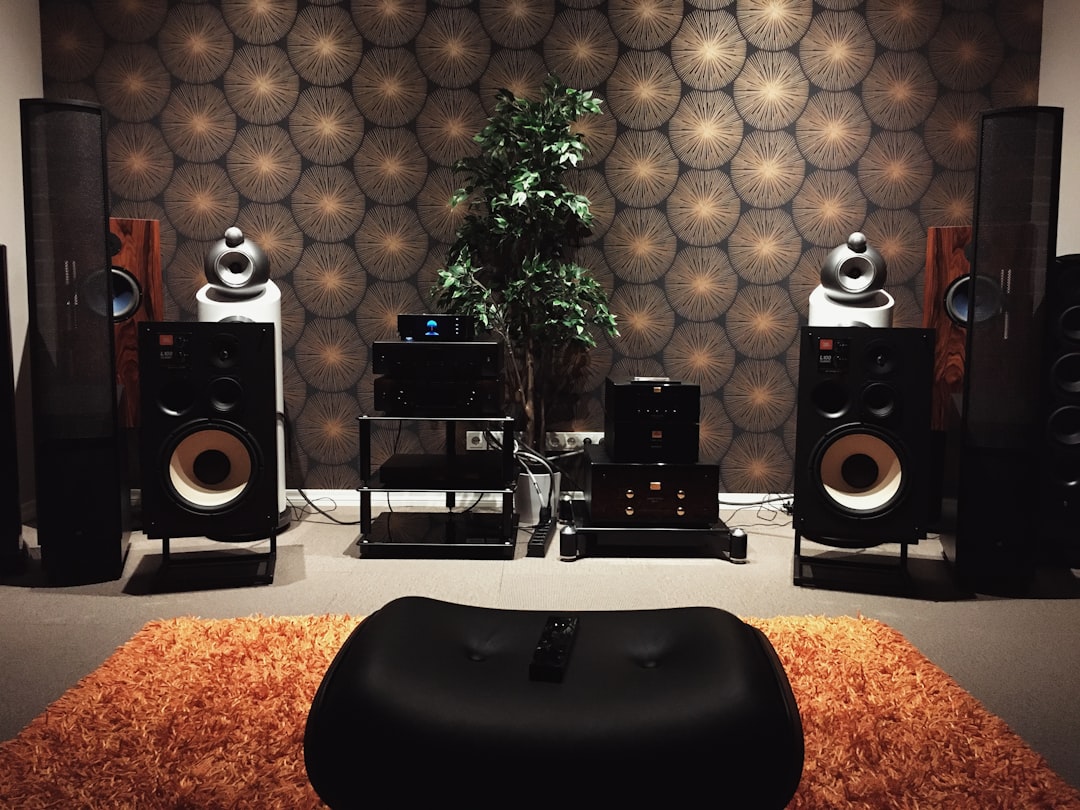
Acoustic treatment on a budget comes down to one principle: spend your money on mass and thickness where it matters, and ignore the cheap-looking tricks that don’t work. You can dramatically improve a home studio for very little if you build broadband absorbers from mineral wool and place them where the room actually causes problems. The expensive mistake is buying thin foam tiles and hoping they fix the bass.
In a hurry? Jump to our studio accessories — or read on for the full breakdown.
This is treatment, not soundproofing — it makes your room sound better, it doesn’t stop sound leaving. Keep those goals separate, as explained in soundproofing vs acoustic treatment.
The Smartest Budget: DIY Mineral Wool Panels
The best value in all of acoustics is a DIY panel built from rigid mineral wool or fibreglass — Rockwool (Rockboard) or Owens Corning 703 — wrapped in breathable fabric inside a simple timber frame. Per unit of real absorption, nothing commercial beats it. A 100 mm panel of mineral wool absorbs broadband energy that no amount of thin foam will touch. Our full walkthrough is in how to build acoustic panels, and the broader DIY picture is in DIY acoustic treatment.
If you absolutely can’t do woodwork, you can still stand bare mineral wool slabs in corners behind a fabric cover. It’s not pretty, but acoustically it works.
Two cheap upgrades make these panels work even harder. First, leave an air gap behind the panel — mounting it 50 to 100 mm off the wall lets it absorb lower frequencies than the same slab pinned flat, effectively buying you extra performance for free. Second, choose the right density — a decision worth getting right, as explained in Rockwool vs fiberglass for acoustic panels. Mid-density rigid mineral wool is the sweet spot for broadband absorption; loft-style fluffy insulation is too thin and floppy to do much, while ultra-dense board starts reflecting rather than absorbing. If a slab feels firm but you can still push a finger into it, you’re in the right range.
Spend on Bass First — It’s Where Cheap Fails Hardest
Low frequencies carry the most energy and cause the worst problems in small rooms: room modes and standing waves that make bass boom in some spots and vanish in others. Thin foam does nothing here. The budget-friendly fix is thick absorbers straddling your corners, where bass energy collects. Floor-to-ceiling mineral wool in the front corners is the highest-impact thing you can build cheaply. See how to treat room corners and, for a DIY trap, how to build a bass trap.
The reason corners are so effective is simple: every room mode has a pressure maximum in the corners, where the floor, walls and ceiling meet. Put your absorber where the bass energy piles up and a modest amount of material does the work of a much larger panel placed out in the open. If you only build one thing on a tight budget, make it a thick corner trap rather than a thin panel spread across a flat wall.
Where to Place a Limited Number of Panels
With a small budget you can’t cover everything, so place panels in priority order:
- Front corners — bass control (biggest bang for buck).
- First reflection points on the side walls — find them with the mirror trick in how to find your first reflection points.
- The wall behind your monitors / ceiling cloud above the desk.
- Rear wall behind your listening position.
Getting four to six good panels in the right spots beats a wall plastered with foam squares — and if you’re unsure how many to aim for, how many acoustic panels you need walks through the maths for a typical room.
How to Stage the Spend Over Time
You don’t have to buy everything at once. Budget treatment works best when you build it in rounds and listen after each one, so you spend the next bit of money where it’s actually needed rather than guessing.
- Round one: two thick corner traps in the front corners. This usually delivers the most obvious improvement — tighter, more even bass.
- Round two: first-reflection panels on the side walls and a cloud above the desk. This cleans up the stereo image and reduces the smeared, echoey quality of a bare room.
- Round three: the rear wall and any remaining corners. By now the room is doing most of what you need, and you’re fine-tuning.
Spreading the build out also spreads the cost, and it stops you over-treating — a common and avoidable mistake covered below.
Free and Near-Free Wins
Before you spend anything:
- Reposition the room. Moving your desk and monitors to the right spot costs nothing and fixes real problems — see how to set up your mix position.
- Use what you own. A bookshelf full of irregular books acts as a crude diffuser; a thick rug kills floor reflections and flutter; a sofa absorbs broadband.
- Heavy moving blankets are a cheap stopgap for mids and highs (weak on bass) — details in do moving blankets work for acoustics.
- Measure before buying more. The free Room EQ Wizard (REW) with an inexpensive measurement mic shows exactly where your problems are, so you don’t waste money. See how to measure your room acoustics.
What to Skip on a Budget
- Egg cartons. A myth. They have no useful absorption.
- Thin foam for bass. Foam only touches the top end; it can’t fix low-frequency problems.
- Diffusers as a first purchase. Cheap diffusers rarely work as advertised, and absorption should come first in a small room.
- “Acoustic” paint or thin fabric on bare walls. Negligible effect.
Common Budget Mistakes
Most wasted money in a home studio comes from a handful of predictable errors. Knowing them in advance keeps your limited budget pointed at things that work.
- Buying coverage instead of thickness. A wall covered in 25 mm panels looks treated but leaves the bass untouched. Fewer, thicker absorbers almost always beat more, thinner ones.
- Treating the back of the room and ignoring the corners. Bass builds in corners first; that’s where the first money should go.
- Over-deadening. Smother every surface in absorption and the room goes lifeless and unnatural, which is tiring to work in and misleading to mix in. Aim for controlled, not dead.
- Skipping measurement. Spending blind is the most expensive habit of all. A free measurement pass tells you what to fix next.
Frequently Asked Questions
Is foam ever worth buying for acoustic treatment on a budget?
Foam can tame high-frequency flutter and harshness, but it won’t address bass or low mids. If your budget is tight, mineral wool panels do far more for the same money. Save foam for fine-tuning, not as your main treatment.
What’s the single most cost-effective panel I can build?
A thick mineral wool corner trap. Bass problems are the hardest to fix and the most damaging, so a 100 mm-plus absorber straddling a front corner gives you the most improvement per dollar.
Do I need to treat the whole room?
No. A handful of well-placed broadband panels — corners and first reflection points — will transform a small room. Total coverage is unnecessary and can over-deaden the space.
How much should I budget to start?
Enough for two solid corner traps is a sensible first target. That alone tackles the hardest problem in a small room, and you can add side-wall and ceiling panels later as funds allow. Building in stages and measuring as you go means every pound is spent where the room actually needs it.



