Loops are easy; turning them into a finished track is the part that trips people up. Learning how to arrange a song in FL Studio means moving your patterns into the Playlist, laying out sections like intro, verse, drop and outro, and using transitions to connect them. This guide takes you from a single looping idea to a complete arrangement.
Patterns vs the Playlist
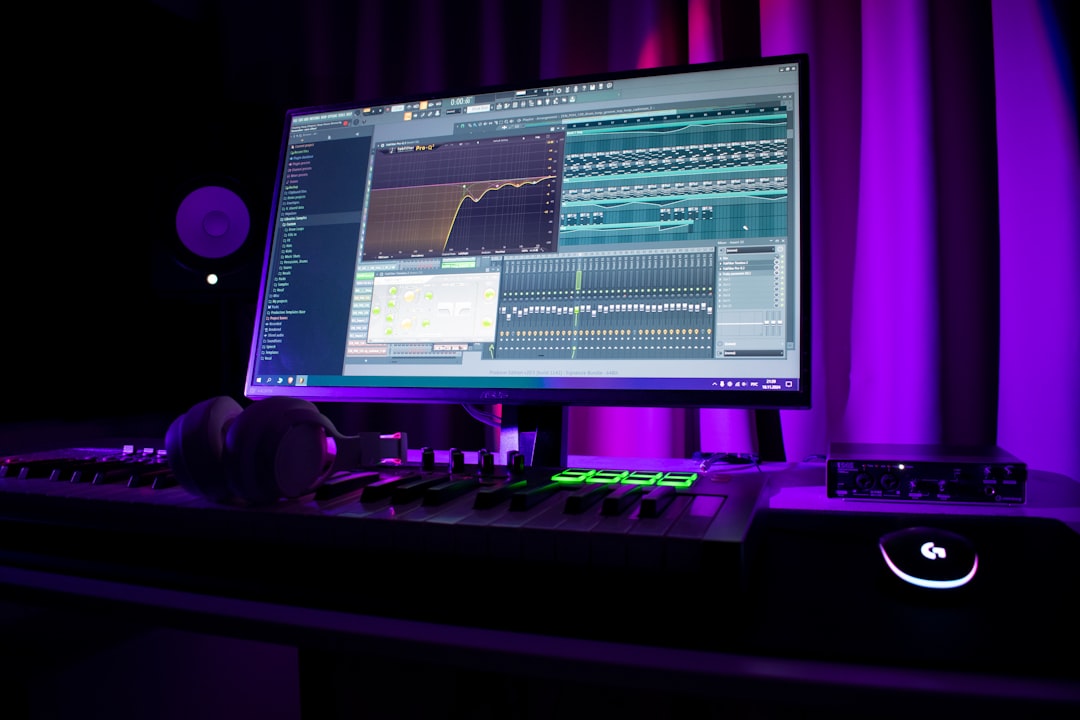
FL Studio separates your musical ideas (patterns, made in the Channel Rack and Piano Roll) from the song timeline (the Playlist). You build short patterns — a drum groove, a chord progression, a bassline — then place and repeat them across the Playlist to form the full song. Think of patterns as building blocks and the Playlist as the blueprint.
Step 1: Build your core patterns
Before arranging, create a handful of distinct patterns: a main drum beat, a melody or chord pattern, and a bass pattern. If you haven’t written your low end yet, see how to make a bassline in FL Studio. Name and colour each pattern so the Playlist stays readable.
Step 2: Lay out sections in the Playlist
Open the Playlist and start placing patterns along the timeline. A common pop/electronic structure looks like:
- Intro — a stripped-back version of the main idea.
- Verse / build — add elements gradually.
- Chorus / drop — the full arrangement, the loudest and busiest section.
- Breakdown — pull elements out for contrast.
- Outro — wind things down to an ending.
You don’t have to follow this exactly. The goal is contrast: sections should feel different from each other so the listener stays engaged.
Step 3: Create energy with arrangement, not just volume
The most effective way to build and release energy is by adding and removing parts:
- Drop instruments out before a chorus, then bring them back to make the section hit harder.
- Filter elements in over a few bars during a build.
- Use a single-element intro so the full arrangement feels bigger when it lands.
Sidechaining can reinforce this movement — see how to sidechain in FL Studio for the pumping effect that drives a lot of dance arrangements.
Step 4: Add transitions
Transitions glue sections together. Common ones include drum fills, riser/sweep effects, downlifters, impacts on the downbeat of a new section, and short silences right before a drop. A well-placed riser tells the listener something is about to change.
Step 5: Automate for movement
Use automation clips to change parameters over time — filter cutoff, volume, reverb amount. Automation keeps a long arrangement from feeling static and helps each section breathe. Right-click almost any knob and choose Create automation clip to draw the change directly in the Playlist. If you are new to the concept, automation in a DAW works the same way across every host.
Step 6: Check the whole thing
Listen front to back and ask whether each section earns its place. Trim anything that drags, and make sure your levels stay consistent — solid gain staging across the arrangement makes the later mix far easier.
A practical workflow: from 8-bar loop to full song
Most producers get stuck not because they lack ideas but because they keep polishing the same loop. The cure is to commit to the timeline early. Here is a workflow that reliably gets you to a finished structure:
- Duplicate your loop across the timeline first. Before worrying about variation, copy your main 8- or 16-bar section out to roughly the length you want the song — three to four minutes is typical, and a quick song length calculator can tell you exactly how many bars that is at your tempo. Seeing the whole canvas stops you from over-editing one section.
- Block out sections with colour and markers. Use the Playlist time markers (press the timeline and add a marker) to label intro, verse, chorus and so on. Colour-coding patterns makes the arrangement readable at a glance.
- Carve down, then build back up. Take your full “chorus” section as the reference point for maximum energy, then mute or delete parts to create the quieter sections around it. Subtraction is faster than building each section from scratch.
- Add variation last. Once the skeleton plays end to end, go back and change a fill here, a melody note there, or swap a hat pattern so repeated sections never sound identical.
Working subtractively like this is what separates a loop that runs on forever from a track that has a clear beginning, middle and end. If you tend to start projects but never close them out, our guide on how to actually finish a song covers the mindset that gets arrangements over the line.
Arranging different genres
The intro/build/drop template suits dance and electronic music, but it is not the only shape. A song-based genre such as pop, hip-hop or singer-songwriter material usually follows an intro, verse, chorus, verse, chorus, bridge, final chorus pattern, where the vocal carries the energy rather than a drop. The principle stays the same whatever the style: each new section should change something — instrumentation, density, register or rhythm — so the ear has a reason to keep listening. If you are arranging around a vocal, leave space in the lower-mid frequencies during verses so the voice sits forward, and reserve your busiest layering for instrumental sections.
Common arrangement mistakes
A few habits show up again and again in beginner arrangements, and they are easy to fix once you know to listen for them:
- Every section sounds the same. If the verse and chorus use identical instrumentation, nothing feels like it lifts. Hold an element back so you have somewhere to go.
- Intros that drag. An intro should set up the track, not test the listener’s patience. If a section is not adding anything, shorten it.
- No transitions. Hard cuts between sections feel abrupt. Even a single crash on the downbeat or a one-bar fill smooths the join.
- Mixing while arranging. Chasing the perfect kick level before the structure exists wastes time. Get the whole song laid out, then mix.
- Forgetting the ending. Tracks that simply stop or fade lazily feel unfinished. Plan an outro that resolves the energy you built.
Related FL Studio guides
Clean routing keeps a busy arrangement manageable — see how to route mixer tracks in FL Studio. For the wider workflow, the mixing and mastering hub has more.
Frequently asked questions
What’s the difference between a pattern and the Playlist in FL Studio?
A pattern is a short musical idea you create in the Channel Rack or Piano Roll. The Playlist is the song timeline where you place and repeat those patterns to build the full arrangement.
How long should each section of my song be?
There’s no fixed rule, but sections often run in multiples of 4 or 8 bars so they line up with the rhythm. Aim for contrast between sections rather than a specific length, and trim anything that feels repetitive.
How do I make my arrangement less repetitive?
Add and remove elements between sections, use transitions like risers and fills, and automate parameters such as filter cutoff so the track keeps evolving. Variation in arrangement does more for interest than volume changes alone.
Should I arrange or mix first?
Arrange first. Get the full structure playing end to end so you know which sections need to be biggest and which should sit back. Mixing decisions like balance and EQ make far more sense once the arrangement is settled, and you avoid re-mixing parts you later cut.


