Automation is how you make settings change over time in Ableton Live, from a filter sweep to a fade-out. If you want to know how to automate in Ableton, the core methods are: draw automation by hand in the Arrangement, record knob moves in real time, or use clip envelopes inside individual clips. Each suits a different situation. The same ideas carry across programs, so if you also work elsewhere it helps to understand how automation works in a DAW generally.
This guide covers all three approaches plus editing tips, in recent versions of Live. Exact wording for some toggles varies by version, so focus on the workflow described.
Drawing automation in Arrangement View
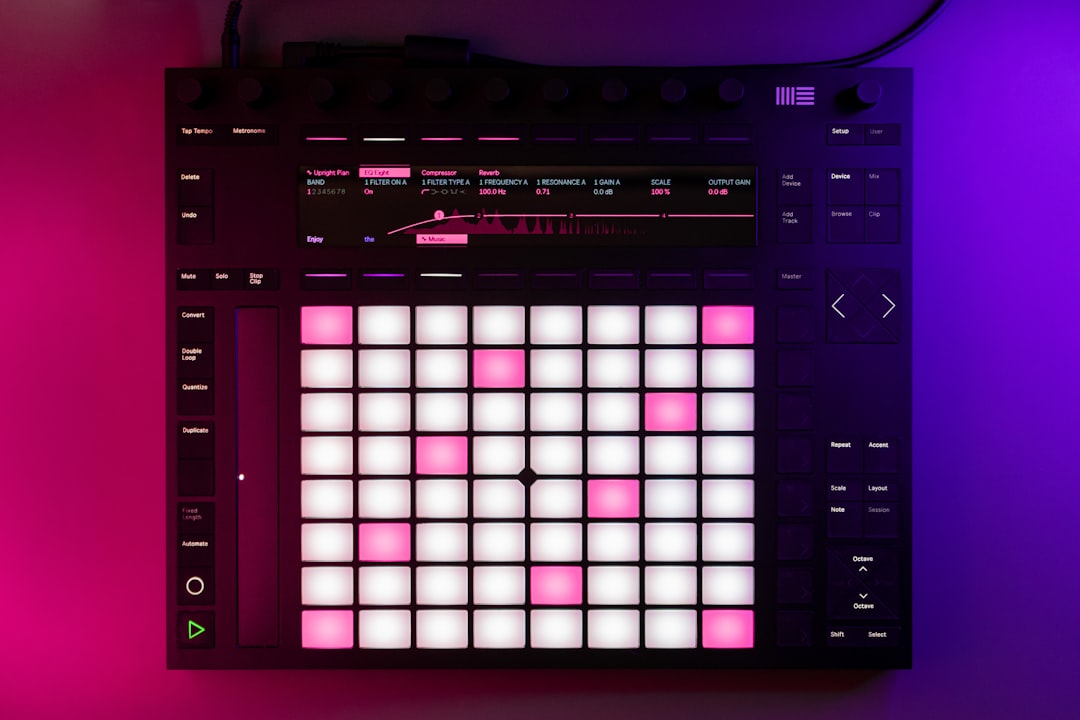
In Arrangement View, every track and device parameter has an automation lane. Show automation, then pick the parameter from the lane’s chooser. The flat line is the parameter’s current value; click to add breakpoints and drag them to shape a curve. Enable Draw Mode to paint values quickly with the mouse. This is the most precise method and ideal for planned moves like volume rides and filter sweeps.
Recording automation live
To capture a performance, enable the Automation Arm (the global automation record button) alongside the main record, then play back and move a knob or fader. Live writes your moves into the automation lane as you go. This feels musical and is great for expressive changes you’d struggle to draw by hand. If you’ve connected a controller, map its knobs first using how to set up a MIDI controller in Ableton so you can record physical moves.
Editing breakpoints cleanly
After recording, tidy the lane: drag breakpoints to adjust timing or value, delete extra points, and use the curved-segment option to ease transitions instead of stepping abruptly. Keep automation readable so future you can understand it. A small note: red automation values mean the lane has been edited away from the device’s saved value, and a Re-Enable Automation button restores playback control when you’ve overridden it manually.
Clip envelopes in Session and clips
Automation can also live inside a clip as a clip envelope, so the move travels with the clip wherever you launch it. Open a clip, switch its Envelopes view, and draw the curve there. This pairs naturally with Session View, where each looping clip can carry its own evolving modulation. For continuous, cyclical movement you might reach for an LFO instead, but a hand-drawn clip envelope gives you full control over the exact shape.
What to automate for a better mix
Common targets: volume for fades and rides, filter cutoff for builds, send levels for moments of reverb, and Macro knobs on a Rack to morph a whole sound at once. Subtle automation adds life that static settings can’t. Riding a vocal’s volume is one of the most useful moves here, and it helps to first settle how loud the vocals should sit before you automate around that level. For the underlying balance decisions, see EQ and compression fundamentals and the wider mixing and mastering hub.
Which method should you choose?
The three methods aren’t rivals, they’re tools for different jobs, and most finished tracks use a mix of all three. Choosing well saves you a lot of fiddly clean-up later.
Reach for drawing in Arrangement when the move is planned and needs to land on an exact bar: a clean four-bar filter build into a drop, a precise volume dip under a vocal line, or a fade-out that has to end at a specific point. Drawing gives you frame-accurate control and perfectly straight or smoothly curved segments that a hand on a knob can’t match.
Reach for recording live when you want feel rather than precision: riding a vocal up and down to keep it sitting in the mix, sweeping a resonant filter in a way that breathes, or performing a build that should sound human. Record first to capture the gesture, then switch to drawing to tidy the breakpoints it leaves behind. The two methods complement each other directly.
Reach for clip envelopes when you’re working in Session View or building loops that need to evolve on their own, independent of any one position in the song. Because the envelope travels with the clip, the same modulation repeats every time the clip launches, which is ideal for live sets and generative, looping ideas.
Common automation mistakes to avoid
A few habits trip people up again and again, and most are easy to fix once you know to watch for them.
The first is over-automating. If every parameter is moving, nothing stands out and the mix feels restless. Automation works best when it’s the exception, not the rule, so pick a few meaningful moves and let the rest sit still.
The second is the stuck override: you grab a knob during playback, the value turns red, and the parameter stops following your recorded lane. This isn’t a bug, it’s Live telling you that manual control has taken over. Press Re-Enable Automation to hand control back to the lane.
The third is abrupt stepping. Two breakpoints at different values with a straight line between them can click or jump audibly, especially on volume and pitch. Curve the segment to ease the transition, and add a short ramp rather than an instant jump wherever the ear would notice it.
The fourth is automating the wrong layer. If a sound lives inside a Rack, automating a Macro knob usually gives you smoother, more musical control than reaching into a single buried device parameter, because one Macro can move several settings together in a way that’s been designed to sound good.
Frequently asked questions
What’s the difference between automation and clip envelopes?
Track automation lives on the Arrangement timeline and is tied to a position in the song. A clip envelope lives inside a clip and moves with it, so the same modulation plays whenever you launch that clip in any location.
Why won’t my parameter respond to its device anymore?
You’ve likely overridden the automation manually, shown by red automation indicators. Click the Re-Enable Automation button to hand control back to the recorded automation lane.
Can I automate third-party plugin parameters?
Yes. Configure the plugin’s parameters so Live can see them, then they appear in the automation chooser like any stock device parameter and can be drawn or recorded the same way.
How do I delete automation I no longer want?
Select the breakpoints or the time range on the automation lane and delete them, which returns the parameter to a flat line at its current value. If you only want to silence the lane temporarily without losing your work, you can disable the automation rather than deleting it, then re-enable it later.


