
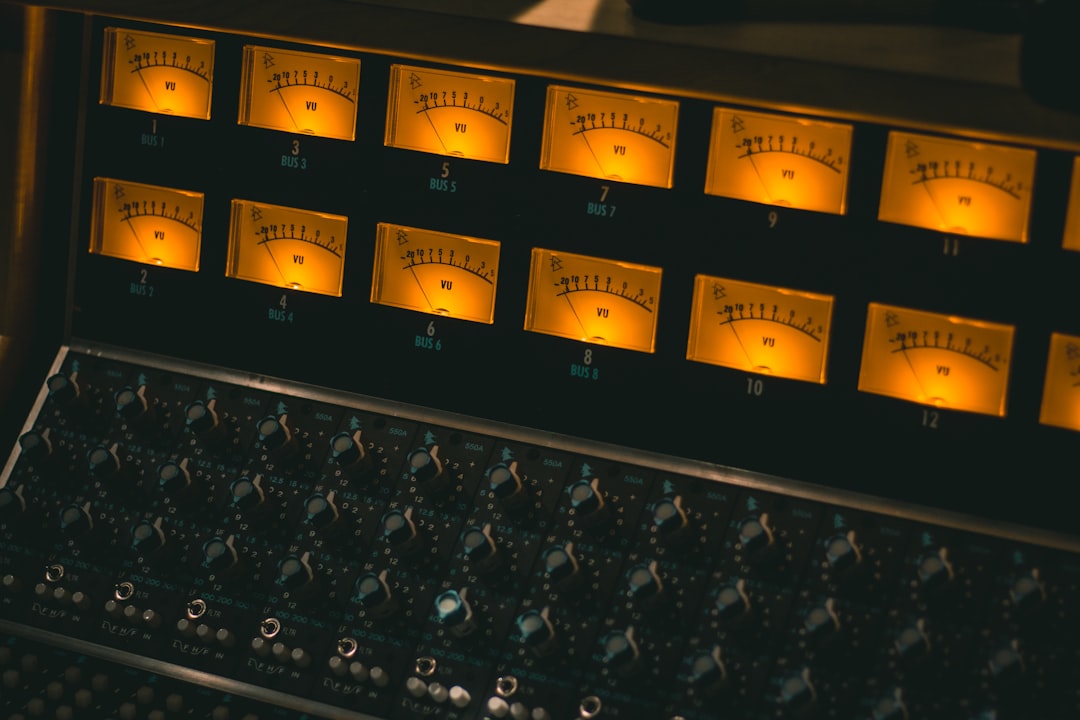
Everyone wants a loud master, the kind that hits as hard as a commercial release and never sounds weak next to it. The problem is that loudness is easy to get wrong: crank a limiter too hard and you trade all your punch, transients, and life for a flat, fatiguing wall of sound. A genuinely loud master is not the product of one aggressive plugin; it is the result of a mix that was built to be loud and a chain of small, deliberate stages that each add a little level cleanly. This guide walks through how loudness actually works, the processing order that maximises it, and how to stay loud without destroying the track.
Loudness starts in the mix, not the master
The single biggest factor in how loud your master can go is how well your mix is balanced before it ever reaches the mastering chain. Loudness is really about density: how consistently energy fills the space between the peaks and the average level. A mix with a runaway kick drum, an uncontrolled bass, or wild vocal dynamics has huge transient spikes that force the limiter to work overtime, so you run out of loudness fast. A mix where every element is already controlled sits close to its own average and lets you push far harder before anything distorts.
- Control the low end first. Bass and kick eat the most headroom. Sidechain the bass to the kick, keep sub energy mono below 100 Hz, and make sure the two are not fighting, because uncontrolled low end is the number-one reason masters cannot get loud.
- Tame the loudest peaks in the mix. Use compression and clip gain on individual tracks so no single hit towers over the rest. The flatter the peak-to-average ratio going in, the louder the master can go.
- Leave real headroom. Bounce your mix with peaks around -6 dBFS and no mix-bus clipping, so the mastering chain has clean signal to work with.
The chain that builds a loud master
Loudness is added in layers. Each device removes a little dynamic range so the next one has an easier job, and the total is far cleaner than one limiter doing everything:
- Broad corrective EQ. Before compressing, fix any tonal imbalance with gentle moves on a transparent EQ such as FabFilter Pro-Q. A build-up around 200 to 400 Hz is the enemy of loudness, so a wide cut of 1 to 2 dB there clears space and lets the limiter breathe.
- Multiband dynamics. The lows are usually what stops a track getting loud. A multiband compressor such as FabFilter Pro-MB lets you control the low band independently with a few decibels of reduction so it stops pumping the whole master, without squashing the mids and highs.
- Glue compression. A gentle bus compressor at a 1.5:1 to 2:1 ratio pulling 1 to 2 dB raises the average level and tightens the track. Keep the attack slow enough (30 ms or more) to preserve punch.
- Clipping the transients. A soft clipper before the limiter, shaving only the sharpest 1 to 3 dB off drum transients, is the professional loudness secret. Rounding those peaks means the limiter no longer has to lunge at them, so the whole master can sit louder and cleaner.
- Brickwall limiting last. A true-peak limiter such as FabFilter Pro-L 2 with the ceiling at -1 dBTP catches everything that gets past the earlier stages. Push its input gradually and stop when transients dull; average gain reduction of 3 to 6 dB is loud yet still clean.
A dedicated maximiser such as Waves L2 is a classic tool for the final loudness push and can sound great when driven modestly, but the same rule applies: a little across several stages beats a lot in one.
How loud is loud enough?
Here is the reality check that saves you from ruining a track. Streaming platforms normalise playback loudness, turning down anything that arrives louder than their reference, which sits around -14 LUFS integrated. If you master to -8 LUFS, Spotify simply attenuates your track to the same playback level as one mastered at -14, except yours has already sacrificed its dynamics and punch. So the honest answer is that for streaming, mastering much beyond -9 to -11 LUFS integrated gains you nothing but lost life.
Loudness competitiveness therefore is not about raw LUFS; it is about feeling loud at a given loudness. Two tracks normalised to -14 LUFS can feel very different in impact depending on how punchy and dense they are. That is why you should always compare your master against a commercial reference at matched loudness, using a tool such as Youlean Loudness Meter to confirm the levels are equal before you judge which hits harder.
Stay loud without killing the track
The final discipline is knowing when to stop. Listen to the cymbals and vocal sibilance as you push loudness, because they distort first. Watch that your true peak never exceeds -1 dBTP across the whole song, not just the chorus. If the master starts to sound flat, lifeless, or narrower in stereo, you have gone too far; back off a decibel and let the transients return. A loud master that still breathes always beats a louder one that has been crushed to death.
A loud master is built, not squashed: control the low end, spread gain across EQ, multiband, clip, and limiter, and respect the -14 LUFS streaming target. For the mechanics of achieving level cleanly, see our companion guide on adding loudness without clipping and the full mastering chain walkthrough, and meter your levels free at our audio tools hub. Do it in layers and your master will be loud, clean, and full of life.



