
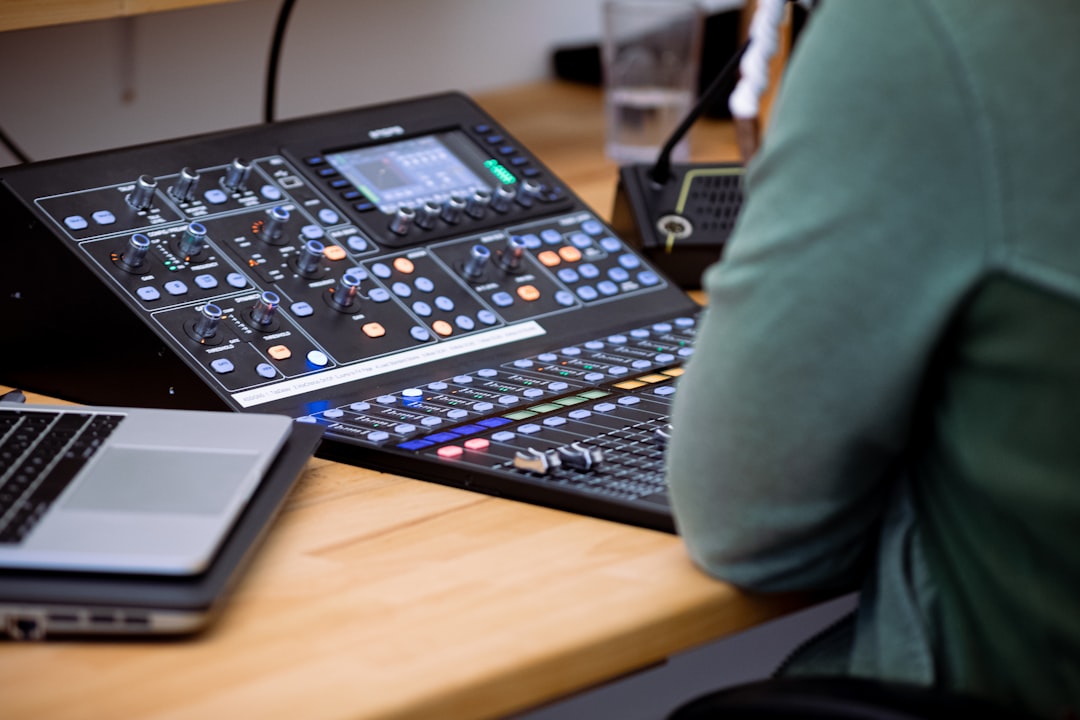
If you want to know how to install ASIO4ALL, it’s a quick Windows-only job: download the installer from the official ASIO4ALL site, run it, then select ASIO4ALL as the audio driver inside your DAW. ASIO4ALL is a free universal ASIO driver that gives low-latency audio on Windows devices that don’t ship with a proper ASIO driver of their own. This guide walks through the whole setup.
ASIO4ALL is most useful if you’re recording with a laptop’s built-in sound or a basic class-compliant device on Windows. If your interface already comes with its own manufacturer ASIO driver, use that instead — it’ll perform better. ASIO4ALL is the fallback, not the first choice.
Before you start
- ASIO4ALL is Windows only. On macOS, Core Audio already provides low latency and ASIO isn’t used.
- If your audio interface shipped with a dedicated ASIO driver, install and use that — see updating audio drivers for recording.
- ASIO4ALL is a wrapper around your existing Windows audio device; it doesn’t add hardware capability, it just lowers latency.
What ASIO actually does
It helps to understand why ASIO matters before you start clicking. On Windows, the standard audio path (WDM, DirectSound, or shared-mode WASAPI) routes your sound through the operating system’s mixer. That mixer adds buffering so several programs can share the speakers at once, and that buffering is what produces the noticeable delay between playing a note and hearing it. ASIO — Audio Stream Input/Output — bypasses that shared mixer and talks to the audio device almost directly, which is why it feels so much tighter when you’re monitoring a vocal or playing a software instrument.
ASIO4ALL is a clever workaround: it presents itself to your DAW as an ASIO driver, but underneath it speaks to your ordinary Windows sound device through a low-level interface. It can’t give you the rock-solid performance of a driver written by your interface’s manufacturer, but it gets you a usable low-latency path on hardware that would otherwise have none.
How to install ASIO4ALL
- Download the installer from the official ASIO4ALL website. Only use the official source to avoid bundled junk from mirror sites.
- Close your DAW first, then run the installer and follow the prompts. It’s a small, fast install.
- Restart your computer if prompted.
That’s the installation done. ASIO4ALL runs in the background and appears as a selectable driver in any ASIO-capable program.
Select ASIO4ALL in your DAW
Open your DAW and go to its audio settings (often “Audio Device”, “Playback Engine” or “Preferences → Audio”). For the driver type or device, choose ASIO4ALL. Once selected, an ASIO4ALL settings panel becomes available — open it to choose which physical device it should use. New to interfaces generally? Start with how to set up an audio interface.
Configure the device and buffer
In the ASIO4ALL control panel:
- Enable (power-on) the input and output device you actually want to use — your interface or your laptop’s built-in audio — and leave others disabled to avoid conflicts.
- Set the buffer size (sometimes shown as a latency slider). Start moderate, then lower it gradually until you hit clicks or crackle, and back off one step. Lower buffer means less latency but more strain.
- If you hear crackling, raise the buffer — see fixing crackling and popping audio.
Only one program can use ASIO4ALL at a time, so close other audio apps (browsers, media players) or you may see a “device in use” error.
Getting the buffer setting right
The buffer size is the single setting that affects how ASIO4ALL feels in use, so it’s worth taking a minute over it. A smaller buffer reduces the round-trip delay between input and output, but it asks your CPU to deliver audio in smaller, more frequent chunks. If the processor can’t keep up, you get dropouts: clicks, pops or stuttering. A larger buffer is more forgiving and far more stable, at the cost of a little extra latency. If you get persistent stutters even at a sensible buffer, work through how to fix audio dropouts while recording — it’s often the machine, not the driver.
A practical approach is to use two settings rather than one. While you’re tracking — recording vocals or playing a virtual instrument in real time — choose a buffer low enough that the delay isn’t distracting. When you switch to mixing, where you’re no longer performing live, push the buffer right up. The higher setting lets a busy project with lots of plugins play back without strain, and the latency no longer matters because nothing is being performed against the playback. If your DAW offers a reported input and output latency figure, watch that number as you adjust; it tells you in milliseconds what the slider is actually buying you.
Common ASIO4ALL problems
- No sound or device greyed out: another app is holding the audio device. Close it, or enable the correct device in the ASIO4ALL panel.
- Crackling at low buffer: normal — raise the buffer until it’s clean.
- Higher latency than expected: ASIO4ALL can’t beat a true hardware driver. If you record seriously, a proper interface with its own ASIO driver is the better long-term move; see what is audio latency.
Mistakes to avoid
- Running it alongside a real ASIO driver. If your interface already has its own driver, installing ASIO4ALL on top only adds confusion. Pick one and select it consistently in every program.
- Leaving every device enabled. Powering on inputs and outputs you don’t use invites clock and conflict problems. Enable only what you record and monitor through.
- Expecting it to add quality. ASIO4ALL changes the timing of the audio path, not the sound of your hardware. It won’t make built-in laptop audio sound like a dedicated interface, and a weak machine will still struggle at low buffers — a faster laptop for music production does far more for stability than the driver does.
- Chasing the lowest possible buffer. A stable session at a moderate buffer beats a glitchy one at the minimum. Stop lowering the moment you hear trouble.
More Windows audio fixes live on the home studio setup hub.
Frequently asked questions
Do I need ASIO4ALL if my interface has its own driver?
No. A manufacturer’s dedicated ASIO driver will give better, more stable performance. Use ASIO4ALL only when your device has no proper ASIO driver, such as a laptop’s built-in audio or a basic class-compliant device.
Does ASIO4ALL work on Mac?
No. ASIO is a Windows technology, and macOS already provides low-latency audio through Core Audio. Mac users don’t need ASIO4ALL at all.
Why does ASIO4ALL say the device is in use?
ASIO4ALL gives one program exclusive access to the audio device, so if a browser, media player or another DAW is using it, you’ll get that error. Close the other audio apps and reselect the device in your DAW.
Can ASIO4ALL combine two different audio devices?
In some cases it can present inputs and outputs from more than one device at once, but mixing devices that run on separate clocks tends to cause drift and dropouts. For reliable recording, run a single device through ASIO4ALL, or move to an interface that handles all your inputs and outputs on one clock.



