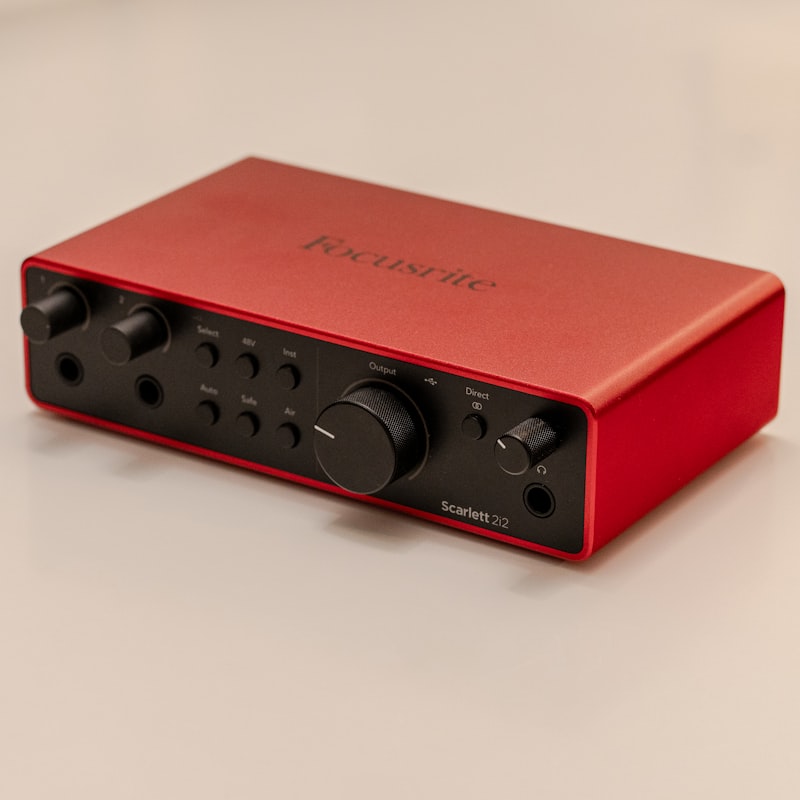
Latency is the short delay between making a sound and hearing it through your computer. A little is normal; too much makes recording feel disconnected, like singing over a slightly late echo. The good news is it’s almost always fixable.
What causes latency
Your computer processes audio in small chunks called the buffer. A bigger buffer is easier on your CPU but adds delay; a smaller buffer lowers delay but works the CPU harder. If the trade-off is new to you, our guide to buffer size in audio recording breaks it down in plain terms. Drivers, sample rate and plugins all play a part too.
It helps to picture the full round trip your signal makes. Sound goes into your microphone, through the interface’s preamp, gets converted from analogue to digital, travels into the computer, sits in the input buffer, passes through your DAW and any plugins, then makes the whole journey back out to your headphones. Each stage adds a tiny amount of time. Add them together and you get the figure your interface usually reports as round-trip latency, measured in milliseconds. Anything under roughly 10 ms feels instant to most people; somewhere past 20-30 ms is where singers and players start to fight it.
Sample rate matters because the buffer is measured in samples, not milliseconds. A 128-sample buffer at 44.1 kHz is noticeably slower than the same 128 samples at 96 kHz, simply because there are more samples per second to chew through. That is why two studios quoting the “same” buffer size can feel quite different. If you’re unsure which to record at, our explainer on sample rate and bit depth covers what to use and why.
How to reduce it
- Lower your buffer size while recording (try 64-128 samples), raise it again for mixing.
- Use the right driver – ASIO on Windows; macOS handles this natively.
- Use direct monitoring on your interface to hear yourself with zero delay.
- Freeze or disable heavy plugins while tracking.
If you want these steps spelled out in order, our walkthrough on reducing latency when recording goes through each one in more detail.
Direct monitoring is the secret
Most interfaces let you monitor your input directly through the hardware, bypassing the computer entirely – so there’s no perceptible delay no matter your buffer. It’s the simplest fix for recording comfortably, and if the term is new to you, here’s a fuller look at what direct monitoring is and how to switch it on.
There is one catch worth understanding. With direct monitoring you hear the dry signal straight off the interface, so any reverb or effects in your DAW won’t be in your headphones while you perform. For a lot of singers a touch of reverb helps them deliver, which is why many modern interfaces include built-in DSP effects you can add to the monitor mix without involving the computer. If yours doesn’t, the alternative is software monitoring at a very low buffer, accepting a little delay for the sake of hearing your plugins.
Software monitoring vs direct monitoring
The choice between the two is really a trade-off. Direct monitoring gives you zero perceptible delay but no software effects on what you hear. Software (or DAW) monitoring lets you hear your full processed sound – vocal chain, reverb, tuning – but every plugin in that path adds latency, and at a tight buffer it taxes your CPU. A practical rule of thumb: track vocals and any time-sensitive performance with direct monitoring, and lean on software monitoring only when hearing the effect genuinely changes how you play.
Common mistakes to avoid
- Leaving the buffer low for the whole project. A small buffer is for tracking. Once you start adding plugins and mixing, raise it – otherwise you’ll get clicks, pops and dropouts as the CPU runs out of headroom.
- Monitoring both ways at once. If you enable direct monitoring on the interface and input monitoring in the DAW, you’ll hear yourself twice with a flanging, doubled effect. Pick one.
- Blaming the interface for software problems. Background apps, power-saving modes and Bluetooth audio devices all add overhead. A wired connection and a tidy system often beat a hardware upgrade.
- Chasing huge sample rates. Recording at 96 kHz can shave latency, but it also doubles your file sizes and CPU load. For most home recording, 44.1 or 48 kHz is plenty.
Buffer size and drivers are set in your DAW and interface – our audio interface setup guide walks through it, and the interface buying guide covers which features matter.
Frequently asked questions
What is a good latency for recording?
As a guide, round-trip latency under about 10 ms feels effectively instant, and many people are comfortable up to around 15 ms. Past 20 ms the delay starts to disrupt timing for singers and players. If you’re using direct monitoring, though, the number barely matters – you’re hearing the hardware, not the buffered signal.
Does a more expensive interface always mean lower latency?
Not on its own. Connection type and driver quality usually matter more than price. Thunderbolt interfaces tend to achieve lower latency than USB at the same buffer size, and a well-written driver makes a bigger difference than a fancy badge. A modest interface with a stable driver and direct monitoring will out-perform a pricey one running on a cluttered, overloaded computer.
Why do I still hear a delay even with a tiny buffer?
If lowering the buffer doesn’t help, the delay is probably coming from plugins in your monitoring path – some, such as linear-phase EQs and certain limiters, introduce their own latency that the buffer setting can’t fix. Bypass plugins on the track you’re recording, or switch to direct monitoring, and the lag should disappear.
Shop related gear
Low-latency interfaces to keep delay down:
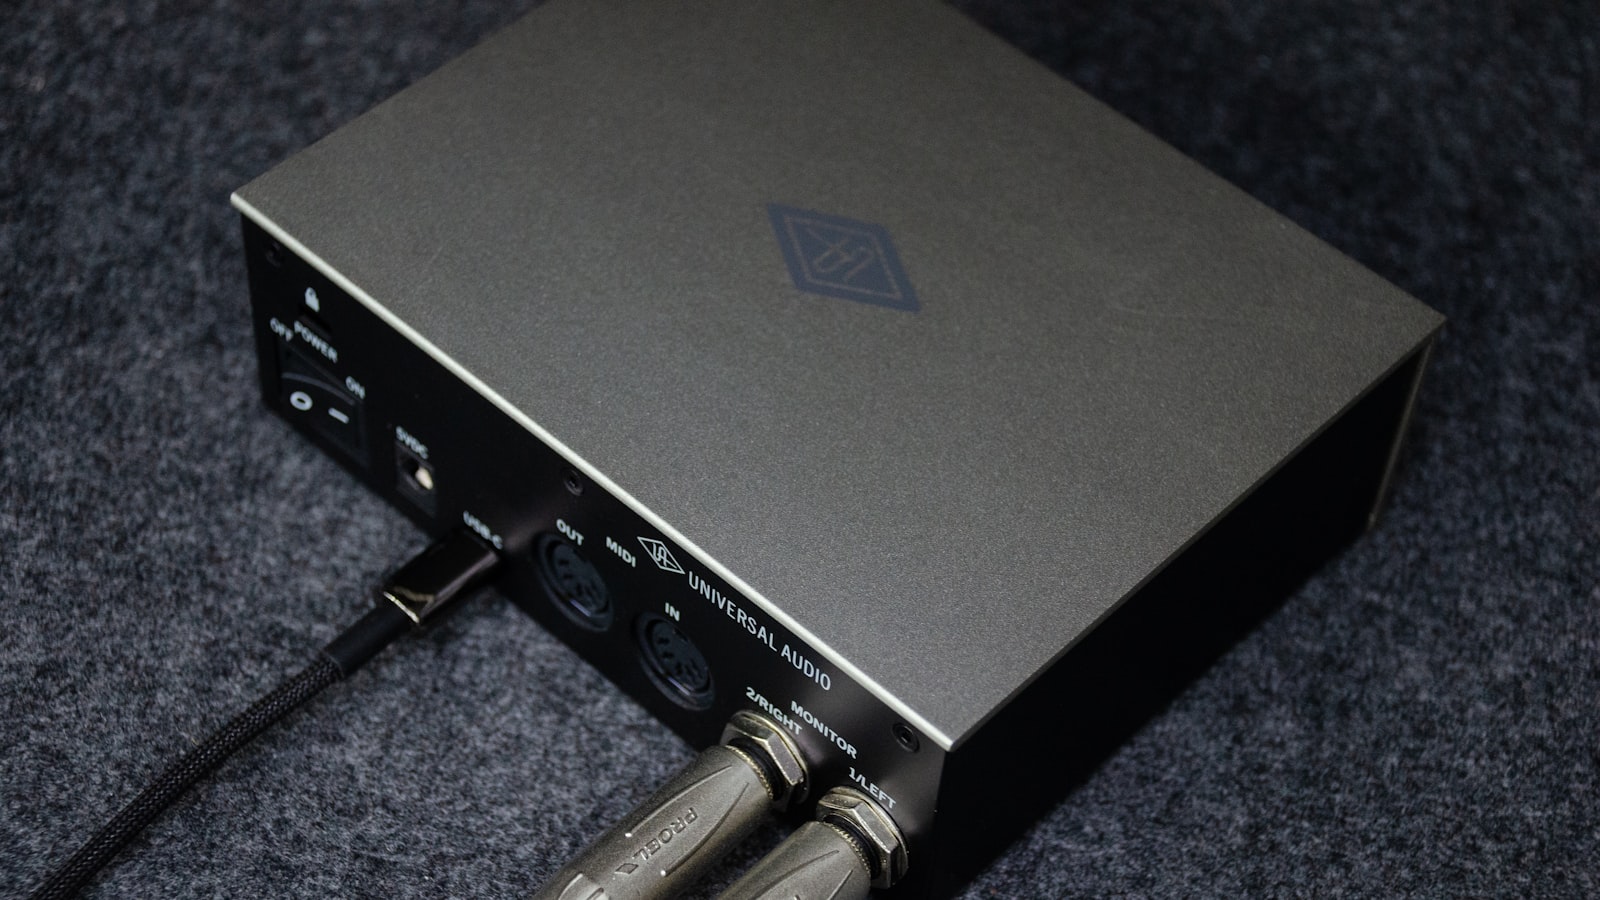
Clean preamps and low-latency USB-C — the sweet spot for most home studios.