
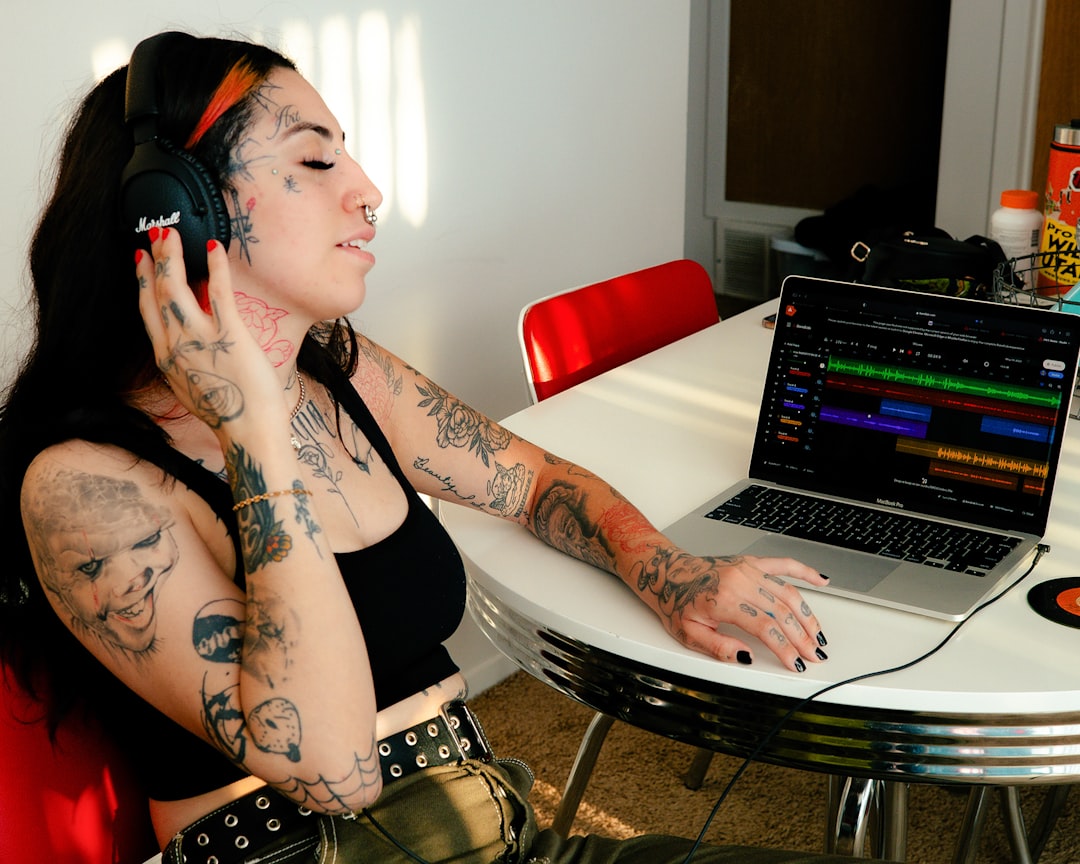
The fastest way to make a music visualizer is to feed your finished track into a tool that reads the audio and draws reactive motion around it — bars, waveforms, particles or full AI-generated scenes — then export a video sized for wherever you’re posting. You can do it free in a desktop app, in the browser, or with an AI generator that builds the whole clip for you.
This guide walks through how to make a music visualizer step by step: choosing a style, picking the right tool for your skill level, sizing it for YouTube, Reels or TikTok, and exporting something that actually looks good on a small screen. Whether you want a quick waveform loop or a cinematic AI video, the workflow is the same handful of decisions.
Violet Recording is reader-supported — we may earn a commission from links on this page, at no extra cost to you.
Quick pick: the fastest route for each situation
| You want… | Best route | Why |
|---|---|---|
| A full music video from just the song | Solmi | Song-to-video in 16:9, 9:16 or 1:1; also Suno-to-Video and lyric video |
| A clean audio-reactive bar/wave visualizer | Specterr or a desktop plugin | Purpose-built audio visualizers, template-driven |
| Free, offline, full control | Blender or a DAW + video editor | No subscription, but a steeper learning curve |
| Cinematic, AI-generated visuals | Kaiber, Neural Frames, Runway | Text-to-video and audio-reactive AI scenes |
| A 3–8s Spotify Canvas loop | Any 9:16 tool + trim | Canvas just needs a short vertical loop |
Step 1: Decide what kind of visualizer you actually need
“Music visualizer” covers several very different looks, and picking one first saves you a lot of wasted rendering time. The classic version is audio-reactive: bars, a waveform, or a spectrum that pulses in time with the track. It’s cheap to make, reads well as a YouTube upload for a single, and never distracts from the song.
The second family is the ambient or scene visualizer — a looping background (a slow zoom on artwork, particles, abstract shapes) with subtle reaction to the beat. This is what most Spotify Canvas clips and “lo-fi” style uploads use. The third is the AI-generated music video, where a tool interprets your track or a text prompt and produces evolving, cinematic footage. That’s the most eye-catching for social, and the most hands-off if you use a generator.
Match the style to the platform. A horizontal 16:9 bar visualizer suits a YouTube single. A vertical 9:16 scene suits Reels, TikTok and Shorts. A square 1:1 works for feed posts. Knowing the aspect ratio before you start means you never re-render the whole thing later.
The easy route: how to make a music visualizer with AI
If you don’t want to touch a timeline, an AI generator is the shortest path. The workflow is genuinely just: upload the song, choose an aspect ratio, pick a style or prompt, and let the tool render. This is where Solmi fits for most musicians — it’s a browser-based AI music suite that turns a track into a finished music video in 16:9, 9:16 or 1:1, so one song can become a YouTube upload, a Reel and a square feed post without re-editing.
A few Solmi features are worth knowing if you’re coming from an AI song tool. Its Suno-to-Video flow lets you paste a Suno or Udio track and get a video back, which closes the gap between generating a song and having something postable. It also does lyric videos, AI Cover, and AI Singing Video, and it runs on desktop and mobile in the browser, so you’re not tied to a heavy install. Pricing is flat — a free tier plus Pro from $9.99/mo with no per-render credit wall — which is easier to plan around than credit-metered generators. For exact free-tier caps, export length and commercial-use terms, check the Solmi site for current details.
Other AI options work differently and suit different goals. Kaiber, Neural Frames and Runway lean toward prompt-driven, cinematic AI video — great when you want surreal, evolving imagery and don’t mind guiding the model. Sondo and Freebeat aim at fast, mobile-first AI music videos. Most of these run on credit-based or subscription plans, so check current pricing before you commit to a big batch of renders.
Step 2: Make a classic audio-reactive visualizer
If you want the tidy bars-and-waveform look, a dedicated audio visualizer is the way. Tools like Specterr and Vizzy are built specifically for this: you upload the audio, choose a template, drop in your cover art and track title, tweak colours to match your branding, and export. Plazmapunk sits nearby with more stylised, AI-flavoured reactive looks. These are template-first, so you trade fine control for speed — you’ll have something usable in minutes rather than hours.
Prefer to keep it free and offline? You have two solid routes. Many DAWs and video editors have visualizer plugins or built-in audio-spectrum effects — you render the reactive layer over your artwork and export from the same project you mixed in. For total control, Blender can drive object properties from an audio file (bake the sound to keyframes) and produce genuinely custom motion, though it’s the steepest learning curve on this list. If you already know your way around a DAW, our guide to mixing your first song and LUFS and loudness explainer will help you get the audio itself export-ready first.
Step 3: Size, export and post it correctly
Getting the technical export right is what separates a clip that looks sharp from one that looks muddy in a feed. Set your canvas to the platform’s native aspect ratio: 1920×1080 for YouTube (16:9), 1080×1920 for Reels, TikTok and Shorts (9:16), and 1080×1080 for a square feed post. For a Spotify Canvas, you only need a short vertical loop — trim a clean 3–8 second section that loops without a visible jump.
Export at 30fps (or 60fps if the motion is fast), in H.264 MP4, and keep the bitrate high enough that the bars or fine detail don’t smear — social platforms re-compress your upload, so give them a clean source. Make sure your loudness matches streaming targets before you render the audio in; a visualizer built on an over-compressed or clipping bounce will sound worse than the master you worked hard on. Finally, add the track title and your handle as a small static overlay so the clip still credits you when it’s reposted.
Step 4: Make one video work everywhere
The biggest time-saver is producing every aspect ratio from a single source rather than rebuilding. If your tool exports 16:9, 9:16 and 1:1 from one project — as an all-in-one generator does — you get a YouTube version, a vertical version and a square version in one pass. If you’re in an editor, build the visualizer once, then create export presets for each ratio and reframe the composition instead of starting over.
Repurpose smartly: the full 16:9 clip is your YouTube home for the single, a 15–30 second 9:16 cut becomes your Reels/TikTok/Shorts teaser, and a short loop becomes your Spotify Canvas. One render, four placements. If you’re releasing the song properly, pair the visuals with a distribution and promotion plan so the video actually reaches people rather than sitting unlisted.
Frequently asked questions
Can I make a music visualizer for free?
Yes. Free routes include the audio-spectrum effects built into many video editors and DAWs, open-source Blender (which can drive animation from your audio), and the free tiers of browser tools. Free usually means either watermarks, a learning curve, or export limits — check each tool’s terms — but a clean bar or waveform visualizer costs nothing but time.
What’s the difference between a music visualizer and a music video?
A visualizer is audio-reactive or ambient motion built around the track — bars, waveforms, artwork, particles — and is quick to produce. A music video tells more of a visual story with scenes, footage or AI-generated imagery. AI tools like Solmi blur the line by generating a full song-to-video clip, so you can jump straight to the music-video look without filming anything.
What size should a music visualizer be for Reels and Spotify Canvas?
Use 1080×1920 (9:16) for Reels, TikTok and Shorts. Spotify Canvas is also vertical but only needs a short seamless loop, typically a few seconds long — trim a section that loops cleanly. For YouTube, export 16:9 at 1920×1080. Rendering each ratio from one source, or using a tool that outputs all three, saves re-doing the work.
Want to go deeper on the AI side? See our best AI song generators roundup, the Suno vs Udio comparison, our full Solmi review, and browse more guides in the AI Music Tools hub. You can also try our free music visualizer tool and album cover art generator.



