To make risers and sweeps, take a sustained source like white noise or a synth, then automate something rising over time — pitch, filter cutoff or volume — across one to several bars so tension builds into the next section. Add reverb, delay and a final impact and you have the transition that pulls a listener into a drop or chorus.
Risers and sweeps are transition effects, and you can build them with a synth, a noise generator, or by resampling existing sounds. Here are the main types and how to make each.
Make risers and sweeps from noise
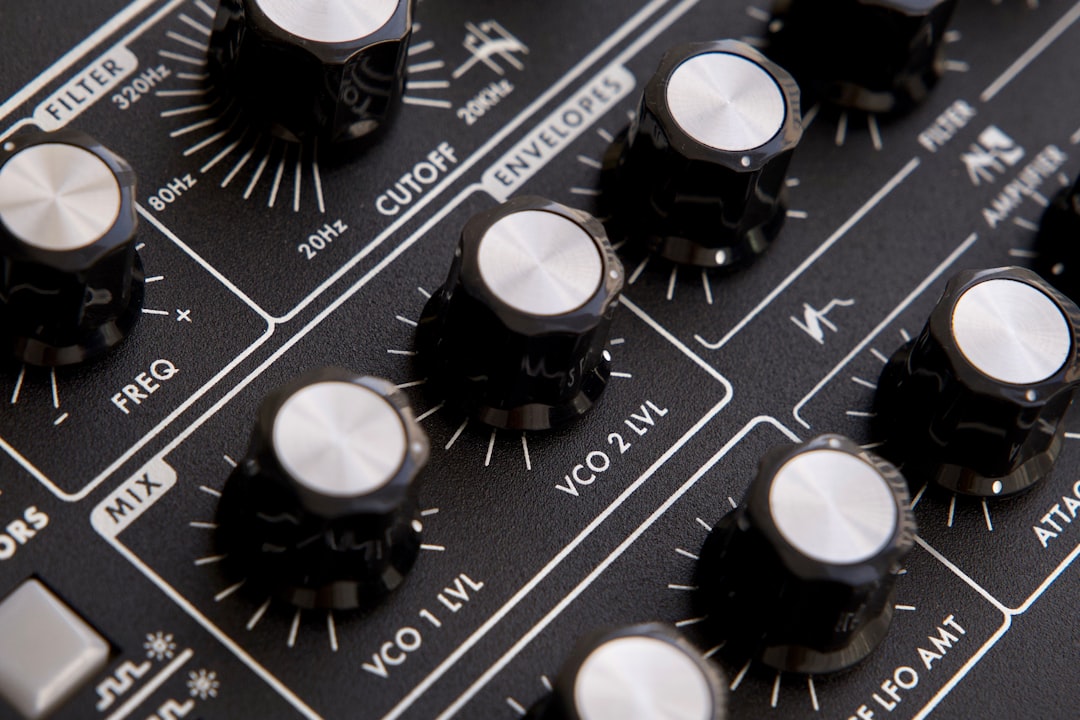
The simplest riser is filtered noise. Set a synth oscillator to white or pink noise, run it through a band-pass or high-pass filter, and automate the filter cutoff to rise over the bars leading into your drop. As the filter opens, the noise gets brighter and more intense. Add a slow volume swell so it grows louder into the impact. This is the bread-and-butter “shhhh” sweep heard in electronic and pop transitions. If you are new to building tones from an oscillator up, our guide on designing sounds with a synth walks through the same controls.
Pitch risers
A pitch riser uses a tonal source whose pitch climbs over time. Take a sustained synth note — a saw or a wavetable — and automate the pitch upward across the transition, or use a built-in pitch envelope set very slow. The endless-rising illusion (a Shepard-tone style riser) layers several octaves so it feels like it climbs forever without actually leaving the range. Pitch risers build harmonic tension that resolves the moment the drop lands.
Sweeps and downsweeps
Sweeps move energy across the stereo and frequency field. A downsweep (pitch or filter falling) is great right at the moment of a drop, signalling release after a riser’s tension. Pair an upward riser into the impact with a downsweep on the first beat of the new section for a satisfying push-and-release. A riser is also a close cousin of the whoosh sound, which moves a similar burst of filtered noise past the listener. For the impact itself, see our guide on how to make impact and hit sounds.
Resampled and recorded risers
Some of the best risers come from real material. Record or grab a sound — a cymbal swell, a vocal, a field recording — reverse it, stretch it and automate a filter open across it. Reversed reverb tails make excellent organic sweeps. Our guide on how to resample sounds covers the reverse-and-process workflow in detail, and recording your own sound effects gives you original source material.
Process for tension and width
Effects are what make a riser feel huge:
- Reverb: a long reverb tail expands the sweep and increases the sense of build. See how to use reverb for sound design.
- Delay: tempo-synced delay adds rhythmic motion and feeds the build.
- Automated filter and volume: the rise itself — always moving something upward.
- Stereo width and panning: automate width so the riser opens up as it peaks.
Tighten the timing so the riser peaks exactly on the downbeat of the new section, then cut it abruptly or duck it so the drop has room to breathe.
How to build a riser step by step
If you are starting from scratch, a reliable order of operations keeps the result clean and saves you from fighting the mix later. Work through these stages rather than reaching for a preset:
- Pick the length first. Decide how many bars the build covers before you draw a single automation point. The length sets the slope of every rise that follows, so locking it in early stops you re-drawing curves repeatedly.
- Choose one primary motion. A riser feels confused when pitch, filter and volume all climb at full strength at once. Let one movement lead — usually filter for noise risers, pitch for tonal ones — and use the others as support.
- Draw the curve to taste. A straight linear rise feels mechanical; an exponential curve that accelerates toward the end builds more tension because most of the change happens in the final beat or two.
- Add space, then motion. Print reverb and delay after the core rise is working, not before. Wet effects can mask a weak automation curve and trick you into thinking the build is finished.
- Resolve on the downbeat. Trim or fade the tail so the loudest, brightest point sits exactly on beat one of the new section, then hand the energy to your impact or kick.
Saving the result as a one-shot audio clip is worth the extra minute. A printed riser plays back identically every time, uses fewer CPU resources than a live synth-and-automation chain, and is easy to nudge or pitch later.
Common mistakes
Most weak transitions come down to a handful of repeat offenders rather than the wrong plugin:
- Too much low end. Full-range noise risers pile up energy below 100 Hz and clash with the kick when the drop hits. High-pass the riser so it lives above the rhythm section and leaves room for the impact.
- Peaking too late. If the build crests after the downbeat it steps on the new section instead of launching it. Always line the climax up just before, or exactly on, beat one.
- No release. A riser with no drop in level or brightness on the other side feels relentless. A short downsweep or a beat of silence gives the ear the contrast that makes the build pay off.
- Stacking too many layers. Three or four well-chosen elements almost always beat ten fighting for the same frequencies. If you do combine sources, learn to layer sounds cleanly and mute them one at a time, keeping only what clearly adds.
- Reusing the identical riser everywhere. The same sweep on every transition gets predictable fast. Vary the length, source or direction so each build still feels like an event.
Frequently asked questions
How long should a riser be?
It depends on the build. Short risers of one or two beats add a quick lift, while longer risers of four to eight bars create big, dramatic tension into a main drop. Match the length to how much anticipation the section needs.
What’s the difference between a riser and a sweep?
The terms overlap, but a riser usually builds upward in pitch or brightness into a climax, while a sweep moves energy across the frequency or stereo field and can rise or fall. Both are transition effects used to connect sections.
How do I make a riser feel like it climbs forever?
Use a Shepard-tone approach: layer the same rising motion across several octaves and fade the top and bottom layers in and out so the ear never registers a reset. This creates a continuously rising illusion that resolves at the drop.
Should I high-pass my risers?
Usually yes. Rolling off the low frequencies keeps the riser from masking your kick and bass during the build, and it stops a sudden bass pile-up at the moment the drop lands. Leave the sub-bass to your rhythm section and let the riser carry the mids and highs.


