
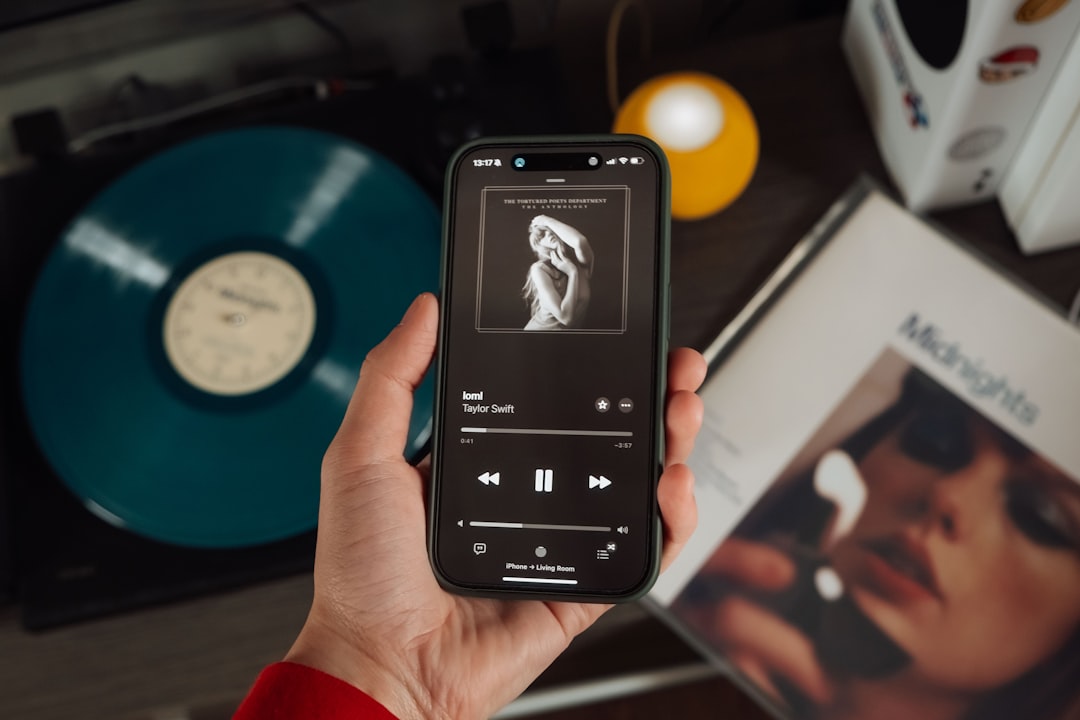
You can master a song on your phone and get a clean, competitive result for streaming — mastering is the final polish that makes your track sound consistent, balanced and loud enough to sit alongside commercial releases. It’s the last stage after mixing, and on mobile it comes down to a few careful moves plus the right export settings.
First, understand what mastering is
Mastering treats your whole song as one stereo file. The goals are simple: make it sound balanced across all systems, bring it to a competitive loudness, and produce the final file. It is not a rescue for a weak mix — if the balance is wrong, fix it in the mix first. Our overview of what mastering is covers the bigger picture, and how to mix a song on your phone is the step that has to come first.
Step 1: Start from a good mix with headroom
Bounce your mix so its loudest peaks sit a little below the top of the meter, not slammed against it. That headroom gives the mastering tools room to work. Master on headphones for accuracy, and ideally export your mix as a high-quality WAV rather than a compressed file.
Step 2: Choose your tool
You have two routes on mobile:
- A dedicated mastering app that analyses your track and applies processing automatically — fast and beginner-friendly.
- A manual master in your DAW, placing EQ, compression and a limiter on the master channel in apps like Cubasis (iOS), FL Studio Mobile (iOS and Android) or AUM (iOS) with AUv3 plugins.
For the automatic route, see the best mastering apps. The manual steps below apply either way.
Step 3: Balance with gentle EQ
Use broad, subtle EQ moves on the whole mix to fix tonal imbalance — a touch of high-frequency lift for air, a small dip if the low-mids feel muddy, or a gentle low-end trim if the bass is overpowering. Master EQ moves should be small. If you need big cuts, the problem belongs back in the mix.
Step 4: Add light glue compression (optional)
A small amount of compression across the master can pull the song together and add cohesion. Keep it gentle — just a little movement, not obvious squashing. If your mix already sounds tight, you can skip this entirely.
Step 5: Set loudness with a limiter
A limiter raises the overall level and stops peaks from clipping. Push the input gradually until the track feels competitively loud, but stop before it sounds crushed, distorted or lifeless. Chasing maximum loudness kills punch and dynamics, and streaming platforms turn loud masters back down anyway.
This is where loudness targets matter. Streaming services normalise to a loudness level, so a sensible, dynamic master usually beats a brick-walled one. Our guide to LUFS and how loud your master should be explains the targets to aim for.
Step 6: Reference and check
Compare your master against a commercial track you like in the same style, matched roughly for volume. Listen on several outputs — headphones, phone speaker, a Bluetooth speaker, the car. If it holds up everywhere and sits well next to the reference, you’re done. Take breaks so loudness doesn’t creep up on tired ears.
Step 7: Export the final file
Bounce a high-quality file — WAV at the project’s sample rate for the master copy, and a high-bitrate version for sharing. Make sure the final peak doesn’t clip. For platform-specific export options, see how to export a song from a music app.
Automatic or manual: which route should you pick?
Both can produce a release-ready master, so the right choice depends on where you are and how much control you want. A dedicated mastering app is the fastest way to a usable result: it analyses your track, makes its tonal and loudness decisions for you, and gets you to a finished file in minutes. That is ideal when you are new to mastering, working to a deadline, or simply want a reliable second opinion that isn’t coloured by hours of listening to your own song.
A manual master in your DAW trades speed for control. You decide every EQ move, how hard the compressor works and exactly where the limiter lands, which matters when a track has an unusual tonal balance or a genre-specific loudness feel that an automatic tool tends to flatten. If you want to chain a separate master-bus EQ, compressor and limiter together, a host like AUM lets you route AUv3 plugins exactly how you want. A good middle path is to run an automatic master first, listen critically, and then recreate or tweak its decisions by hand if something bothers you. Over time that comparison teaches you what a balanced master actually sounds like, which is the skill that matters more than any single app.
Why your room and listening setup still matter on mobile
Mastering is a series of small judgement calls, and you can only make them well if you trust what you are hearing. On a phone that means leaning on closed-back or well-known headphones rather than the built-in speaker, which has almost no low end and exaggerates the midrange. If you always mix and master on the same pair of headphones, you learn their character and can compensate for it — that consistency is worth more than chasing “perfect” gear.
Reference tracks do the same job from another angle. Loading a commercial song you admire into the same session, level-matched, instantly shows whether your low end is too heavy, your highs too dull, or your loudness wildly off. Check at a moderate volume too: loud playback flatters everything and hides problems that become obvious once a listener plays your track quietly on a phone in their pocket.
Common mistakes when you master a song on your phone
- Over-limiting: the number-one error. Loud is not the same as good.
- Mastering a bad mix: mastering can’t fix balance problems — go back to the mix.
- No headroom: a mix bounced at full level leaves nothing for the master chain.
- Judging on the phone speaker: use headphones and reference tracks for real decisions.
- Mastering when you’re tired: ears adapt fast, so a fresh session beats forcing decisions at the end of a long mix.
- Stacking too many plugins: a few well-chosen tools beat a long chain that smears the sound and is hard to judge.
Frequently asked questions
Can you master a song properly on a phone?
Yes. Mobile mastering apps and DAW master chains include EQ, compression and limiting — the core mastering tools. For most releases the result is clean and competitive, especially given streaming normalises loudness anyway.
How loud should my master be?
Aim for a balanced, dynamic level rather than the loudest possible. Streaming platforms normalise volume, so an over-compressed master just loses punch. See our guide to LUFS for specific targets.
Should I master in the same app I mixed in?
You can, by adding EQ, compression and a limiter to the master channel. Many people prefer a dedicated mastering app for a fresh perspective and automatic processing, but neither is required — both can produce a solid master.
Do I need to master each song separately or can I batch a whole EP?
Master each track to sound its best on its own first, then compare them side by side and nudge levels and tone so the EP feels consistent from song to song. A quieter ballad and a loud single shouldn’t be forced to identical loudness — the goal is that nothing jumps out awkwardly when the songs play back to back.
How long does it take to master a track on a phone?
With an automatic app, a few minutes. Doing it manually, expect anywhere from twenty minutes to an hour once you include referencing and checking on different outputs. The checking stage is what separates a rushed master from one that holds up everywhere, so don’t skip it to save time.



