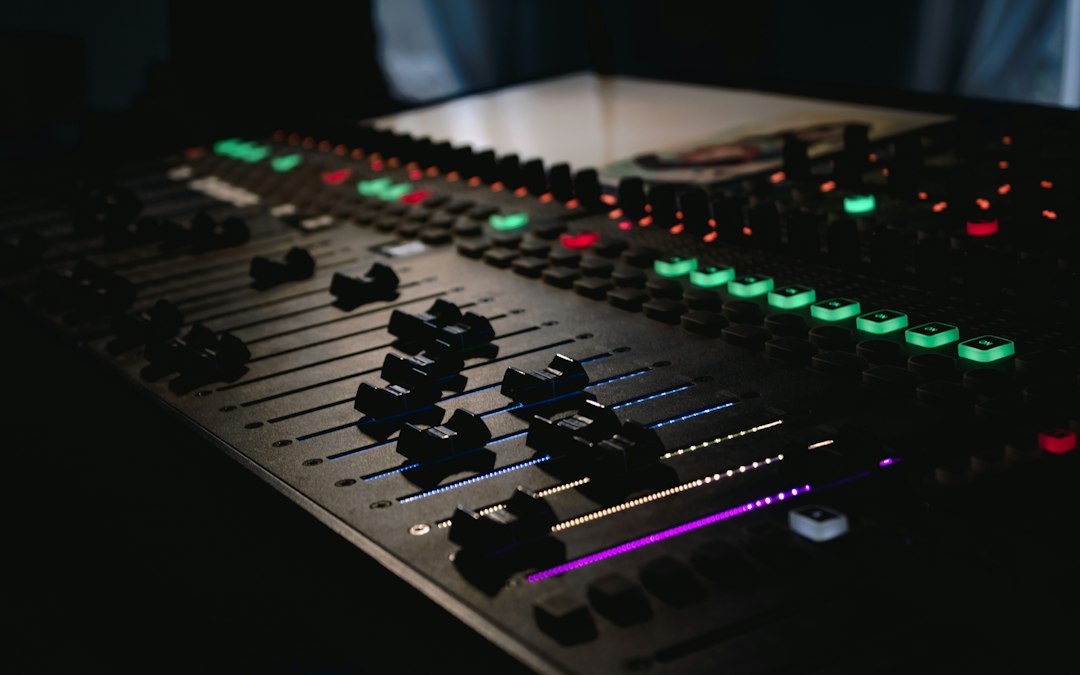
Mastering is the final stage of music production – the polish applied to a finished mix to make it sound cohesive, loud enough, and consistent everywhere it’s played. It’s often misunderstood, so let’s demystify it.
Mixing vs mastering
Mixing balances the individual tracks within a song. Mastering works on the finished stereo mix as a whole – and, for an album, makes all the songs sit together consistently in tone and loudness.
The simplest way to picture the difference: mixing is about the relationships inside a song – is the vocal too quiet, is the kick fighting the bass, does the guitar need brightening? Mastering steps back and treats the whole mix as a single object, asking whether it sounds finished, balanced and ready to sit next to commercial releases. A mastering engineer rarely has access to your individual tracks; they work from your stereo bounce, which is why a clean, well-balanced mix matters so much before you ever reach this stage. If you want to handle both stages yourself, our guide to mixing and mastering a song walks through the full workflow.
What mastering does
- Tonal balance: subtle EQ so the track sounds right on every system.
- Dynamics: gentle compression and limiting for consistency and loudness.
- Loudness: bringing the track to competitive streaming levels without crushing it.
- Translation: making sure it holds up on phones, cars and earbuds.
The moves involved are deliberately small. A good master might add a decibel or two of air at the top, tame a slightly boomy low-mid, glue the mix together with a touch of bus compression, and then control the peaks with a limiter. None of these are dramatic on their own, but together they take a mix from “good” to “released”. If a master needs heavy-handed corrective EQ or aggressive compression to sound right, that’s usually a sign the problem should be fixed back in the mix instead.
A word on loudness and LUFS
Streaming platforms normalise playback loudness, which means the loudest possible master no longer “wins”. If you push a track to be extremely loud, the platform simply turns it down – and you’re left with the squashed dynamics and lost punch that the loudness cost you. Most engineers now aim for a master that sounds full and controlled at a sensible integrated loudness, then trust normalisation to handle the rest. If you’re unsure what numbers to target, our breakdown of how loud your master should be in LUFS covers the practical figures. The goal is a track that feels powerful, not one that measures the loudest on a meter.
Do you need it?
If you’re releasing music publicly, yes – even light mastering helps it compete. The question is how:
- DIY: a mastering chain or plugin on your master bus – fine for demos and learning.
- AI mastering services: fast and cheap, surprisingly decent for many tracks.
- A professional mastering engineer: best results for important releases.
Whatever route you choose, leave headroom on your mix bus so the master has room to work.
How to choose the right route
The right choice depends mostly on what the release is for and how much it matters. A few honest questions help:
- Is this a demo or a real release? For rough demos and practice, DIY mastering is perfectly fine and teaches you a lot. For a single you’re promoting, it’s worth spending more care – or money.
- How confident are you in your monitoring? Mastering decisions are only as good as what you can hear. If you’re working on small speakers or in an untreated room, a second set of trusted ears – whether an engineer or an AI service – can catch what your room is hiding.
- How consistent does the project need to be? A whole EP or album benefits hugely from one person mastering every track, so the songs share a tone and loudness. A standalone single has more freedom.
A sensible path for most home producers: master your own demos to learn the craft, try an AI service when you want a quick polished result, and book a professional engineer for the releases that genuinely matter.
Common mastering mistakes
- Mastering a weak mix. Mastering can’t rescue a muddy or unbalanced mix – it only magnifies what’s already there. Fix problems in the mix first.
- Leaving no headroom. Bouncing a mix that’s already hitting 0 dB gives the master nothing to work with. Aim to leave a few decibels of headroom on the mix bus.
- Chasing loudness. Crushing a track to be as loud as possible kills its punch and gets turned down by streaming anyway.
- Mastering your own track cold. After hours of mixing, your ears are tired and biased. Rest, then return to the master with fresh ears – or hand it to someone else.
Frequently asked questions
Can I master a song myself?
Yes – and it’s a great way to learn. A simple chain of EQ, gentle compression and a limiter on your master bus will get you a usable result, especially for demos. Our walkthrough on mastering a song at home covers the chain step by step. Just be realistic: your room, monitoring and tired ears all work against you, so compare your master against commercial tracks you admire and don’t push the loudness too hard.
Is AI mastering good enough?
For a lot of material, it’s genuinely useful. AI mastering analyses your mix and applies a balanced chain quickly and cheaply, which is ideal for demos, background tracks and quick turnarounds. It can struggle with unusual genres or mixes that need real judgement, and it won’t tell you when the problem is actually in the mix – but as a fast, affordable option it’s hard to beat.
How loud should my master be?
Loud enough to sound full and controlled, but not so loud that you sacrifice dynamics. Because streaming platforms normalise loudness, an over-compressed master simply gets turned down. Focus on a master that sounds balanced and punchy alongside reference tracks rather than trying to win a loudness contest.
If you’d rather leave it to a professional, our free online mixing & mastering matching connects you with a vetted engineer, wherever you’re based.