
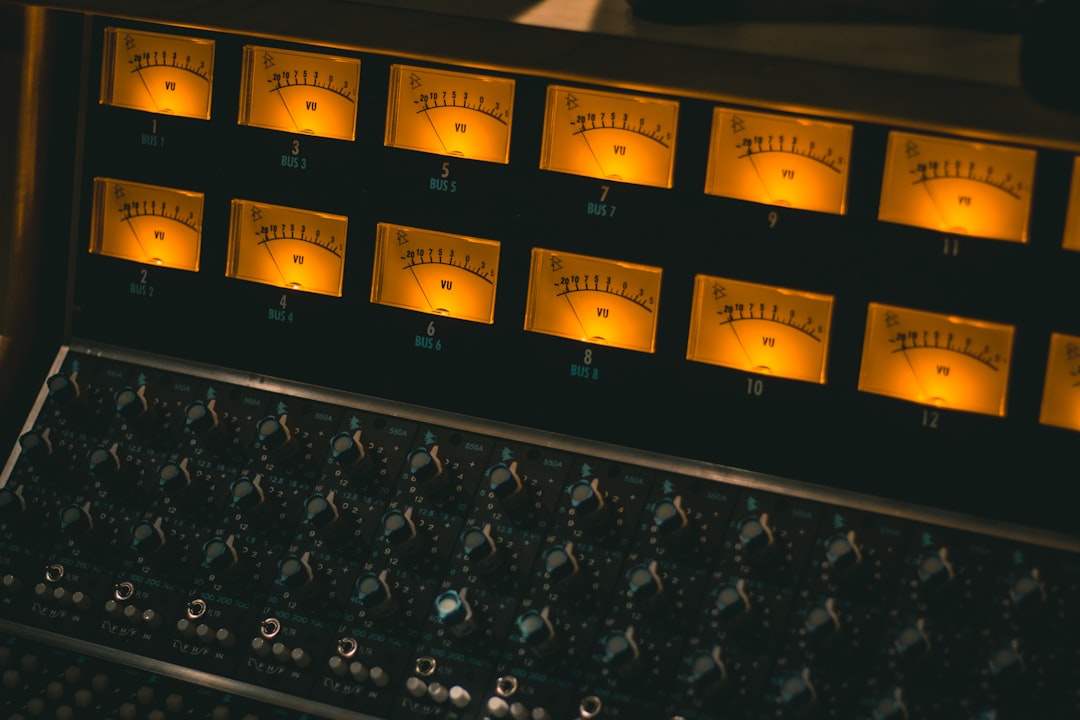
To master an album for consistency, you stop treating each song as an island and start treating the record as one body of work: you match perceived loudness, overall tonal balance and song-to-song level so a listener can play the whole thing front to back without ever reaching for the volume knob. That means mastering all the tracks in one session, referencing them against each other constantly, and setting spacing and fades so the record breathes as a single piece.
Violet Recording is reader-supported — we may earn a commission from links on this page, at no extra cost to you.
Mastering a single track is mostly about making that one song sound its best. Mastering an album adds a second, harder job on top: making a dozen songs — often recorded on different days, in different keys, with different energy — feel like they belong to each other. Get it wrong and the record lurches: track three is muffled, track four leaps out too loud, the ballad feels thin next to the anthem. Get it right and the album has a sound. Here’s the order I actually work in.
How to master an album in one continuous session
The single biggest thing you can do is master every track together, in one sitting, with all of them loaded into the same project or at least open side by side. Consistency comes from comparison, and you cannot compare tracks you mastered three weeks apart on different monitoring, at different times of day, with different ears. Your reference — your own hearing — drifts, so block out the time and do the record as a batch.
Before you start, get your room and levels honest. A lumpy, untreated room will have you chasing tonal problems that only exist at your listening position, and that’s fatal for album work because you’ll “fix” each song toward a different lie. Our guides to acoustic treatment and gain staging both feed directly into trustworthy mastering decisions. If you haven’t already, read what is mastering so the fundamentals are clear before you scale them up to a whole record.
Pick an anchor track and match everything to it
Don’t try to balance twelve songs against each other all at once — you’ll go in circles. Instead, choose one track as your reference anchor. Usually it’s the song that best represents the record: a strong single, or a track that already sits in a good, natural place tonally and dynamically. Master that one first until you’re genuinely happy with it.
Then master everything else to that anchor. Every new song gets A/B’d against the anchor: is it roughly as loud? Is the low end in the same neighbourhood? Are the vocals sitting at a similar distance? You’re not making them identical — a sparse acoustic song should still feel more intimate than a full-band chorus — you’re making sure the differences are musical choices, not accidents of a different mastering day. Keep the anchor one click away at all times and return to it obsessively.
Match loudness by ear, then confirm it with LUFS
Loudness is where album consistency lives or dies. If one track is noticeably louder than its neighbours, the listener feels it as a jolt, and it’s the first thing that makes a record sound amateur. The tool for the job is a loudness meter reading LUFS (Loudness Units Full Scale), which measures perceived loudness far better than peak meters do.
Measure the integrated LUFS of your anchor, then bring each other track into the same ballpark. Streaming platforms commonly normalise toward around -14 LUFS integrated, and that’s a reasonable, widely-cited target to aim near — but treat it as an approximate reference point, not a law, and different genres and platforms sit differently. What matters more for an album is relative consistency: the songs should land close to each other, so the record plays evenly. A gentle exception is fine and often musical — a quiet interlude or outro can sit a little lower on purpose. Trust your ears first and let the meter confirm; if a song measures the same LUFS but still feels louder, believe your ears, because loudness perception is affected by density and arrangement, not just the meter. Our LUFS explained guide covers targets in depth, and there’s a quick LUFS target reference in our free tools.
Keep tonal balance consistent across the record
The second axis of consistency is tone. If track one is bright and airy and track two is dark and boxy, the album feels broken even at matched loudness. Your job is to nudge each master so the whole record shares a family resemblance in its frequency balance — similar amount of low-end weight, similar top-end air, similar midrange presence.
Work gently. Mastering EQ moves are small — often fractions of a dB up to a couple of dB, using wide, broad bands rather than surgical cuts. If a track needs 6 dB of correction to match the others, that’s a mixing problem, and you’re better off going back to the mix than trying to rescue it at the master. Broad, musical shelves for overall brightness and warmth do most of this work, and stock EQ handles it comfortably. That said, mastering-grade EQ is one place a specialist tool can genuinely help — a good linear-phase or dynamic mastering EQ from a dedicated EQ plugin gives you cleaner broad moves than some stock bands — though stock will get you most of the way, so don’t force it. If you want to sharpen the underlying skills, our EQ and compression fundamentals guide is the place to start.
Build a consistent processing chain, then vary it lightly
A sane mastering chain order is: corrective EQ first (fix obvious tonal issues), then compression for glue and control, then any saturation or tonal colour, then a broad “tone” EQ, and finally a limiter to set final loudness and catch peaks. Keep this same chain across every track on the album so they share the same character — the same compressor giving the same kind of glue, the same limiter behaviour into the ceiling.
Start each processor gently and adjust per song rather than rebuilding from scratch. For bus compression, a low ratio around 1.5:1 to 2:1 with only 1–3 dB of gain reduction is a common, musical starting point — enough to glue without squashing the life out of the track. Set your limiter’s ceiling around -1 dBTP (true peak) to leave headroom for lossy encoding, and push into it only as far as loudness matching and the song’s dynamics allow. These are starting points to move by ear, not fixed settings; a dense rock track and a sparse folk track will want different amounts even inside the same chain. The consistency comes from using the same tools with the same intent, not from identical settings.
Set song spacing, fades and sequence so the album flows
Consistency isn’t only per-track — it’s how the tracks join. Once every song is mastered and level-matched, assemble them in the final running order and listen to the transitions. How much silence sits between tracks? A tight, energetic record might want short gaps of a second or two; a spacious, atmospheric one might want longer. What matters is that the spacing feels intentional and consistent with the mood, not random.
Check every fade-out and fade-in, trim dead air and count-ins, and make sure no track starts with a jarring click or ends with an abrupt chop. Then — crucially — listen to the whole album start to finish in one pass, as a listener would, ideally on more than one system including a phone speaker. This final pass catches the consistency problems that per-track work hides: the song that’s subtly too loud, the transition that thuds, the track whose low end suddenly balloons. Fix, re-listen, and only call it done when you can play the record end to end without wincing.
When to hand the album to a mastering engineer or service
Mastering a whole album well is demanding, and there’s no shame in getting help — a dedicated mastering engineer does exactly this consistency work for a living, hearing across a record in a way that’s hard to do on your own mixes in your own room. If a human engineer is out of budget, an online mastering service like LANDR can master a batch of tracks to a shared target and give you a consistent baseline across the record. It won’t replace a great engineer for a flagship release, but for many home-studio albums it’s an affordable way to get even, release-ready loudness across every track. If you’re weighing options, our roundup of the best online mastering services compares the main players.
Whichever route you take, the principles are the same: one session, one anchor, matched loudness, shared tone, a consistent chain, and a final front-to-back listen. When your mixes feed the master cleanly, this all gets easier — so if the album still feels uneven after mastering, revisit the mixes using our vocal mixing and beginner’s mixing guides. For more, browse the full mixing and mastering hub.
Frequently asked questions
Should every track on an album be the same loudness?
Close, but not identical. Aim to keep tracks within a similar loudness range so the record plays evenly and nobody reaches for the volume knob — matching integrated LUFS against an anchor track is the practical way to do it. But leave room for musical intent: a quiet interlude, intro or outro can sit a little lower on purpose. The goal is consistency that serves the songs, not a flat, robotic match.
What LUFS should I master an album to?
Around -14 LUFS integrated is a common, sensible reference because that’s near where many streaming platforms normalise, but treat it as an approximate starting point rather than a rule — genres and platforms vary. For album work, relative consistency between tracks matters more than hitting an exact number: pick a target, master your anchor track to it, and bring the rest close by ear, confirming with a LUFS meter. Keep your true-peak ceiling around -1 dBTP for safe streaming encodes.
Can I master an album myself or should I hire an engineer?
You can absolutely do it yourself with careful monitoring, a consistent chain and disciplined A/B referencing against an anchor track — plenty of good home-studio records are self-mastered. That said, a dedicated mastering engineer hears consistency across a whole record in a way that’s hard on your own mixes, and an online service like LANDR offers an affordable middle ground for a consistent batch master. Match the choice to the release’s stakes and your budget.



