
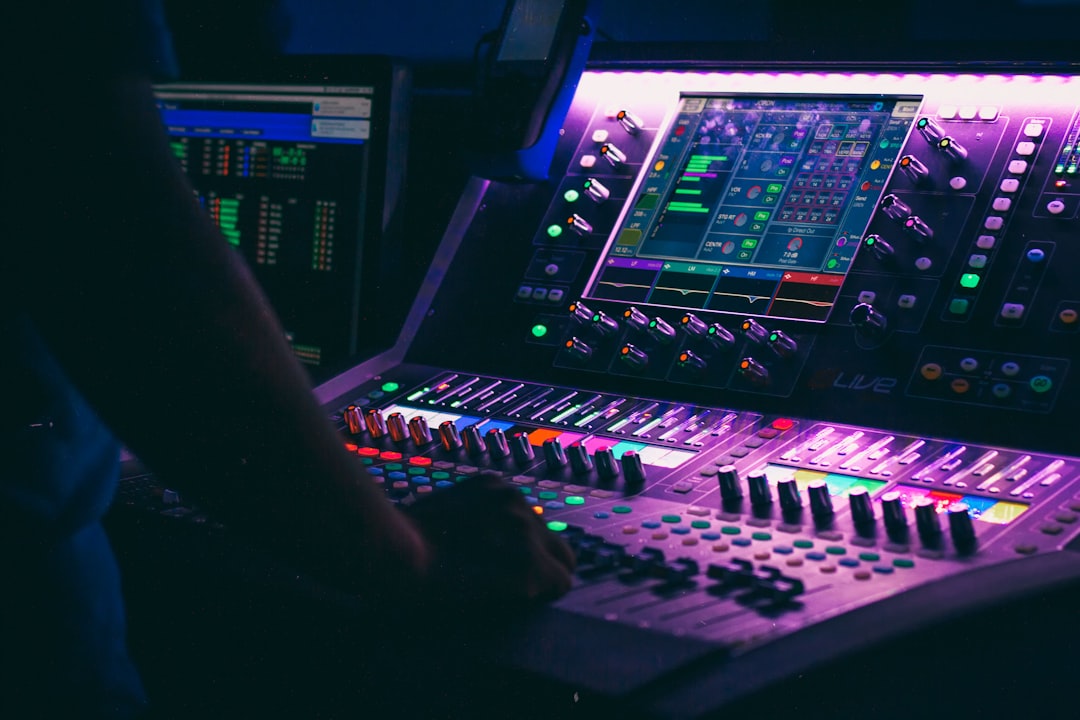
To record an audiobook at home you need a quiet, treated space, a decent microphone and interface, a consistent reading technique, and an edit that meets the distributor’s technical specs. Most audiobook platforms (including ACX/Audible) require each chapter to sit around -23 to -18 dB RMS, peak no higher than -3 dB, and keep a noise floor below -60 dB. Hit those, narrate cleanly, and you are most of the way there.
What you need to record an audiobook
The good news: audiobook narration is undemanding on gear, but unforgiving on room sound. Knowing how to record an audiobook starts with controlling reflections and noise, not buying expensive equipment. A modest chain in a quiet room beats a premium mic in an echoey one.
- Microphone: a large-diaphragm condenser (such as a Rode NT1 or Audio-Technica AT2020) for detail, or a dynamic like the Shure SM7B if your room is noisy.
- Audio interface: any clean USB interface with phantom power. See our guide to setting up an audio interface.
- Pop filter and shock mount to control plosives and bumps.
- Headphones (closed-back) so monitoring does not leak into the mic.
- A DAW: Audacity (free), Reaper, GarageBand or similar.
Set up a quiet, dead-sounding space
Audiobook listeners notice room echo and background noise immediately. Aim for a space that sounds “dead.” A walk-in wardrobe full of clothes, or a small room with soft furnishings, works well. Add absorption — blankets, duvets, foam panels — around and behind the mic. Turn off fridges, fans, air conditioning and anything that hums. Our explainer on acoustic treatment for home studios covers cheap fixes that make the biggest difference here, and our guide to reducing background noise when recording walks through the stubborn hums that push you over spec.
Mic placement and reading technique
Position the mic slightly above mouth height, angled down toward your lips, about 15–20 cm away with a pop filter between you and the capsule. Speaking slightly off-axis tames plosives and sibilance. Then focus on consistency:
- Keep a fixed distance — drifting nearer and further changes your level and tone.
- Stay hydrated and keep room-temperature water nearby; a green apple slice reduces mouth clicks.
- Read at a steady pace and energy. Mark mistakes by clapping or leaving a gap, then fix them in the edit.
- Record a few seconds of silence at the start — you will need this “room tone” for editing.
Recording settings and levels
Record at 44.1 kHz, 16 or 24-bit (deliverables are usually 44.1 kHz). Set your input so peaks land around -12 to -6 dB while reading — leaving headroom prevents clipping on louder words. Good gain staging at the source means far less cleanup later. Record one chapter per file to keep the project manageable.
Plan your session for consistency
The biggest enemy of a home-recorded audiobook is not noise — it is inconsistency between sessions. A chapter recorded on Monday morning should sound like one recorded on Thursday night, or the finished book will feel uneven and amateurish. A little planning keeps your tone stable across the weeks it takes to narrate a full book.
- Lock your setup: mark the mic stand, chair and pop-filter positions with tape so you can rebuild the exact same arrangement every time. Note your interface gain setting and never change it mid-book.
- Warm up first: read aloud for a few minutes before you hit record. A cold voice sounds thinner and clicks more, which forces extra editing later.
- Record in shorter blocks: 45–90 minutes is plenty before your voice tires and your pace drifts. Fatigue creeps in slowly and you rarely hear it until playback.
- Keep a pronunciation sheet: jot down how you said unusual names and terms so they stay identical throughout the book.
- Match the room: record at similar times of day where possible, so traffic, neighbours and air handling stay roughly constant in your room tone.
Common mistakes that get a recording rejected
Most first-time submissions fail on technical issues rather than performance. Knowing the usual culprits saves you re-recording whole chapters:
- A noisy floor: a humming computer fan, an open window or a buzzing light fixture pushes your noise floor above -60 dB. Fix it at the source rather than relying on heavy noise reduction, which leaves a watery, robotic artefact.
- Over-processing: stacking aggressive noise reduction, de-essing and compression strips the life out of a voice. Use each tool lightly.
- Plosives and clipping: “p” and “b” pops that overload the input cannot be fully repaired afterwards. A pop filter and a little headroom prevent both.
- Inconsistent level: chapters that drift in loudness from file to file fail the RMS check. Edit and normalise every file to the same target.
- Wrong silence: forgetting the required room tone, or the head and tail silence, is one of the most common rejection reasons and one of the easiest to fix.
Editing and mastering for distributors
Audiobook editing is mostly tidying, then meeting spec. Work in this order:
- Edit: remove mistakes, long pauses, breaths that distract, mouth clicks and page turns. Leave natural breathing in.
- Noise reduction: use your recorded room tone as the noise profile (Audacity’s Noise Reduction or your DAW’s denoiser). Apply gently — over-processing sounds robotic.
- EQ and de-ess: a gentle high-pass around 80 Hz removes rumble; a de-esser tames harsh “s” sounds.
- Compression: light compression evens out volume so quiet and loud passages sit together.
- Loudness: normalise to the platform spec — typically RMS between -23 and -18 dB, peaks under -3 dB, noise floor under -60 dB. If you are new to loudness targets, our LUFS explainer covers the concept.
Add the required silence at the head and tail of each file (often 0.5–1 second at the start, 1–5 seconds at the end), then export as a 192 kbps MP3 or to the platform’s spec. For more narration-style capture tips, the recording techniques hub, our spoken word recording guide and our podcast recording guide are all worth a read.
Frequently asked questions
Can I record an audiobook with just a USB mic?
Yes. A good USB condenser in a quiet, treated space can meet distributor specs. The room and your noise floor matter far more than whether the mic is USB or connected through an interface.
How long does it take to record an audiobook?
Expect roughly two to three hours of work for every finished hour of audio once you include recording, retakes and editing. A typical novel runs eight to twelve finished hours, so plan for several weeks of part-time work.
What are the ACX audio requirements?
Each file must measure between -23 and -18 dB RMS, peak no higher than -3 dB, keep a noise floor below -60 dB, include room tone, be 192 kbps or higher MP3 at 44.1 kHz, and have appropriate opening and closing silence.
Should I narrate standing up or sitting down?
Either works, but pick one and stick with it for the whole book. Standing tends to give a fuller, more energetic delivery and freer breathing; sitting is easier to keep still and consistent over long sessions. Whatever you choose, avoid rustling pages or a creaky chair near the mic.
How do I stop my voice sounding tired by the end of a chapter?
Keep sessions short, hydrate with room-temperature water, and warm up before recording. If you hear your energy or pace dropping, stop and pick up the next day rather than pushing through — tired, drifting narration is hard to disguise in the edit and usually has to be re-recorded.



