
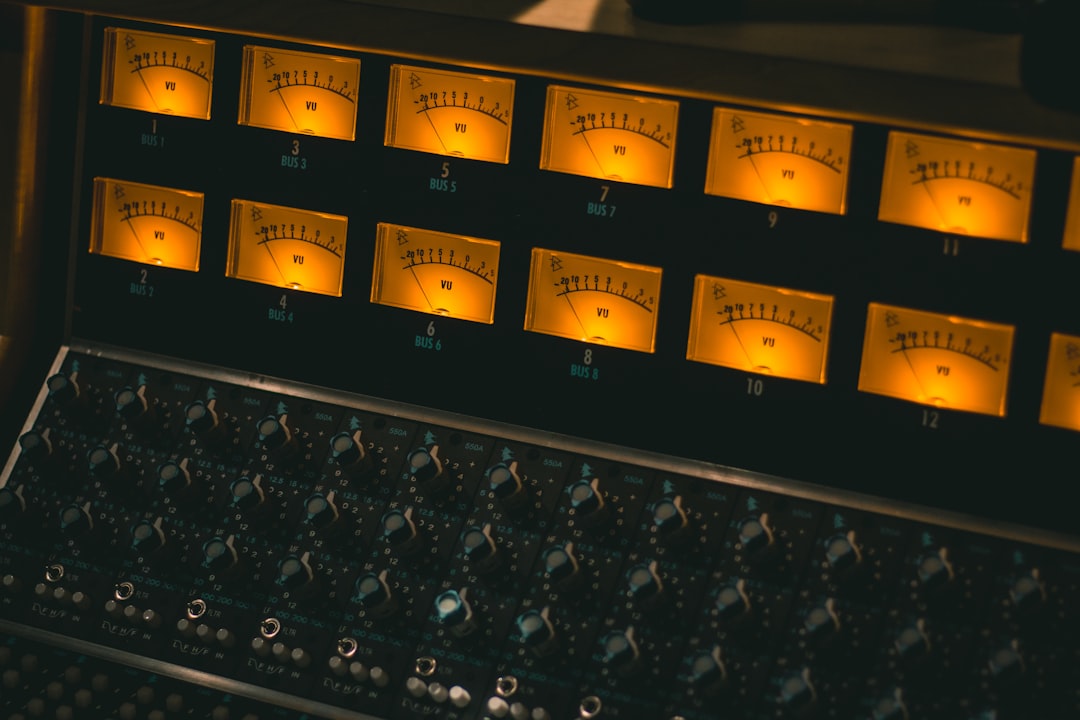
Learning how to sidechain means learning how to make one track react to another. In its most common form, sidechain compression lets a kick drum automatically turn down the bass (or a pad, or a synth) every time it hits, so the two stop fighting for the same space. The result is a cleaner low end and, when pushed harder, that rhythmic “pumping” you hear all over dance and pop music.
This guide walks through what sidechaining actually does, how to set it up in any DAW, and where it helps most — plus the mistakes that make it sound wrong.
Violet Recording is reader-supported — we may earn a commission from links on this page, at no extra cost to you.
What sidechaining actually does
Normally a compressor listens to the same signal it’s processing: audio comes in, the compressor watches its level, and it turns the volume down when that level crosses the threshold. Sidechaining breaks that link. You feed the compressor a second signal — the “sidechain” or “key” input — and tell it to watch that signal instead, while still applying the gain reduction to the original track.
So if you put a compressor on your bass and set its sidechain input to the kick drum, the bass gets quieter every time the kick plays, then recovers in the gap between hits. The kick itself is untouched — it’s only used as a trigger. That’s the whole trick, and once it clicks, you’ll spot uses for it everywhere in a mix.
How to sidechain in your DAW, step by step
Every DAW handles routing slightly differently, but the concept is identical. Here’s how to sidechain a compressor so a kick ducks the bass:
- Insert a compressor on the track you want to duck (the bass). This is the track that will get quieter.
- Open the compressor’s sidechain or “external” input. Most stock compressors have a small sidechain panel or a source dropdown — in Ableton it’s the “Sidechain” toggle, in Logic it’s the “Side Chain” menu top-right of the Compressor, in FL Studio you route via the mixer, and in Pro Tools you pick a bus in the “Key Input” menu.
- Route the kick to that sidechain input. Depending on the DAW you either select the kick track directly from the dropdown, or send the kick to a bus and choose that bus as the key input.
- Set threshold and ratio. Lower the threshold until the kick is pushing the compressor into gain reduction on every hit. A ratio around 4:1 is a sensible starting point; go higher for a more obvious effect.
- Dial in attack and release. A fast attack makes the duck happen quickly; the release controls how fast the bass comes back up. The release is where the groove lives — more on that below.
Watch the compressor’s gain-reduction meter as the track plays. You want to see it dip in time with the kick and return to zero before the next hit. If you can hear the bass “breathing” in time with the beat, it’s working.
Sidechain compression for a tighter low end
The reason engineers reach for this first is the low-end clash between kick and bass. Both instruments live in roughly the same frequency range, and when they play at the same time the mix turns muddy and the kick loses its punch. Sidechaining the bass to the kick carves out a tiny window for the kick to poke through, then hands the space back to the bass a fraction of a second later.
For this job you often want the effect to be felt, not heard — just a couple of decibels of gain reduction with a quick release, so the low end tightens without any obvious pumping. Turn the ducking up and you cross into the deliberately audible territory used in house, techno and EDM, where the whole track swells and breathes with the four-on-the-floor kick. Both are valid; it’s a question of how much you push it. If you want to go deeper on the underlying controls, our guide to EQ and compression fundamentals covers threshold, ratio, attack and release in detail.
The attack and release settings that make the groove
Attack and release do more heavy lifting here than any other controls. Attack sets how fast the compressor clamps down once the kick triggers it. A very fast attack ducks the bass instantly, which is usually what you want for a clean kick transient; a slower attack lets a bit of the kick-and-bass overlap through before the duck kicks in.
Release is the star. It decides how quickly the ducked track climbs back to full volume between hits. Too short and the effect sounds clicky or choppy. Too long and the bass never fully recovers before the next kick, so it stays quiet and lifeless. The sweet spot is a release that finishes rising just as the next kick lands — that produces the smooth “in-and-out” pump. Tempo matters, so tune the release by ear at your project’s BPM rather than trusting a preset. Many producers set the release so the recovery curve syncs musically with the eighth or sixteenth notes of the groove.
Sidechaining beyond kick and bass
Ducking isn’t only for the low end. A few of the most useful applications:
- Vocals over a busy track: sidechain a synth pad or a rhythm guitar bus to the lead vocal so the backing dips slightly whenever the singer is present, keeping the vocal clear without riding faders. This is a gentler cousin of the technique in our how to mix vocals walkthrough.
- Reverb and delay ducking: sidechain a reverb or delay return to the dry vocal. The tail stays out of the way while the words are being sung, then blooms in the gaps — a trick that keeps big effects from washing out the mix. See how to use reverb and delay for where this fits.
- De-essing: a frequency-conscious sidechain (feeding the compressor only the harsh “s” band) turns a normal compressor into a de-esser.
- Bass over sub-heavy kicks: flip the usual pairing and duck the kick to the sub bass when the bass line is the main event.
The pattern is always the same: pick the track that should give way, put a compressor on it, and trigger that compressor from whatever should take priority.
Common sidechaining mistakes to avoid
The technique is simple but easy to overdo. The most frequent error is too much gain reduction — 10 or 12 dB of ducking when 2 to 4 dB would have done the job, leaving the mix gasping. Start subtle and add only what the track needs. The second common mistake is ignoring the release, which leaves either a choppy artefact or a bass that never recovers.
A third trap is sidechaining to the wrong source. If your kick sample has a long tail, the compressor stays triggered too long; a short, transient-heavy trigger works better, and some producers use a dedicated silent trigger clip purely to drive the sidechain. Finally, don’t reach for sidechaining to fix a problem that EQ should solve. If the kick and bass clash tonally, carving a little space with EQ first — then applying gentle sidechain compression — almost always sounds better than leaning on the compressor alone. Getting your levels right beforehand helps too; our gain staging guide explains why.
Best free plugins for sidechaining
You rarely need to buy anything — every major DAW ships with a compressor that has a sidechain input, and that’s genuinely all you need to start. If you want purpose-built tools, a few well-known free options are worth knowing:
- TDR Kotelnikov (Tokyo Dawn Records) — a transparent free compressor with an external sidechain input, great for the “felt not heard” low-end job.
- Cableguys VolumeShaper (free trial) / LFOTool — envelope-based volume tools that recreate the pumping effect by drawing the ducking curve directly, no trigger track required. The paid versions are inexpensive, but the approach itself is worth understanding.
- Xfer Records LFOTool is the paid classic here; for a free equivalent, many producers automate a utility gain plugin with an LFO or simply draw volume automation to mimic the duck.
When you’re ready to move up to dedicated sidechain and compression plugins with more control, you can browse options at a store like Plugin Boutique. For deeper dives on specific tools, see our roundups of the best compressor plugins and best EQ plugins, and browse more tutorials in the Mixing & Mastering hub.
Frequently asked questions
Do I always need a separate trigger track to sidechain?
No. You can sidechain from any existing track — most often the kick. Some producers add a dedicated silent trigger clip when they want precise control over the ducking rhythm without changing what’s audible, but that’s optional. A normal kick track works perfectly well as the trigger for most mixes.
What’s the difference between sidechain compression and volume automation?
Sidechain compression reacts automatically to a trigger signal in real time, so it follows performance changes without extra work. Volume automation (or an envelope tool) lets you draw the exact ducking shape by hand, giving tighter control over the curve but no automatic response. Many producers use envelope tools for rhythmic EDM pumping and true sidechain compression for musical, reactive ducking.
Why does my sidechain sound choppy or clicky?
That’s almost always the release time set too short, so the level jumps back up abruptly, or the attack being so fast it creates a click on each trigger. Lengthen the release until the recovery sounds smooth, ease the attack slightly, and make sure you’re not applying more gain reduction than the track needs. A gentler setting usually fixes it instantly.



