
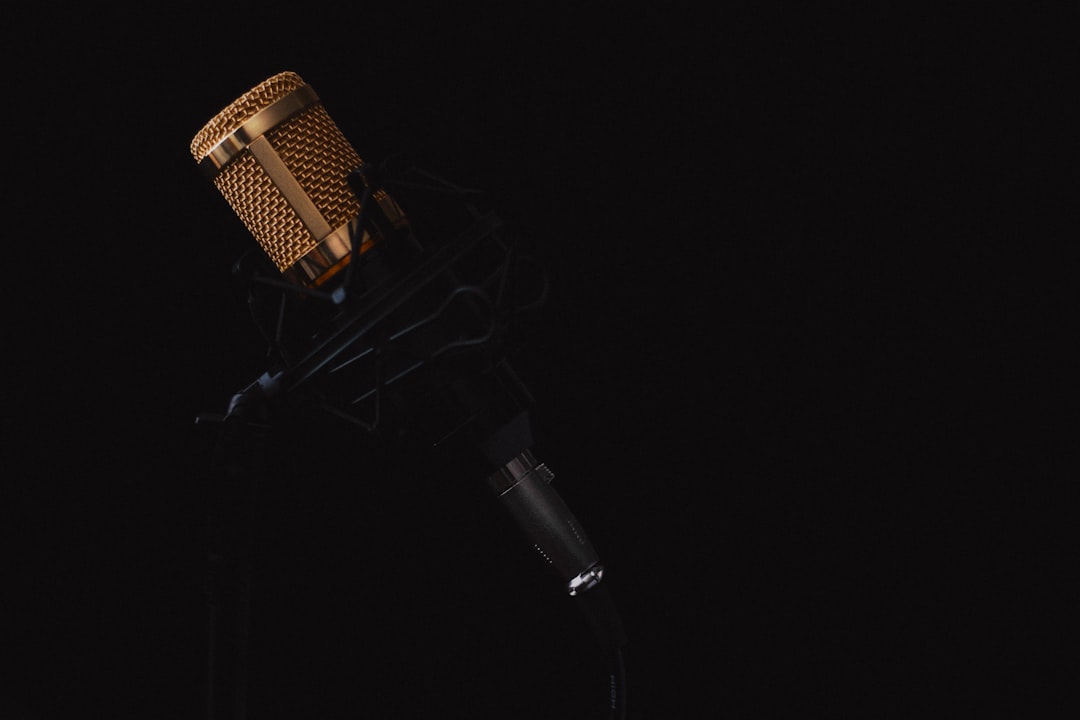
So what does an audio interface do? In short, it is the device that connects your microphones, instruments, headphones and speakers to your computer. It converts analogue sound into digital data your computer can record, converts digital playback back into analogue you can hear, and provides the preamps and connections a home studio needs.
If you want to record music or a podcast at decent quality, an audio interface is usually the heart of the setup, sitting between your gear and your DAW.
The core job: analogue-to-digital and back
Microphones and instruments produce analogue signals; computers only understand digital data. The interface’s converters handle both directions: an analogue-to-digital converter captures your performance as digital audio, and a digital-to-analogue converter turns playback back into a signal your headphones or studio monitors can reproduce. The quality of this conversion is described by sample rate and bit depth.
It provides mic preamps and phantom power
Microphone signals are far too quiet to record directly. The interface includes microphone preamps that boost them to a usable level via the gain control. For condenser mics, the interface also supplies phantom power (the +48V button) that the mic needs to operate. This is why a single box can take you from a bare microphone to a clean recording.
It gives you the right connections
An interface offers the professional connectors your gear uses, which a computer’s built-in jack does not:
- XLR inputs for microphones.
- Instrument (1/4-inch) inputs for guitar and bass.
- Line inputs for synths and other gear.
- Monitor outputs for studio speakers and a dedicated headphone output.
- Often MIDI and digital (ADAT) connections.
It enables low-latency monitoring
When you record, you want to hear yourself without an annoying delay. A good interface keeps latency low and often offers direct (zero-latency) monitoring, letting you hear your input straight through the hardware while you track. This is far better than a computer’s built-in audio, which is not designed for live monitoring.
Why not just use the computer’s built-in audio?
Built-in laptop or desktop audio lacks proper mic preamps, has no XLR or phantom power, uses lower-grade conversion, and introduces too much latency for comfortable recording. An interface fixes all of these at once, which is why it is a foundational piece of home studio gear. See our home studio gear checklist for where it fits among your other equipment.
Interface vs USB mic vs mixer
A few related options often cause confusion:
- USB microphone: Combines a mic, preamp and converter in one body, so it plugs straight into a computer with no interface. Simpler, but less flexible. Compare them in USB mic vs audio interface.
- Mixer: Blends and routes multiple sources and contains preamps, but not all mixers record to a computer cleanly. See audio interface vs mixer.
For most home recordists who want quality and flexibility, a dedicated interface is the right starting point.
How the signal flows through an interface
It helps to picture the path your sound actually takes, because every feature above is a stage in one continuous chain. When you sing into a microphone, the sound pressure becomes a tiny analogue voltage. That voltage travels down the XLR cable into the preamp, where the gain control raises it to a healthy level. The boosted signal then hits the analogue-to-digital converter, which samples it thousands of times a second and turns it into the stream of numbers your DAW records.
On the way back out, the process runs in reverse. Your DAW sends digital audio to the digital-to-analogue converter, which rebuilds an analogue signal. That feeds the monitor and headphone outputs so you can hear the mix. Understanding this flow makes troubleshooting far easier: if there is no signal, you can work along the chain and ask at which stage it stops, rather than guessing.
That output converter is essentially a built-in DAC; if you only need playback for headphones or a hi-fi rather than recording inputs, see our guide to the best DACs for headphones and home listening.
How to choose an audio interface
You do not need the most expensive unit to get clean results. Focus on what actually matches how you work:
- Count your inputs. A solo vocalist or podcaster recording one source at a time is well served by a two-input interface. If you want to capture a full drum kit or a band playing live, you need many more simultaneous inputs, so plan for the most you will track at once.
- Match the input types. Make sure it has XLR for mics, instrument inputs for guitar and bass, and line inputs for any synths or hardware you own. Buying a unit that lacks the right connector for your main instrument is a common and frustrating mistake.
- Check the connection to your computer. Most modern interfaces are USB and work across laptops and desktops. Confirm the connector and that drivers exist for your operating system before you buy.
- Think about the headphone and monitor outputs. A strong, clean headphone amp matters for tracking, and you will want dedicated outputs for your monitors. If two people need to listen at once, look for more than one headphone socket.
- Leave a little room to grow. If you suspect your setup will expand, choosing an interface with a spare input or ADAT expansion now saves you replacing the whole unit later.
Common mistakes to avoid
Most early problems with an interface are setup issues, not faults with the hardware. Watch out for these:
- Setting gain by eye instead of by ear and meters. Pushing the gain too high causes clipping and harsh distortion; setting it too low leaves a noisy, weak recording. Aim for healthy levels with clear headroom below the maximum.
- Forgetting phantom power. A silent condenser mic is usually a sign the +48V button is off. Conversely, leaving phantom power on while plugging or unplugging cables is best avoided.
- Monitoring through the computer. If you hear a distracting delay while tracking, you are probably listening back through the DAW rather than using the interface’s direct monitoring. Switch to hardware monitoring to remove the delay.
- Ignoring the driver. Out-of-date or generic drivers cause glitches, dropouts and high latency. Install the manufacturer’s driver for your interface and keep it current.
Choosing and setting one up
When you are ready to buy, our best audio interfaces for home recording guide covers what to look for, and how to set up an audio interface walks through drivers, levels and monitoring once it arrives.
Frequently asked questions
Do I really need an audio interface to record?
If you use XLR microphones and want quality and low latency, yes. The exception is a USB microphone, which has the interface built in. For instruments and pro mics, a dedicated interface is the standard choice, and our guide on whether you need an audio interface weighs up the edge cases.
Does an audio interface improve sound quality?
It improves it over a computer’s built-in audio by providing proper preamps, better conversion and lower latency. Beyond that, your microphone, room and technique influence the final sound more than the interface itself.
Can an audio interface power a condenser microphone?
Yes. Almost all interfaces supply 48V phantom power, which condenser mics require. You simply engage the phantom power button after connecting the mic with an XLR cable.
Does the number of inputs affect sound quality?
Not directly. A two-input and an eight-input interface from the same range usually share similar converters and preamps, so the sound is comparable. The extra inputs simply let you record more sources at once, which matters for bands and drum kits but not for a solo recordist.



