
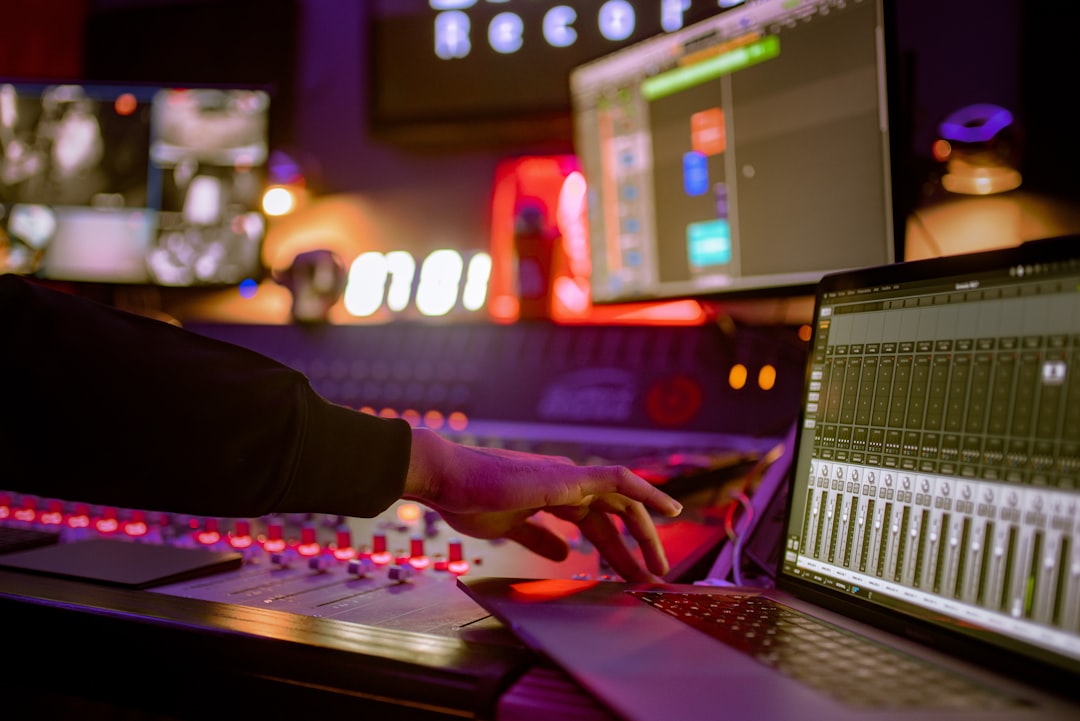
Learning how to automate a mix is what turns a static, one-position balance into something that moves and breathes with the song. Automation lets you change any parameter — volume, pan, an effect send, a filter cutoff — over time, so a vocal can lift in the chorus, a delay can bloom on the last word of a line, and a quiet verse can make way for a wall of sound. Get your static mix sounding good first, then use automation to guide the listener’s ear through the arrangement from start to finish.
Violet Recording is reader-supported — we may earn a commission from links on this page, at no extra cost to you.
Almost every parameter in your DAW can be automated, and it is easy to get lost in the possibilities. Most of the impact comes from a handful of moves: riding volume, opening and closing effects, and shaping transitions. Below is what to automate, the workflow I use, and the automation modes that keep the whole thing manageable rather than a tangle of dots and lines.
Get a solid static mix before you automate anything
Automation is not a fix for a bad balance — it is the polish on a good one. Before you draw a single move, build a static mix: set your faders, pan positions, EQ and compression so the song already sounds balanced with everything sitting at one fixed level. If your chorus feels weak with static faders, sort that with level, EQ and arrangement first. Automation should be riding on top of a mix that already works, nudging things where the song genuinely needs a change, not propping up decisions you haven’t made yet.
A good test: play the whole song through with no automation at all. If it holds together and only feels a little flat in places, you are ready. Those flat spots — a verse that drags, a vocal word that ducks under the guitars, a bridge that needs to pull back — are exactly what automation is for. To firm up the underlying balance first, our EQ and compression fundamentals and beginner’s guide to mixing your first song cover the groundwork.
What to automate first: volume, pan and effects sends
Start with the moves that matter most and skip the rest until you need them.
Volume rides are the single most useful automation. The classic case is the lead vocal: even after compression, individual words jump forward or duck back, and no compressor smooths every one perfectly. Drawing small moves — often just 1 to 3 dB up or down on specific words — keeps the vocal steady and intelligible across the song. This “riding the fader” does more for a vocal than almost anything else. Beyond vocals, ride a section up into the chorus, pull a busy instrument down where the vocal needs room, or lift a guitar solo a decibel or two so it cuts through.
Pan automation is subtler but effective — widening a synth in the chorus, or having a fill sweep from one side to the other. Use it deliberately; constant panning quickly becomes distracting.
Effects sends and returns are where automation gets creative. Automate a reverb or delay send so it only opens on the last word of a phrase, then closes again — a “throw” that adds space without washing out the whole vocal. Push the reverb up in a breakdown, then pull it back when the drums return. Automating sends rather than the dry track keeps your core signal clean while the space around it moves. Our guide to reverb and delay pairs directly with this.
How to automate a mix parameter by parameter in your DAW
Every DAW handles this differently, but the concepts are universal. There are two ways to create automation, and you will use both.
Drawing it in by hand. Open the automation lane on a track, choose the parameter (volume, pan, a send level, or any plugin control), and draw points with your mouse to build a curve. This is precise and repeatable — ideal for exact vocal rides where you want a specific word up by 2 dB. You can zoom in, nudge single points, and shape smooth ramps for transitions.
Recording it live. Put the track into a write or touch mode, hit play, and physically move the fader or knob as the song plays. Your movements are captured as automation you can then edit. This feels more musical for performance-style moves, because you are reacting to the music in real time rather than drawing blind.
Most engineers combine the two: record a rough ride live to get the feel, then clean up the individual points by hand. Almost any plugin parameter can be automated the same way — a filter cutoff opening across a build, a distortion amount creeping in on the final chorus, a compressor’s mix knob easing up in the outro. To check the loudness impact of a big level move, our free audio tools include level and LUFS references you can meter against.
Automation modes: read, write, touch and latch explained
The automation modes on each track control how your DAW reads and records moves. They trip up a lot of beginners, so here is what each one does in plain terms:
Read plays back existing automation but ignores any moves you make — the fader follows the drawn data and snaps back if you grab it. Leave tracks in Read for normal playback so your moves actually play.
Write records everything from the moment you hit play, overwriting whatever was there for the whole time you are rolling — even if you don’t touch the control. It is powerful but destructive; it is easy to wipe good automation by leaving a track in Write, so use it sparingly for a first pass.
Touch records only while you are actively holding the control, then hands back to the existing automation the instant you let go. This is the safest mode for tweaks — you can fix one word or one section without disturbing anything else.
Latch is like Touch, but it keeps writing at the last value after you release, until you stop playback. It is handy for riding a long section without having to hold the fader the entire time.
For most work, keep tracks in Read, switch to Touch to fix something specific, and reach for Write only when laying down a fresh pass on a track with no automation yet.
Using automation to shape transitions and dynamics
The best automation serves the arrangement. Find the moments where the song changes — verse into chorus, a breakdown, the final drop — and use automation to exaggerate those shifts so the listener feels them.
Common moves that pay off: a filter sweep opening across the two bars before a chorus, a reverb tail swelling on the last hit of a section, the whole mix dipping by a decibel in a quiet bridge so the loud parts feel bigger by contrast, or a low-pass filter closing on a verse so the chorus bursts open when it lifts. A delay throw on the final vocal word before a drop and a rising noise sweep into a chorus are all automation doing arrangement work. If a section feels flat, ask what should change on the way into it and automate that.
Don’t overdo it. Constant, obvious automation exhausts the listener; the moves land hardest when the surrounding material is steady. Automate with intent — every move should have a reason tied to the song — and when a section is meant to feel locked, leave it alone. Restraint reads as confidence.
A clean automation workflow that keeps you organised
Automation can turn a session into a mess of overlapping lanes fast, so work in order. Do your corrective and balance moves first — static faders, EQ, compression — and treat automation as a later stage once the mix is 90% there. Start with vocal rides, because they matter most and expose problems in the rest of the balance. Then handle section-level moves, then effects throws and creative sweeps last.
Automate volume after your compression, not before, so you are riding the already-controlled signal rather than changing what the compressor reacts to. Name and colour your lanes, hide the ones you’re done with, and check the whole song top to bottom after a pass — automation errors like a fader left low or a mute that never reopens are easy to miss in isolation and obvious on a full playthrough. When the automated mix translates well, bounce it and move on to mastering; if you want a fast route to a finished master, an online service like LANDR can set final loudness and glue. Our what is mastering and LUFS explained guides cover targets — around -14 LUFS integrated is a common streaming ballpark to check against, not a hard rule. For more technique, browse the full mixing and mastering hub or the vocal mixing guide, which leans heavily on the volume rides covered here.
Frequently asked questions
What should I automate first in a mix?
Start with lead vocal volume rides — small moves of roughly 1 to 3 dB up or down on individual words to keep the vocal steady and intelligible, since compression alone rarely evens out every syllable. After that, handle section-level level changes (lifting into a chorus, pulling back in a verse), then effects sends like reverb and delay throws, and creative filter or pan sweeps last. Get a solid static balance before you automate anything; automation polishes a good mix, it doesn’t rescue a bad one.
What is the difference between touch, latch and write automation?
Write records everything from the moment you press play and overwrites existing data for the whole pass, so it’s powerful but easy to wipe good moves with. Touch only writes while you are physically holding the control and hands straight back to existing automation when you let go, making it the safest mode for small fixes. Latch behaves like Touch but keeps writing at the last value after you release, until you stop playback — useful for riding a long section without holding the fader the entire time.
Should I automate volume before or after compression?
Automate volume after compression in your chain. If you ride the fader before the compressor, you are changing the signal the compressor reacts to, so your level moves get partly squashed and fought back down. Placing volume automation after compression means you’re riding the already-controlled signal cleanly into the mix, and the moves you draw are the moves you hear. This is why fader-ride automation usually sits at the end of a channel’s processing rather than the start.



