
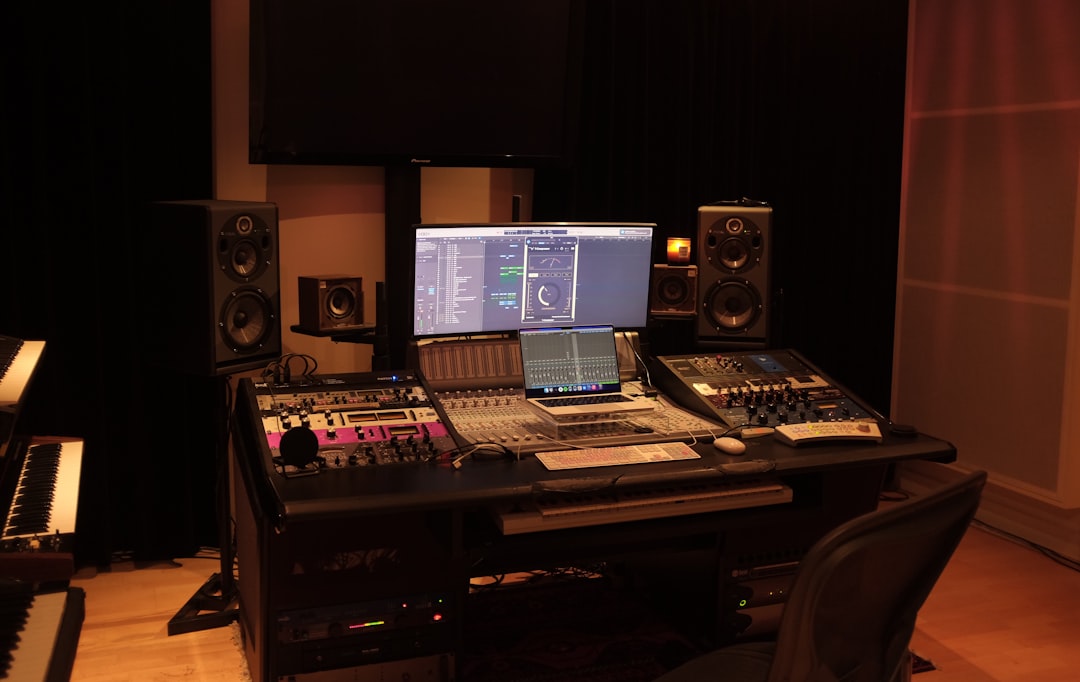
The single most important skill in mixing is the ability to balance a mix, and it happens mostly with your faders and pan knobs before any fancy plugin gets involved. A balanced mix is one where every element can be heard clearly, nothing masks anything else, and the whole thing feels solid from top to bottom. If your mix sounds cluttered, muddy, or like the vocal keeps disappearing, the fix is almost never a new plugin. It is better balance. This guide gives you a repeatable order of operations plus concrete level, panning, and EQ moves that get you to a clear, professional balance.
Balance has three dimensions: level (loud to quiet, controlled by faders), width (left to right, controlled by panning), and frequency (low to high, controlled by EQ). A great mix is balanced in all three at once, so we will work through each.
Start with static level balance
Before you touch EQ or compression, get a rough static mix with faders alone. Pull every fader down, then build up from the most important element. In most modern music that anchor is the lead vocal or the kick and snare. Here is a workable starting point on a peak meter, then trust your ears:
- Kick and snare as the loudest rhythmic anchor, peaking around -6 to -8 dBFS on their own channels.
- Lead vocal sitting right on top of the drums so it is always intelligible, typically the loudest sustained element.
- Bass level-matched to the kick so the low end feels even, not lopsided toward one or the other.
- Everything else (guitars, keys, pads, backing vocals) tucked underneath in support.
Keep your monitoring level moderate while you do this. Mixing too loud tricks your ears into thinking a poor balance is fine. Aim for a level where you can still hold a conversation. To balance a mix accurately you also want to check it quiet, because low-volume listening exposes whether the vocal and snare are truly loud enough to carry the song.
Use panning to open up space
Panning creates room without changing anyone’s level. The rule of thumb is to keep the foundation centered and spread the supporting cast:
- Keep kick, bass, snare, and lead vocal at dead center. These are your mono anchors and they hold the mix together. Panning the bass or kick wastes low-end energy and unbalances the stereo image.
- Pan doubled rhythm guitars hard left and right (100% / 100%) for a wide, powerful bed.
- Spread keys, percussion, and backing vocals to intermediate positions, roughly 30 to 60 percent, so they fill the gaps between the hard-panned and centered elements.
- Mirror your placements. If a tambourine sits at 40% left, put a shaker or a hi-hat around 40% right to keep the image even. An unbalanced pan picture makes the whole mix feel like it is leaning.
Balance a mix with subtractive EQ
Once levels and panning are close, EQ is how you stop instruments from fighting over the same frequency range. The core technique is subtractive: cut the frequencies where two elements clash rather than boosting to be heard, which just makes the clutter louder. Concrete moves that solve the most common balance problems:
- High-pass everything that is not bass or kick. Roll off below 80 to 120 Hz on guitars, vocals, keys, and overheads. This clears the mud that builds up when a dozen tracks all carry low-frequency rumble they do not need.
- Fix the boxy 300 to 500 Hz buildup. When a mix sounds congested, a wide 2 to 4 dB dip somewhere between 300 and 500 Hz on guitars and keys opens it right up. This band accumulates from many sources and is the classic culprit for a muddy mix.
- Carve a pocket for the vocal. If the vocal feels buried, dip 2 to 3 dB around 2 to 4 kHz on the instruments competing with it, so the vocal’s presence range has room to sit forward.
- Separate kick and bass. Boost the kick’s beater click around 3 to 5 kHz and its thump around 60 to 80 Hz, then dip the bass slightly at those same points, and vice versa. Complementary EQ lets both occupy the low end without turning it to soup.
A precise EQ like FabFilter Pro-Q makes these cuts easy to place because you can see the spectrum, but the frequencies above apply in any EQ. A useful trick for finding the exact problem frequency is to take a narrow boost of 6 dB or so, sweep it slowly across the range until the offending resonance or mud leaps out, then flip that boost into a cut of 2 to 4 dB. For the fundamentals behind these moves, our guide to EQ and compression basics goes deeper.
Balance is dynamic, not static. Once your faders are set, listen through the whole song and watch for moments where an element gets lost, a quiet verse where the vocal drops back, or a busy chorus where the guitars swallow it. Ride the fader or automate small level changes so every section stays balanced, because a mix that balances perfectly in the chorus can fall apart in the bridge.
Reference and check your balance
Your ears drift over a session, so calibrate them. Load a professionally mixed track in a similar style, level-match it to your mix, and switch back and forth. You are checking relative balance: is your vocal as forward, your low end as controlled, your cymbals as bright? Also check in mono, because collapsing the stereo image reveals masking and phase problems that a wide mix hides.
Finally, take breaks. The fastest way to lose your sense of balance is fatigue. Print a rough, sleep on it, and the imbalances will be obvious the next morning. You can spot-check levels and spectrum with our free audio metering tools in the browser. Nail the balance and the mix is 80 percent done before you reach for a single effect.



