
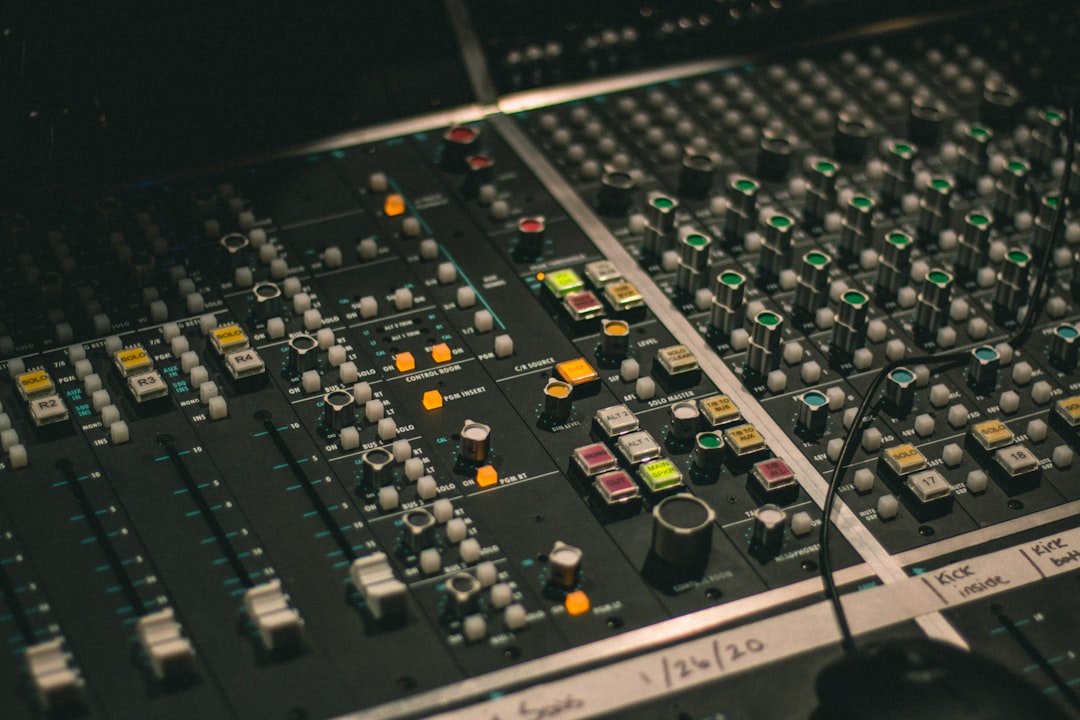
A well-built mix bus chain is what takes a collection of well-balanced tracks and turns them into a cohesive, finished-sounding record. The mix bus (also called the 2-bus, stereo bus, or master bus) is the single stereo channel every track passes through on its way out. Processing it lightly and correctly glues the elements together, adds density, and gives the mix that “produced” polish. Push it too hard and you crush the life out of everything. This guide walks through exactly what to put on the mix bus, in what order, and how much of each to use.
The golden rule of the mix bus is restraint. These plugins act on your entire mix at once, so a move that would be modest on a single track becomes dramatic here. Think of every setting below as a ceiling, not a target, and always compare against bypass at matched loudness.
What goes in a mix bus chain
A classic, reliable chain runs in this order, and the order matters because each stage feeds the next:
- Subtractive EQ to clean up any broad tonal issues before you compress.
- Bus compressor for glue and cohesion.
- Saturation for density and harmonic warmth.
- Tone-shaping EQ for the final tilt (air, low-end weight).
- Limiter only if you are printing a loud reference or a final master.
You do not need all five. Many great mixes use just a compressor and a touch of EQ. Build your mix bus chain from the essentials and add stages only when the mix clearly asks for them.
The bus compressor: the heart of the chain
Bus compression is what most people mean by “glue.” The classic tool is an SSL-style bus compressor, and its settings are famous because they work. Start here:
- Ratio 2:1. Gentle. On the whole mix you want cohesion, not obvious compression.
- Attack slow, around 30 ms. A slow attack lets transients (kick, snare) punch through before compression grabs them, keeping the mix lively rather than dulled.
- Release fast, around 0.1 s or set to Auto. A fast or auto release lets the gain recover in time with the groove, which produces the pumping-in-a-good-way movement that ties the track to its tempo.
- Threshold for 1 to 3 dB of gain reduction, maximum. This is the single most important number. On the mix bus, 2 dB of gain reduction is plenty. If the meter is diving past 4 to 5 dB, you are over-compressing.
A tool such as the Waves SSL G-Bus compressor is the canonical choice, but the TDR Kotelnikov (with a free version) is a superb transparent alternative when you want glue without color. Set the makeup gain to match the bypassed level so you judge the compression, not the volume.
One refinement worth knowing: many bus compressors have a sidechain high-pass filter, often labeled HPF or SC and set around 60 to 90 Hz. Engaging it stops the kick and bass from triggering the whole compressor, which otherwise causes the entire mix to duck on every kick hit. Turning that filter on usually tightens the low end and reduces pumping instantly, so try it whenever the bass feels like it is dragging the mix down with it. If your compressor has an external sidechain instead, feed it a high-passed copy of the mix to achieve the same result.
EQ, saturation, and tone on the mix bus
Mix bus EQ is about broad strokes only, never surgical cuts. Use gentle, wide (low-Q) moves:
- A high-shelf boost of 1 to 2 dB above 10 kHz adds air and sheen. A precise, clean EQ like FabFilter Pro-Q is ideal for these delicate shelves.
- A low-shelf boost of 1 dB around 60 to 100 Hz adds weight if the mix feels thin. If it feels muddy instead, a wide 1 to 2 dB dip around 250 to 400 Hz cleans it up.
- Keep every move under about 2 dB. Anything more usually means the fix belongs on an individual track, not the bus.
For saturation, add FabFilter Saturn or any gentle tape or console emulation and keep the drive very low, so the harmonic distortion is felt more than heard. A whisper of saturation on the bus fills in the spaces between transients and makes a digital mix feel more analog and cohesive. Drive it just to the point where switching it off makes the mix sound slightly emptier.
Mix into the bus, and other tips
The pros put their mix bus chain in place early, often right after starting the mix, so they hear the compressor and saturation reacting the whole time and mix into them. This means the glue is baked into your decisions rather than slapped on at the end. If you build the chain at the end instead, expect to revisit some fader moves because the compression will shift the balance.
Leave headroom. Keep the mix bus peaking around -6 dBFS before your limiter so the compressor and saturation have room to breathe and so your mastering stage (or engineer) has something to work with. Do not put a limiter on the bus if you are sending the mix out for mastering. For the theory behind the compressor settings above, see our EQ and compression fundamentals, and grab a free loudness meter from our audio tools hub to keep your levels honest. A restrained bus chain is the difference between a mix that sounds like separate tracks and one that sounds like a record.



