
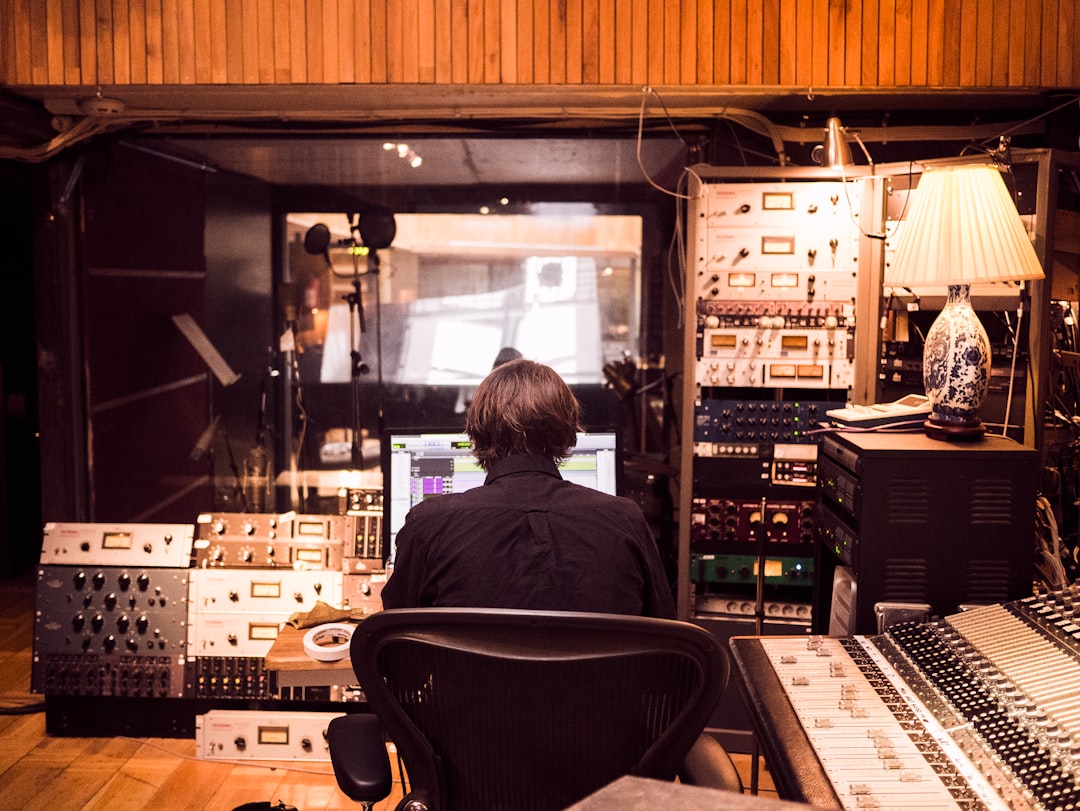
Learning how to build a vocal booth at home is mostly about controlling reflections, not blocking sound. A good booth gives you a dry, neutral space so your microphone captures the voice and not the room. You can achieve this in a closet, a corner, or a small freestanding frame — no construction required.
Here’s how to build an effective vocal booth on any budget, plus the mistakes to avoid.
Acoustic treatment vs soundproofing — know the difference
Most home “vocal booths” aim for the wrong goal. Acoustic treatment absorbs reflections so your recording sounds dry and clean. Soundproofing stops sound passing between rooms and is far harder and more expensive. For recording, you almost always want treatment. We break this down fully in soundproofing vs acoustic treatment. Set realistic expectations: a home booth makes vocals sound better, it won’t silence the neighbours.
The reason reflections matter so much for the voice is timing. When you sing or speak, the direct sound reaches the mic first, then a fraction of a millisecond later the same sound bounces off nearby walls and arrives again. Those early reflections combine with the direct signal and create a hollow, boxy or “roomy” tone that no amount of EQ fully removes later. A booth works by soaking up those first bounces before they ever reach the capsule, so the captured take is clean enough to sit in a mix without fighting the room.
Option 1: The closet booth (cheapest)
A clothes-filled closet is one of the best free vocal spaces you have. The clothing absorbs reflections naturally, giving a surprisingly dry sound.
- Choose a closet packed with soft garments on at least three sides.
- Face the mic toward the densest wall of clothes, not toward a bare door.
- Add a blanket or duvet behind your back to kill the remaining reflection.
- Run your cable under the door and monitor from outside if space is tight.
It’s not glamorous, but the results often beat a treated bedroom corner.
Option 2: The corner or framed booth (best balance)
For a more usable setup, build a partial enclosure in a room corner. The corner gives you two existing walls; you add absorption to the rest.
- Frame: use a PVC pipe or wood frame roughly the size of a phone booth, or simply hang heavy moving blankets from a ceiling track or a freestanding clothes rail.
- Absorption: line the inside with acoustic foam, mineral-wool panels, or thick moving blankets. Denser material absorbs lower frequencies better than thin foam.
- Coverage: treat the wall directly behind the mic and the wall behind the singer, plus overhead if possible — these are the reflections that muddy a take.
The principles here are the same as treating any room; see acoustic treatment for home studios for material choices, and if you’d rather make your own panels cheaply, our guide to DIY acoustic treatment on a budget covers the builds in detail.
Option 3: The reflection filter (smallest footprint)
If you can’t build anything, a portable microphone isolation shield mounts behind the microphone and absorbs the worst reflections close to the source. It won’t match a full booth, but combined with a thick blanket behind the singer it gets you most of the way for spoken word and demos. This pairs well with the rest of an essential home studio gear setup.
How to choose the right approach for your space
The best option depends on your room, your budget and how much you record. Work through these questions before you buy or build anything:
- Do you have a spare closet? If yes, start there. It’s free, it’s already half-treated by the clothes, and it tells you within ten minutes whether a dry vocal sound is achievable in your home at all.
- Is the space permanent or shared? Renters and anyone sharing a room should favour blankets on a freestanding rail or a reflection filter — both pack away and leave no marks. A framed corner booth suits a dedicated room you control.
- How tall is the singer? Reflections off the ceiling are easy to forget. If you’re recording standing up, plan for some overhead absorption rather than only treating ear height.
- What are you recording? Spoken word, podcasts and demos are forgiving and a reflection filter is often enough. Lead vocals for a release reward the fuller coverage of a closet or framed booth.
Whichever route you take, test it before committing. Record a few seconds of speech, then clap once inside the space. A short, dead-sounding clap means the treatment is working; a ringing or fluttery tail means you need more absorption or a different position.
Setting up the mic inside your booth
A great booth still needs good technique. Use a pop filter, keep about a hand-span of distance, and position the mic slightly off-axis to reduce plosives. Avoid placing the mic dead-centre in a small enclosed box, which can cause boxy resonance — keep some air around it. For full detail, follow microphone placement for vocals and our guide on how to record vocals at home.
Two extra details make a measurable difference. First, mind the floor: bare boards or tiles reflect sound straight back up into the mic, so lay down a rug or even a folded blanket under your feet. Second, watch your gain and headroom — a tight booth can flatter you into singing louder than you think, so set levels with your loudest phrase and leave room before clipping. A dry recording with healthy headroom is far easier to mix than a hot, roomy one.
Mistakes to avoid
- Foam egg-crate everywhere: thin foam only absorbs highs, leaving a boxy mid-range. Use thicker, denser material.
- Sealing yourself in airtight: a fully closed small box sounds unnaturally dead and gets hot. Aim for dry, not dead.
- Expecting soundproofing: treatment won’t block outside noise — if blocking sound is your real goal, see how to soundproof a room. Otherwise, record during quiet hours if needed.
- Ignoring the floor and ceiling: people treat the walls and forget the two hardest reflective surfaces in the room. A rug below and absorption above often clean up more than another wall panel.
- Building too small: cramming the mic and your face into a tiny box traps low-mid resonance. Give yourself room to breathe and to keep the mic off the walls.
Frequently asked questions
Does a vocal booth need to be soundproof?
No. For recording quality, what matters is absorbing reflections so the mic captures a dry, clean voice. True soundproofing blocks sound between rooms, which is a separate, much costlier project most home recordists don’t need.
Is a closet good enough for recording vocals?
Yes, a clothes-packed closet is one of the best free vocal spaces available. The soft garments absorb reflections and give a dry sound that often rivals a purpose-built booth.
What material is best for a vocal booth?
Dense absorbers like mineral-wool panels or thick moving blankets outperform thin acoustic foam, because they absorb mid and low frequencies too. Foam alone tends to leave a boxy mid-range.
How big should a home vocal booth be?
Big enough to stand comfortably with a hand-span of air around the microphone, but no larger than you can treat well. A space roughly the size of a phone booth or a small closet is ideal — large enough to avoid boxy resonance, small enough to absorb thoroughly on a budget.



