
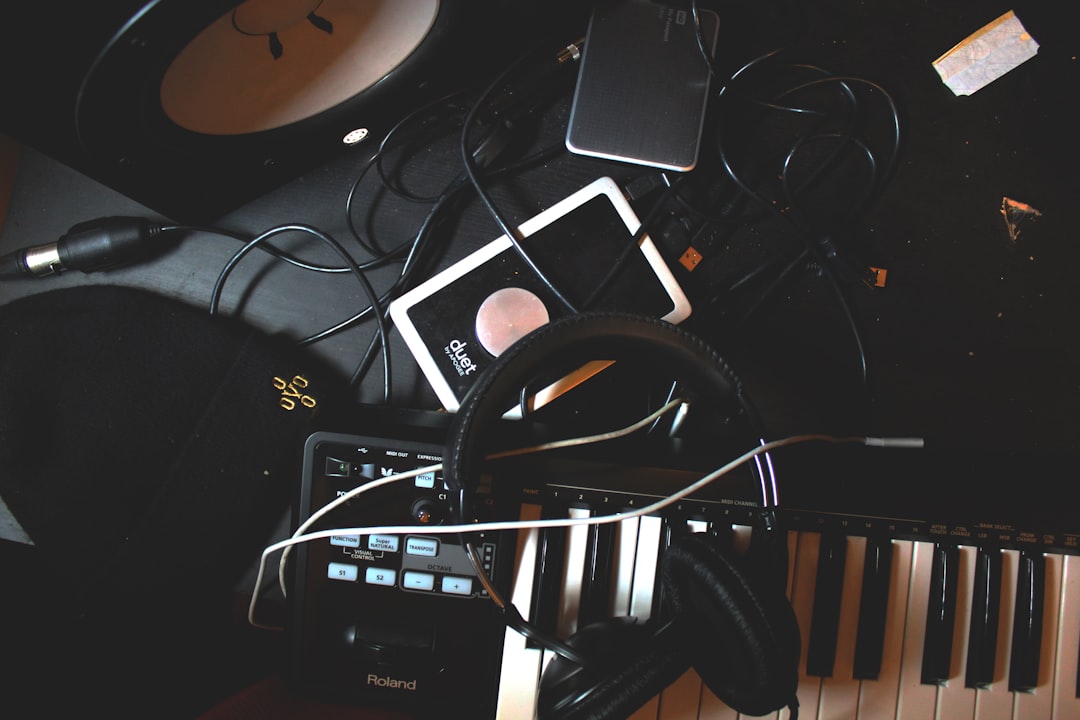
Choosing to record a band in one room live, all playing together, is how most classic records were made, and it still captures an energy that overdubbed, one-instrument-at-a-time sessions rarely match. The trade-off is control: everything bleeds into everything, so you can’t fix one part in isolation later. This guide shows you how to set up mics, manage that bleed on purpose, stage your gain, and give players a headphone mix that keeps the performance tight, all in a normal-sized room.
Plan the room before you plan the mics
The single biggest factor when you record a band in one room is physical layout. Bleed isn’t automatically bad; controlled bleed glues a band together. Uncontrolled bleed muddies everything. Use these principles:
- Put the loudest sources farthest apart. Drums and a guitar amp on opposite sides of the room reduce how much each ends up in the other’s mics.
- Use directionality. Point the back (null) of a cardioid mic toward the sound you want to reject. A vocal mic aimed away from the drum kit rejects a surprising amount of cymbal.
- Isolate what you can cheaply. A guitar amp in a closet or behind a heavy blanket-draped gobo, the bassist going direct (DI), and the drummer in the liveliest corner is a proven amateur-friendly arrangement.
Have the band play at a realistic performance volume while you walk the room and listen. Where it sounds good acoustically is roughly where your mics will sound good.
Mic choices and placement to record a band in one room
Keep the mic count sensible. Fewer, well-placed mics beat a forest of them, because every extra open mic adds more phase-smeared bleed.
- Drums (4-mic minimum): a dynamic on the kick just inside the front head, a dynamic on the snare about 3-4 cm above the rim angled down toward the center, and a pair of overheads roughly 90-120 cm above the kit. Keep the two overheads equidistant from the snare (measure with a cable) so the snare stays centered and phase-coherent.
- Bass: take a DI straight into the interface. It’s clean, it barely bleeds, and it sits perfectly with the kick.
- Guitar amp: a dynamic like an SM57 at the grille cloth, 2-5 cm out, aimed between the dust cap and cone edge. Isolating the amp keeps its bleed out of the drum overheads.
- Scratch/keeper vocal: a dynamic (not a sensitive condenser) held close, 5-10 cm, so it rejects the room. Expect to re-sing the final vocal as an overdub for a cleaner result.
Watch phase relationships. When you have multiple mics on one source (top and bottom snare, or kick in and out), flip the polarity on one and keep whichever sounds fuller. Thin, hollow drums are almost always a phase problem, not an EQ problem.
Gain staging with everyone playing at once
Set levels while the band plays the loudest section of the song, not while they warm up quietly. Aim for each track to peak around -12 to -6 dBFS. That headroom matters even more in a live take because you get exactly one shot at that energy, and a single clipped drum hit can ruin an otherwise perfect pass. If in doubt, err quieter. Digital noise floors are low enough that a conservative level is safe.
Because you’re tracking many inputs at once, keep your buffer size low (128 samples or so) for near-zero monitoring latency, but watch your CPU meter. If you hear crackles, freeze plugins or raise the buffer; a dropout in a live take is unrecoverable.
The headphone mix is the performance
A band that can’t hear itself plays badly, and no amount of mixing fixes a shaky performance. Build a dedicated monitor mix, separate from what you’re recording:
- Feed the drummer plenty of kick, bass, and a little vocal for the arrangement.
- Give the singer a strong vocal, kick, and bass so they can pitch and time.
- Add a click only if the band is comfortable with it; some ensembles feel more natural following the drummer.
Use closed-back headphones to minimize click bleed into the mics. If you only have a couple of headphone outputs, a cheap headphone amp/splitter solves it.
Capture, then decide what to overdub
Record several full passes rather than punching in. With this much bleed you can’t punch a single instrument cleanly, so you comp between whole takes. Once you have a keeper, you can still overdub the lead vocal, a guitar solo, or backing harmonies on top for polish while keeping the live rhythm section’s feel.
Quick room-treatment wins that make one-room tracking dramatically better: throw absorption (even moving blankets or a duvet) at the first reflection points and behind the drum kit, and avoid recording in a bare, tiled, or glass-heavy space where slap echo will smear every mic. A rug under the drums also tames boominess.
Live one-room tracking rewards preparation over gear. Nail the layout, control the bleed with mic angles and isolation, stage your gain conservatively, and give the players a mix they can perform to. For the finer points, see our drum miking guide, the broader home recording tutorials, and the browser metronome and tuner tools to prep the band before you hit record.



