
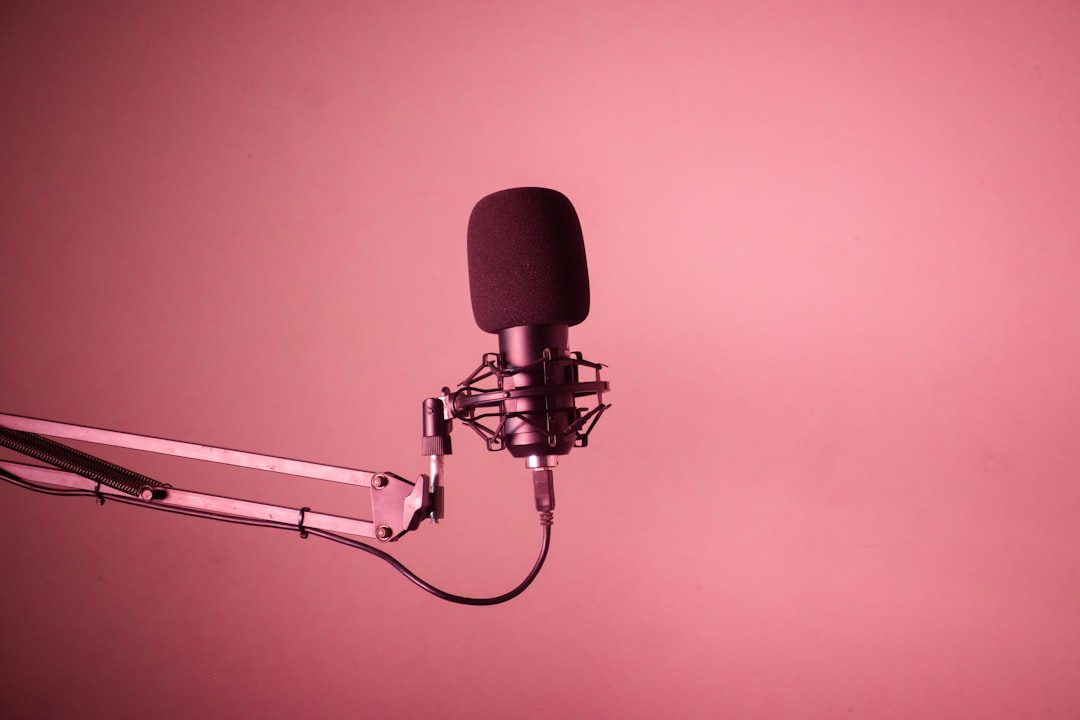
Assembling the best mics for recording a band isn’t about buying the most expensive microphone in the shop, it’s about buying the right tool for each source. A drum kit, a guitar amp, a bass, and a vocal all ask for different things, and a smart locker of a handful of proven, versatile mics will out-record a random pile of pricey boutique gear. This roundup walks through the microphones working engineers reach for again and again, organized by job, with honest pros and cons so you can build a kit that covers a whole band without waste.
Dynamic workhorses: the backbone of the best mics for recording a band
If you buy nothing else, buy dynamics. They’re durable, they reject bleed (crucial when a band plays together), and they handle loud sources without complaint.
- Shure SM57 – the default snare and guitar-amp mic on countless records. Place it 2-5 cm off a guitar grille aimed between the dust cap and cone, or just above the snare rim angled toward the center.
Pros: nearly indestructible, cheap, sits perfectly on snare and amps, endlessly reliable. Cons: a slightly scooped, mid-forward tone that isn’t the last word in detail; the proximity effect can get boomy up close. - Shure SM58 – essentially a 57 with a ball windscreen, the live-vocal standard and a genuinely good untreated-room vocal mic because it rejects so much background.
Pros: rugged, forgiving, great for loud or noisy rooms. Cons: not as airy or detailed as a condenser for a lead vocal in a quiet space. - Sennheiser MD 421 – a larger dynamic beloved on toms, kick, and even guitar amps.
Pros: punchy, handles high SPL, flexible five-position low-cut. Cons: pricier than an SM57; the vintage clip design is famously awkward.
Kick and low-frequency mics
A kick drum and bass cabinet need a mic voiced for low end and high volume.
- AKG D112 / Shure Beta 52A – purpose-built kick mics with a scooped, ready-to-go low-end thump and top-end click. Place just inside the front head, angled at the beater for more attack.
Pros: instant usable kick sound, handle huge SPL. Cons: that scooped voicing is specialized, they’re not general-purpose mics.
For bass, most engineers take a DI alongside or instead of a mic, it’s clean, bleed-free, and sits tight with the kick.
Condensers for detail, overheads, and acoustic sources
Condensers hear more detail and high-frequency air, which makes them ideal for cymbals, acoustic guitar, room sound, and lead vocals in a treated space.
- A matched pair of small-diaphragm condensers (pencil mics) – the go-to for drum overheads and acoustic guitar. For overheads, position them roughly 90-120 cm above the kit, equidistant from the snare so it stays centered and phase-coherent.
Pros: accurate, detailed, tight stereo imaging. Cons: they capture everything, including a bad-sounding room, so treatment matters. - A large-diaphragm condenser – your lead-vocal mic and a flexible utility mic for acoustic instruments. Track vocals about 15-20 cm out with a pop filter.
Pros: flattering, detailed, upfront vocal tone. Cons: too sensitive for a noisy or reflective room, where a dynamic wins; requires phantom power.
Ribbon mics: smooth on bright sources
Ribbon mics have a warm, rolled-off top end that tames harsh sources beautifully.
- A modern ribbon (the current generation handles higher volume than fragile vintage designs) – excellent on bright guitar amps, brass, and as a room mic.
Pros: smooth, natural, never brittle; the figure-8 pattern is useful for creative placement. Cons: lower output needs a clean, high-gain preamp; classic ribbons are delicate around high SPL and wind blasts.
Building a band-covering kit on a budget
You don’t need one of everything. A practical starter locker that can record a whole band looks like this:
- Two or three SM57s – snare, guitar amp, and a spare.
- A dedicated kick mic (D112 or Beta 52A).
- A matched pair of small-diaphragm condensers for overheads and acoustic.
- One large-diaphragm condenser for lead vocals.
- A DI box for bass and reamping.
Whatever mics you choose, remember that placement outperforms price every time. A carefully positioned SM57 beats a boutique condenser pointed carelessly at a bad spot. Set your interface preamps so each source peaks around -12 to -6 dBFS to leave headroom, keep your monitoring buffer size low (128 samples) for latency-free tracking, and treat the room with even basic absorption before blaming your mics for a dull sound.
Once your locker covers drums, amp, bass, and vocals, you can record any band that walks in. For placement specifics see our drum miking guide and the broader home recording tutorials, and grab a browser tuner and level meter from our tools hub to dial everything in before the first take.



