
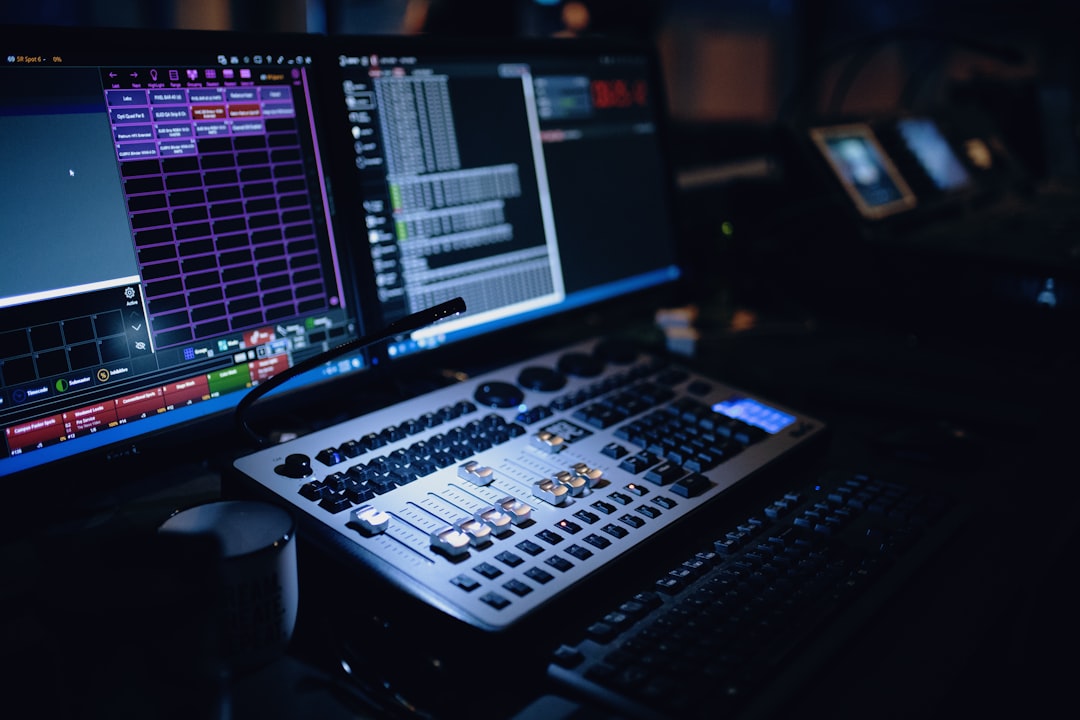
A demo is not a finished record; it is a clear snapshot of a song idea that a bandmate, producer or publisher can actually understand. That distinction changes everything about how you work. When you record a demo at home, your goal is speed, clarity and honest representation of the arrangement, not a polished commercial master. With one microphone, an audio interface and a quiet-ish room, you can capture something convincing in an afternoon. This guide walks through the practical decisions that keep a home demo sounding tight instead of muddy, and it will save you the frustration of takes that clip, drift or bury the vocal.
Set up before you record a demo at home
Start with your gain staging, because it is the single biggest thing beginners get wrong. Set your interface input so the loudest part of your performance peaks around -12 to -6 dBFS in your DAW. That leaves headroom for anything louder than your soundcheck and keeps you well clear of 0 dBFS, where digital clipping permanently distorts the take. If your meters are slamming the top, turn the interface gain down, not the fader.
Next, deal with latency. If you hear an annoying delay while monitoring your own voice or guitar, drop your buffer size to 64 or 128 samples while tracking so the round-trip delay stays under about 6 ms. Once you move on to mixing, raise the buffer to 512 or 1024 samples so your computer can run more plugins without crackling. Most interfaces also offer direct hardware monitoring, which sidesteps latency entirely.
Finally, do quick room triage. You do not need a treated studio, but you do need to reduce reflections. Record facing into a corner draped with a thick duvet or standing among soft furnishings, and keep the mic at least 60 cm (about 2 feet) away from any bare wall. A closet full of clothes is a genuinely good vocal booth.
Mic choice and placement for a convincing demo
For a one-mic demo, a large-diaphragm condenser such as an Audio-Technica AT2020 or a Rode NT1 captures vocals and acoustic guitar with plenty of detail. If your room is loud or lively, a dynamic mic like the Shure SM58 or SM7B is more forgiving because it rejects more of the room. Both are legitimate demo tools; the dynamic simply asks less of your acoustics.
- Lead vocal. Position the mic 15 to 20 cm (6 to 8 inches) from your mouth, slightly above nose height and angled down toward the lips. Add a pop filter about 8 cm in front to tame plosives. Singing slightly off-axis reduces harshness and sibilance.
- Acoustic guitar. Aim the mic where the neck meets the body, around the 12th to 14th fret, at a distance of 20 to 30 cm. Pointing straight at the soundhole produces a boomy, unusable low end, so avoid it.
- Scratch instrument plus vocal. For a quick songwriter demo, record guitar and vocal on separate passes if you can, so you can balance them later. If you must do both at once, place one mic on the voice and accept the guitar bleed as part of the vibe.
Whatever the source, record a short test, listen back on headphones, and move the mic a few centimetres if something sounds off. Placement changes tone far more than any plugin will.
Tracking the arrangement efficiently
Demos live or die on arrangement clarity, so build the song in layers that anyone can follow. Lay down a simple guide first, whether that is a click, a piano part or a strummed guitar, and commit to a tempo so everything else locks together. Then track the lead vocal, then the core instruments, then one or two colour parts. Resist the urge to pile on twenty tracks; a demo with four well-placed parts communicates better than a cluttered one.
Capture two or three full takes of the vocal rather than punching in obsessively. You are chasing feel and pitch that is roughly right, not surgical perfection. Keep the best take, comp a couple of lines if needed, and move on. The moment a demo starts feeling like a full production, you have drifted from the point.
Watch your levels the whole way through. It is common for a chorus to be sung much louder than a verse, so leave that -6 dBFS ceiling in mind and ride your performance intensity rather than the gain knob mid-take. Consistent, uncooked recordings are far easier to balance afterward.
Quick mix so the demo travels well
A demo mix should take minutes, not hours. Balance the faders so the lead vocal sits clearly on top, high-pass anything that does not need low end below about 100 Hz to clear mud, and add a touch of reverb to glue the vocal into the track. Level the parts so nothing disappears on phone speakers, because that is where most people will first hear it. If you want to go a step further, our guide on how to mix vocals covers fast, reliable moves, and the broader home recording hub has walkthroughs for every source you might add.
Export a stereo file at 24-bit WAV for archiving and an MP3 for sharing, and normalise the loudness so it is comfortable but not crushed. You do not need mastering-grade loudness on a demo; you need it to play back at a sensible level next to reference songs. For free metering and loudness tools to check that quickly, the Violet Recording tools hub has browser-based utilities that need no install. Do all of this with restraint, and you will consistently record a demo at home that gets your song understood, remembered and, when it matters, greenlit.



