
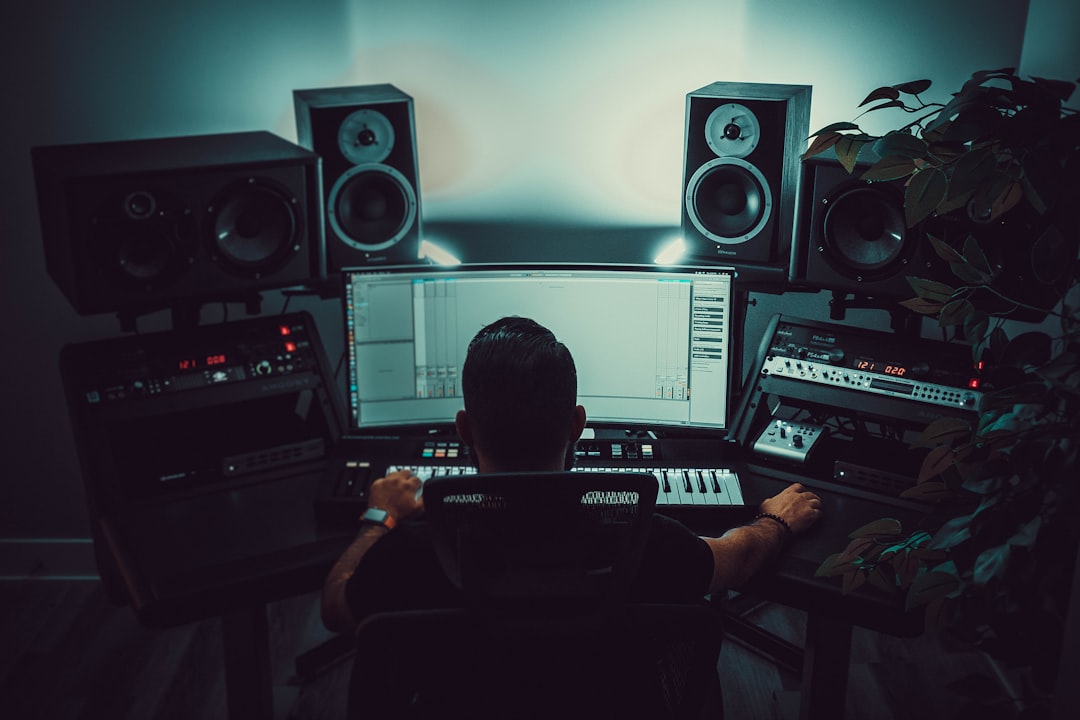
Rap is a vocal-first genre, which means the recording has to be clean, punchy and perfectly in the pocket before any mixing can save it. When you record a rap song at home, most of the quality comes from three things you control at the source: mic placement, gain staging and disciplined layering of doubles and ad-libs. Get those right and even a modest home setup delivers vocals that cut through a beat. This guide covers the exact distances, level targets and buffer settings that keep your takes tight, along with the layering approach that separates a demo-sounding verse from a finished-sounding one.
Gear and setup to record a rap song at home
A large-diaphragm condenser like the Audio-Technica AT2020, Rode NT1 or an Aston Origin is the common home choice because it captures the detail and presence rap vocals rely on. If your room is untreated and lively, a dynamic mic such as the Shure SM7B rejects more of the room and is very forgiving, which is why it is a studio staple for rap. Either way, you need an audio interface with a clean preamp, a pop filter and closed-back headphones so the beat does not bleed into the mic.
Set input gain so your loudest, most aggressive delivery peaks around -12 to -6 dBFS. Rappers push hard on punchlines, so leave that headroom and never let the meter touch 0 dBFS, where the take clips and cannot be repaired. To rap in time without a distracting echo in your ears, set your buffer size to 64 or 128 samples while tracking to keep round-trip latency under about 6 ms, then raise it to 512 or higher once you start mixing.
Treat your space simply: face a corner hung with a thick blanket or record inside a clothes-filled closet, and keep the mic at least 60 cm from any bare wall to cut boxy reflections.
Mic placement and vocal technique
Placement is where rap vocals are won or lost. Position the mic 15 to 20 cm (6 to 8 inches) from your mouth with the pop filter roughly 8 cm in front of the capsule. Point the mic slightly above mouth height and angled down toward the lips, and rap just off-axis rather than straight into the centre. That off-axis angle tames plosives and harsh sibilance while keeping the low-mid weight that makes a voice sound authoritative.
- Control your dynamics. Back off a few centimetres on loud, shouted lines and lean in slightly for intimate, quieter delivery. Managing distance yourself gives a more natural result than relying on compression to flatten everything.
- Mind proximity effect. Getting very close boosts the bass and can sound powerful, but too close turns muddy and boomy. Find the sweet spot where the voice is full but still articulate.
- Diction over speed. The mic captures exactly what you give it, so crisp consonants at the source save hours of editing later.
Breath control matters as much as breath capture. Plan where you inhale so gasps do not land in the middle of a punchline, and keep your posture upright so your delivery stays powerful across a full take. If you rap a very fast passage, slow the beat down slightly to nail the diction, then bring it back to tempo; a clean take at the right speed always beats a rushed one you have to edit heavily. Record a couple of safety takes even when the first feels great, because having options at the comping stage is far easier than re-tracking a mood you have already left behind.
Layering the main, doubles and ad-libs
A professional-sounding rap vocal is built from layers, and recording them cleanly is half the job. Track the main vocal first as your reference, comping the best lines from two or three takes until the whole verse is tight and on beat. Then record your layers with the same mic position so they stack coherently.
- Doubles. Record the entire main vocal a second time, matching the phrasing as closely as you can. Panned left and right and tucked slightly under the main, doubles thicken the delivery. For key words, add tighter doubles that hit exactly with the main for extra impact.
- Ad-libs. Capture reactions, echoes and hype phrases on their own tracks so you can place them in the gaps between bars without cluttering the lead.
- Punch-ins. If one line is off, punch in just that phrase rather than redoing the whole verse. Keep the mic exactly where it was so the tone matches.
Save each layer on its own track and label them clearly. Organised tracking makes the mix dramatically faster.
Get the recording mix-ready
You are not mixing yet, but a few tracking-stage habits make the eventual mix effortless. Keep every take at a consistent level around that -6 dBFS ceiling, edit out breaths and mouth clicks between phrases, and tighten the timing of doubles against the main so they read as one thick voice rather than a flam. Trim silence so only the intended performance remains on each track.
When it is time to process, rap vocals respond well to a high-pass filter around 80 to 100 Hz to clear rumble, compression to even out the delivery, and de-essing to control harsh S sounds. Our full walkthrough on how to mix rap vocals covers the chain in order, and the home recording hub has guides on capturing every other element of your track. Autotune and tuning plugins are common in the genre; add them tastefully once the raw performance is solid rather than using them to rescue a shaky take. For free browser-based metering and loudness tools to check your levels before you export, visit the Violet Recording tools hub. Nail the placement, guard your headroom, and layer with intent, and you will consistently record a rap song at home that sounds finished, not homemade.



