
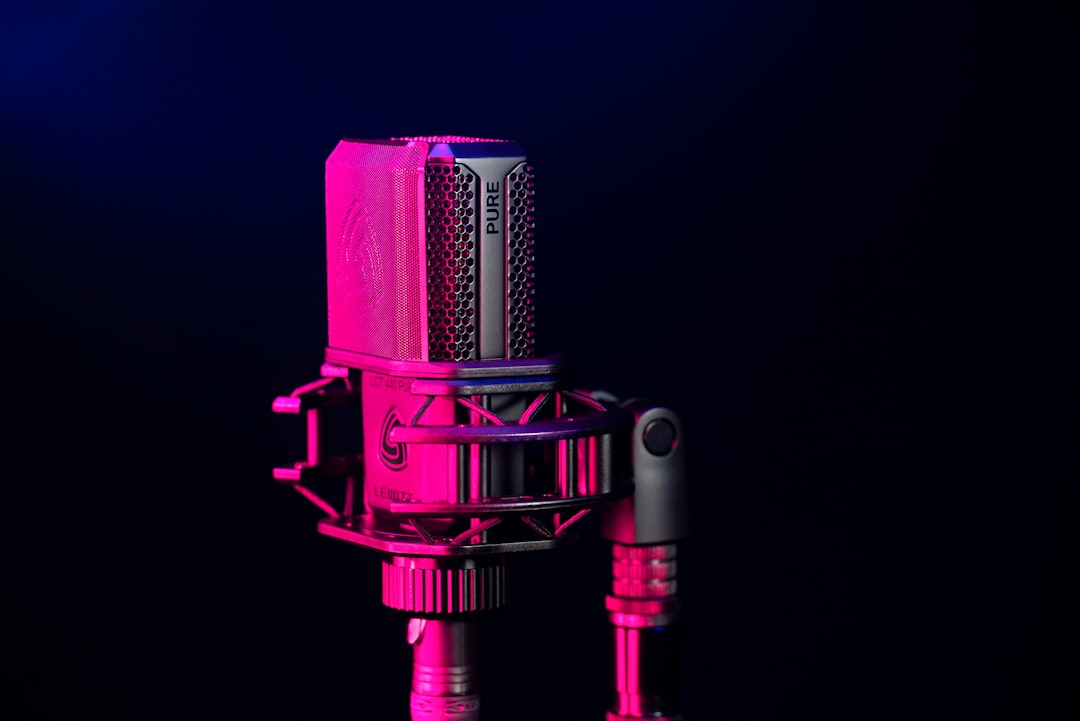
Acoustic guitar is one of the most rewarding – and revealing – instruments to record. Get the mic placement right and you’ll capture a rich, natural sound without fighting it in the mix.
Choose the right mic
A small-diaphragm condenser captures the detail and string definition acoustic guitar needs; a large-diaphragm condenser works well too. See the best microphones guide for options.
Why does mic type matter so much here? Acoustic guitar produces a wide frequency range, from the deep fundamentals of the low E string to the airy harmonics and pick attack that sit well above 10 kHz. Small-diaphragm condensers tend to have a fast transient response and a consistent off-axis sound, which makes them forgiving when you or the player move slightly during a take. Large-diaphragm condensers usually sound a touch warmer and fuller, which can flatter a thin-sounding guitar but can also exaggerate boom if you place them carelessly. There is no single “best” choice – match the mic to the guitar and the part. A bright, jangly steel-string strumming a pop song often suits a small-diaphragm condenser, while a softer fingerstyle piece on a warm-bodied guitar can sit beautifully under a large-diaphragm.
If a condenser is genuinely too bright or harsh in your room, a dynamic mic is a valid fallback. It will capture less air and detail, but it also picks up less room reflection and handling noise, which can be a fair trade in an untreated space.
Placement: avoid the soundhole
Pointing the mic straight at the soundhole captures a boomy, bass-heavy sound. Instead, aim at the 12th fret (where the neck meets the body) from about 20-30 cm away for a balanced tone. Move toward the bridge for more body, toward the neck for more brightness and finger detail. Working this close to the source is a form of close miking, which keeps the guitar loud against the room.
Think of placement as a set of two independent controls: angle and distance. Sliding the mic along the body – from the headstock end toward the bridge – changes the tonal balance, trading brightness and string detail for warmth and low-end weight. Distance, on the other hand, controls how much of the room you capture and how strong the proximity effect is. Moving closer thickens the low end and tightens the sound; pulling back lets the guitar “bloom” and brings in more of the room’s character, for better or worse. Change one variable at a time and listen on headphones so you can hear exactly what each move does.
A reliable starting point is a single mic aimed roughly at the 12th fret, angled slightly away from the soundhole, about a hand-span away from the strings. From there, nudge it toward the bridge if the tone feels thin, or back toward the neck if it feels dull. Small movements make a surprisingly large difference, so be patient and trust your ears over any “correct” measurement.
Mic placement can only capture what the instrument gives it, so if you are still choosing your first guitar, our guide to the best acoustic guitars for beginners covers models that play comfortably and record well.
If you have outgrown a starter model, a solid-top guitar is the biggest single upgrade for recorded tone. Our roundup of the best acoustic guitars under five hundred dollars covers mid-priced instruments that sound rich on a mic.
Mono vs stereo
- Mono: one mic at the 12th fret – simple and mix-friendly.
- Stereo: a second mic (e.g. near the bridge or over the shoulder) adds width – watch for phase issues.
For most home recordings, a single well-placed mono mic is the right call. It is easier to position, impossible to put out of phase with itself, and it sits cleanly in a busy mix without smearing or washing out other instruments. Reserve stereo for solo or sparse arrangements where the guitar is the star and you want it to feel wide and immersive.
When you do go stereo, the safest technique for beginners is XY – two mics with their capsules close together, angled apart at roughly 90 degrees. Because the capsules are nearly co-located, XY stays largely mono-compatible and avoids the phase problems that plague spaced pairs. Our guide to stereo recording techniques walks through XY and the other pairs in detail, and if you have never tracked with a pair before it is worth learning how to record with two microphones first. A common alternative places one mic at the 12th fret and another near the bridge; this can sound dramatic, but check it in mono and flip the polarity of one mic if the combined sound goes thin or hollow.
Tame the room and noise
Acoustic guitar exposes room reflections, so record in a treated or soft space – see acoustic treatment. Keep finger squeaks down with fresh-ish strings and a light touch, and set levels with headroom.
If you cannot treat your room, work with what you have. Recording away from bare parallel walls, hanging a thick duvet behind the mic, or even tracking in a carpeted room full of soft furnishings will all reduce harsh early reflections. The goal is to capture the guitar, not the slap and ring of the room around it.
Common mistakes to avoid
- Aiming at the soundhole: the single most common cause of a boomy, muddy acoustic recording. Point off to the side instead.
- Recording too hot: chasing loud meters invites clipping on sudden strums. Leave plenty of headroom and let the mix bring the level up later.
- Ignoring the player’s noise: chair creaks, breathing, foot taps and clothing rustle all get captured. Tidy these up before you hit record, not after.
- Fixing tone with EQ instead of placement: a few centimetres of mic movement usually beats hours of plugin tweaking. Get the source right first.
Frequently asked questions
Can I record acoustic guitar with just one microphone?
Yes – and for home recording a single mic is often the better choice. One condenser aimed near the 12th fret gives you a balanced, natural tone that drops easily into a mix. Add a second mic only when you specifically want stereo width and are prepared to check for phase issues.
Why does my acoustic guitar sound boomy or muddy?
The usual culprit is a mic pointed straight at the soundhole, which is where the guitar pushes out the most low-end energy. Re-aim toward the 12th fret, and if the low end is still heavy, pull the mic back slightly to reduce the proximity effect before reaching for EQ.
How far should the mic be from the guitar?
Around 20-30 cm is a solid starting distance for a balanced sound. Closer than that thickens the low end and tightens the tone, while further away captures more of the room. Adjust based on how your space sounds and how much body or air you want in the recording.



