
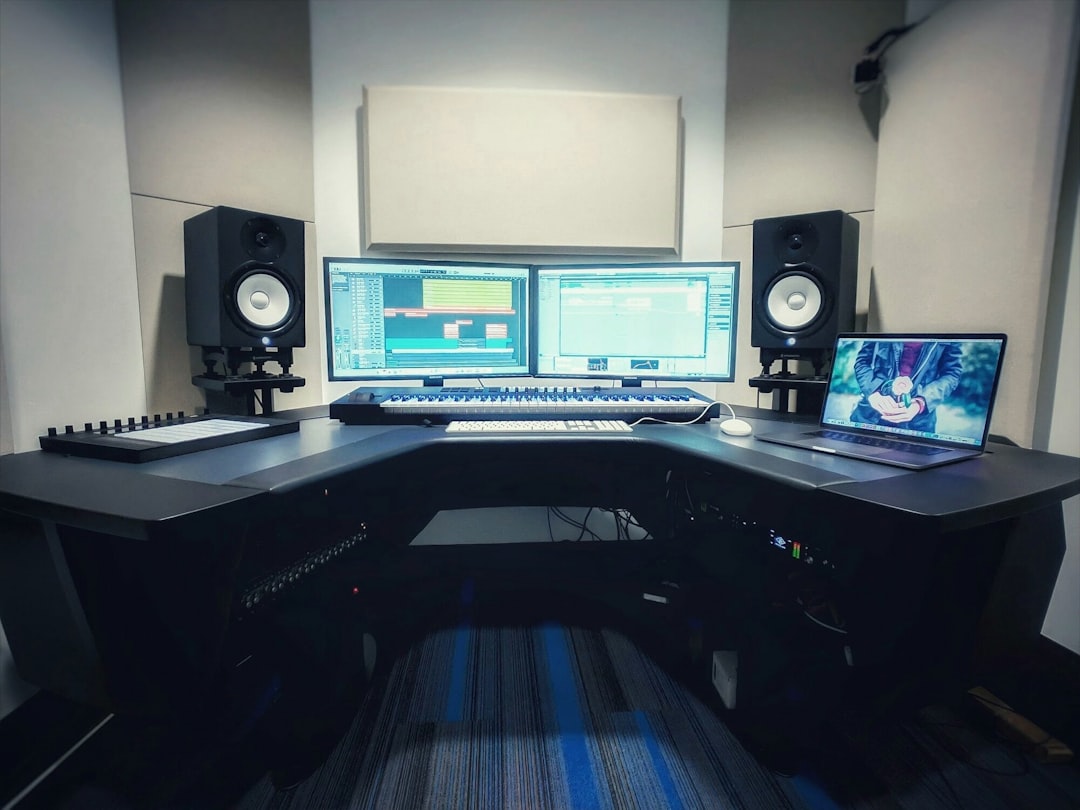
To record guitar with an audio interface you only need three things working together: the right input on the box, sensible gain staging, and a monitoring setup that lets you play without distracting latency. The interface is the bridge between your guitar and your DAW — it converts your signal to digital cleanly so everything downstream, from amp sims to EQ, has a solid foundation. Get these basics right and even a modest two-input interface will capture guitar and bass that sound professional. This guide covers the connections, levels, and settings step by step, plus the DI-versus-mic decision that shapes your whole tone.
Plug in the right way: instrument vs line vs mic inputs
The single most common beginner mistake is using the wrong input. An electric guitar or bass plugged in directly needs a high-impedance instrument (Hi-Z) input, usually a combo jack with an “Inst” switch or a dedicated front-panel 1/4″ instrument socket. Plug straight into a line input instead and your tone goes thin and weak because of the impedance mismatch.
- DI (direct): guitar cable → the interface’s instrument input with Hi-Z engaged. This gives you a clean, dry signal to run through an amp sim.
- Mic’d amp: a dynamic mic like an SM57 → an XLR cable → the interface’s mic (XLR) input, with the amp in the room. The interface’s preamp brings the mic level up.
- Line: reserved for already-amplified sources like an amp’s line out or a hardware modeller — not a bare guitar.
If your interface has a pad or Hi-Z button and you’re not sure it’s on, check it — this one switch is the difference between a full-bodied DI and a lifeless one. For the deeper DI signal-chain details, see our DI recording guide.
How to record guitar with an audio interface at the right level
Gain staging is where clean recordings are won or lost. Set your input gain so the loudest part of your performance — your hardest strum, your most aggressive palm mute — peaks around -12 to -6 dBFS on the interface or DAW meter, never touching 0. Digital has no forgiving “warm clipping”: hit the top and you get harsh, unfixable distortion baked into the file.
- Turn the interface gain knob down, then play as hard as you will in the take.
- Bring the gain up until peaks hit roughly -8 dBFS, leaving healthy headroom.
- Watch for the clip light; if it ever flashes, back off a couple of dB.
- Aim low rather than hot — you can always add level later, but you can’t undo clipping.
Leaving that headroom matters even more when you’re going into an amp sim, because a too-hot input hits the modelled amp’s virtual front end differently than intended and can make it fizz. Our gain staging explainer covers why -18 dBFS is a good average target for the whole chain.
Beat latency with buffer size and direct monitoring
Latency — the delay between playing a note and hearing it — is the thing that makes home recording feel unplayable. It’s caused by the round trip through your computer, and you control it two ways.
Buffer size: in your DAW’s audio settings, a smaller buffer (say 64 or 128 samples) means lower latency but higher CPU load; a larger buffer (512-1024) is easier on the computer but adds delay. The trick is to use a small buffer while tracking so playing feels immediate, then raise it for mixing when latency no longer matters. If you hear clicks and pops while recording, your buffer is too small for your CPU — nudge it up.
Direct (hardware) monitoring: most interfaces let you hear your input signal straight from the hardware, bypassing the computer round trip entirely for zero latency. Use it when you’re recording a mic’d amp or a clean DI. The catch: with direct monitoring you hear the dry signal, not your amp-sim tone. If you’re playing through a plugin amp, you’ll instead want low-buffer software monitoring so you hear the processed sound — see our amp sim recording guide for that workflow.
DI, mic, or both — capturing the tone you want
Your interface supports three legitimate approaches, and the best one depends on your room and goals:
- DI into an amp sim is the home-recording default: silent, repeatable, and you can change the amp after tracking. Record the clean DI and monitor through the plugin.
- Mic a real amp for the feel and air of a moving speaker. Start with a dynamic mic like an SM57 pointed at the seam where the speaker’s dust cap meets the cone, an inch or two off the grille. Aim more at the centre (dust cap) for brightness, toward the cone edge for a warmer, darker tone.
- Record both at once — split your guitar to the amp and to a DI — so you have a re-ampable clean track as insurance. This needs two inputs but is the pro safety net.
Whichever you choose, always keep the untreated DI if you can. It’s the most flexible file you’ll own, letting you completely re-tone the part later without replaying it.
A repeatable recording routine
Put it together into a checklist you run every session:
- Fresh strings, then tune — nothing sinks a take faster than a flat guitar. Use the free tuner in our audio tools hub.
- Plug into the Hi-Z instrument input (or mic into the XLR input for an amp).
- Set gain so hard playing peaks around -8 dBFS.
- Drop the buffer to 64-128 samples and enable direct monitoring (or low-latency software monitoring for amp sims).
- Record a short test, check the level and for clipping, then commit to full takes.
- For rhythm parts, record two passes and hard-pan them for width.
That’s the whole foundation. A clean, well-staged capture from your interface is what makes everything afterwards — EQ, amp sims, mixing — sound effortless. When your takes are down, head to our guitar mixing guides to shape them into a finished track, and browse the wider guitar recording cluster for mic and reamp techniques.



