
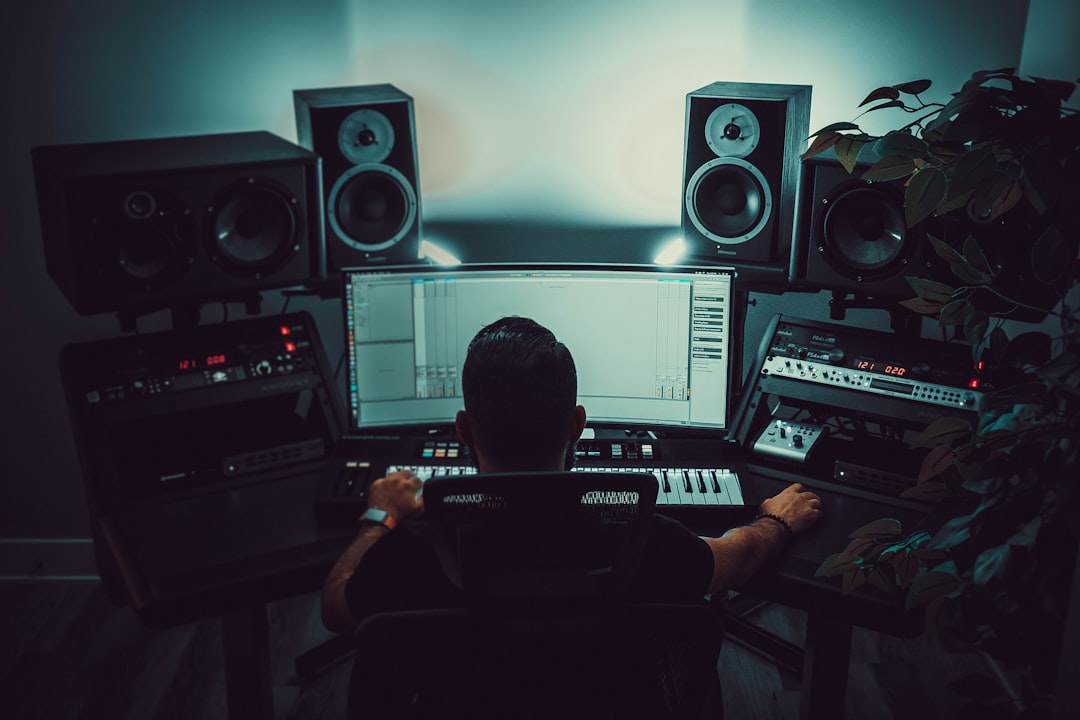
Learning to record guitar with an amp sim is the single biggest upgrade most home recordists can make: no amp, no mic, no noise complaints, and a fully re-tonable performance you can reshape long after you’ve played it. An amp sim models a real amplifier, cabinet and mics inside a plugin, so all you feed it is a clean, direct signal from your guitar. The magic is that the tone lives in the plugin, not the recording — meaning you can swap amps, tweak the gain, or change the mic position after the take. This guide covers the exact signal chain, levels, and monitoring settings that make amp-sim tracking sound professional.
The signal chain: record the DI, hear the amp
The core concept trips up beginners, so get it clear: you record the clean DI signal, but you monitor through the amp sim. Plug your guitar into your interface’s high-impedance (Hi-Z) instrument input, arm the track, and insert the amp-sim plugin on that track. Your DAW records the dry, unprocessed guitar to disk while you hear the modelled amp in your headphones.
Why record dry? Because that clean DI is infinitely flexible. If tomorrow you decide the rhythm tone should be tighter, or you want to re-amp for a different song, you just change the plugin — the underlying performance never has to be replayed. Print the wet, amped signal instead and you’re locked into that tone forever. Always keep the DI. Our DI recording guide covers the capture side in detail.
How to record guitar with an amp sim at the right input level
Amp sims are sensitive to how hard you hit them, exactly like a real amp’s front end. Gain stage in two stages:
- Interface input: set the hardware gain so your hardest playing peaks around -12 to -8 dBFS. Too hot and the modelled preamp fizzes and loses definition; too quiet and you’re feeding it noise. Leave real headroom.
- Plugin input trim: many amp sims have an input level or “instrument level” control. Match it to your pickups — humbuckers push more signal than single coils. If a high-gain patch sounds mushy and undefined, your input is probably too hot; back it down.
Getting this staging right is the difference between a tight, articulate high-gain tone and a fizzy wall of mud. For the underlying theory, see our gain staging explainer.
Kill the latency so it feels like playing an amp
Because you’re monitoring through the plugin, you can’t use zero-latency hardware direct monitoring — that would let you hear only the dry signal. Instead you rely on low-latency software monitoring, which means keeping your DAW buffer small while tracking.
- Set the buffer to 64 or 128 samples while recording so the amp responds instantly under your fingers.
- If you hear clicks or pops, your CPU can’t keep up — raise the buffer a notch or freeze other tracks.
- After tracking, raise the buffer to 512-1024 for mixing, where latency doesn’t matter and you want CPU overhead for plugins.
Anything above roughly 10 ms of round-trip latency starts to feel disconnected and throws off your timing, so small buffers during tracking are non-negotiable for a natural feel.
Dialling a tone that already sits in a mix
Factory presets are demos designed to sound huge in isolation — scooped, drenched in reverb, and far too much gain. They almost never sit in a real mix. Build from the preset toward mix-readiness:
- Roll back the gain. Most players use way too much. High gain compresses your picking and smears note definition; back it off until individual notes and chords stay articulate. A tighter, lower-gain tone almost always sounds heavier in the mix than a saturated one.
- Choose the cab and mic deliberately. The cabinet and mic model shape the tone more than the amp head. Try an SM57-style dynamic mic on a 4×12 for classic rock and metal. Move the virtual mic toward the speaker cone’s centre (dust cap) for brightness and bite, toward the edge for a warmer, rounder tone — the same physics as mic’ing a real cab.
- Blend two mics or cabs if the sim allows — a bright dynamic plus a darker ribbon, mixed to taste, gives a fuller tone than either alone.
- EQ for the mix, not the solo. High-pass rhythm tones around 80-100 Hz to leave room for the bass, and tame any harsh fizz with a gentle cut around 3-4 kHz.
Popular sims to build these tones in include AmpliTube, Line 6 Helix Native and Overloud TH-U, plus Neural DSP’s Archetype plugins, which are especially loved for modern high-gain. For a beginner-friendly comparison, see our amp sim usage guide.
Double-track and pan for a wall of guitar
The trick behind every big produced rhythm guitar isn’t more gain — it’s doubling. Record your rhythm part twice as two separate performances, then hard-pan one take 100% left and the other 100% right. Two real takes have tiny natural timing and pitch differences that create width and thickness a copied-and-delayed track can’t fake. Because you’re using an amp sim, you can even run each take through a slightly different amp or cab for extra separation.
Keep the centre clear for bass, kick and vocals by high-passing those doubled guitars, and your mix instantly sounds wider and more professional. Our double-tracking guide walks through the performance discipline that makes it tight.
Re-amping: the amp sim’s superpower
Because you saved the clean DI, you can completely change your tone at mix time without touching your guitar. Decide the guitars need to be brighter, tighter, or a totally different amp? Just swap the plugin on the DI track and re-render. This is the biggest advantage amp sims have over a mic’d amp: the creative decision is never final, and you can make it with fresh ears days later.
To get the most from that flexibility, see our roundup of the best reamp plugins for guitar and bass.
Once your amped, doubled tracks are down, they still have to share space with bass and drums — head to our guitar mixing guides for that, and grab the free tuner and metronome in the audio tools hub before your next session. Tune up, stage your levels, monitor low-latency, and let the plugin do the rest.



