
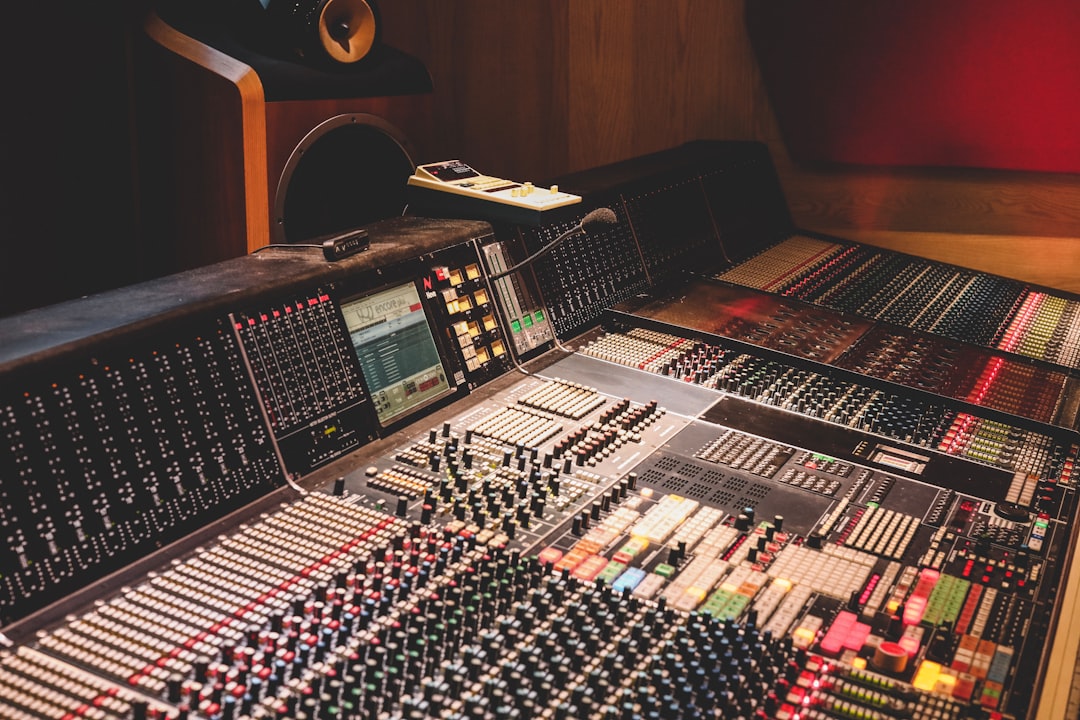
You can absolutely record a voiceover at home that sounds close to a treated studio, provided you get three things right: the microphone you point at your mouth, the room you point it in, and the levels you feed into your interface. Voice is unforgiving because listeners hear it every day, so small problems like room echo, plosive thumps, and clipped peaks jump out immediately. The good news is that none of the fixes are expensive. This guide walks through a repeatable setup that gets you a clean, present, broadcast-ready take without a booth.
Pick the right mic and get the placement exact
For spoken word at home, a large-diaphragm cardioid condenser such as an Audio-Technica AT2020, a Rode NT1, or an AKG P220 is the popular default because it captures detail and warmth. But condensers are sensitive and pick up the whole room, so if your space is bright or noisy, a dynamic broadcast mic like the Shure SM7B or the Rode PodMic is a smarter pick. Dynamics reject room reflections and air-conditioner hum far better. The SM7B in particular needs a lot of clean gain, so pair it with an interface that has strong preamps or an inline gain booster.
Placement matters as much as the mic. Position the capsule roughly 15-20 cm (6-8 inches) from your mouth for a condenser, and a touch closer, around 10-15 cm, for a dynamic. Do not speak straight into the grille. Angle the mic about 30 degrees off-axis, aimed so your breath passes across the diaphragm rather than into it. This single move kills most plosives. Add a pop filter about 8-10 cm in front of the mic as a second line of defense against hard P and B sounds.
Set your levels so you never clip
Voiceover peaks should land around -12 to -6 dBFS in your DAW. That leaves comfortable headroom for the loud words and keeps the noise floor well below your voice. Speak your loudest planned line during setup and turn the interface gain up until those peaks hit roughly -8 dBFS, then leave it. Never chase the meter to 0; a clipped syllable is unrecoverable. If you are using a very quiet dynamic like the SM7B, expect to run the preamp near the top of its range, which is normal and fine as long as the peaks stay below clipping.
On the software side, set your audio buffer to a low value like 128 or 256 samples so you can monitor yourself with low latency while narrating. Voiceover is not CPU-heavy, so a small buffer rarely causes problems. If you hear pops or dropouts, raise it to 512. Record at 24-bit; the extra resolution over 16-bit gives you a safety margin so a slightly quiet take still cleans up well.
Tame the room before you touch a plugin
The most common reason home voiceovers sound amateur is room reflection, not the mic. Sound bounces off bare walls, glass, and hard floors and arrives back at the mic a few milliseconds late, adding a hollow, boxy quality. You cannot EQ that out cleanly, so treat the room first. A few practical moves:
- Get soft stuff around you. Record facing a wardrobe of hanging clothes, or throw a thick duvet over a clothes rack behind the mic. Absorption directly in front of and behind you does the most work.
- Kill the reflection points. A couple of foam or mineral-wool panels on the wall you face, plus a rug on the floor, dramatically reduce boxiness.
- Avoid the middle of the room. Corners and dead center are the worst for standing waves. Set up off-center with soft surfaces close by.
- Turn off the fans. Fridges, laptop fans, and aircon add a steady hiss the mic loves. Kill them during takes, or record between cycles.
A clean recording workflow, step by step
Consistency saves hours of editing. Follow the same order every session:
- Warm up your voice and drink room-temperature water. Mouth clicks come from a dry mouth.
- Record 10 seconds of silence at the start. That room-tone clip is gold for filling edit gaps later.
- Do a level check with your loudest line, confirm peaks around -8 dBFS, then commit.
- Read in sections. When you flub a line, snap your fingers, pause, and re-read from the top of the sentence. The snap makes the mistake easy to find on the waveform.
- Stay a consistent distance. Drifting toward and away from the mic changes tone and volume mid-take.
Once you have a clean take, a light processing chain does the polish: a high-pass filter around 80 Hz to remove rumble, gentle compression at a 3:1 ratio to even out the dynamics, a small presence lift around 3-5 kHz for clarity, and loudness normalization to your target (around -16 LUFS for podcasts, -14 for most streaming platforms). If a stubborn hiss remains, a light noise-reduction pass helps, but resist the urge to overdo it or your voice starts to sound underwater.
Common problems and quick fixes
Plosive thumps that survive your pop filter usually mean you are still too on-axis; angle the mic further off to the side. A boxy, hollow tone means the room still needs treatment, not more EQ. Sibilant, harsh S sounds respond well to a de-esser targeting 5-8 kHz. And if your voice sounds thin, you may be too far from the mic; move in a few centimeters to bring back the low-mid body, since condensers and dynamics both get warmer up close thanks to the proximity effect.
If you want to go deeper on the fundamentals behind these choices, our microphone placement guide breaks down angles and distances for every source, and the vocal processing walkthrough covers EQ and compression in detail. For quick loudness checks and format conversion, the free Violet Recording tools hub has browser-based utilities you can run without installing anything.
Nail the mic, the room, and your levels, and everything downstream gets easier. A quiet space and disciplined -12 to -6 dBFS peaks will out-perform an expensive mic in a bad room every single time.



