To record vocals in Audacity, set your microphone as the recording device, choose mono for a single mic, set a healthy input level, enable monitoring through headphones, then press Record. Audacity is free, runs on Windows, Mac and Linux, and is one of the simplest ways to capture a clean vocal.
This guide assumes a mic connected via an audio interface or a USB mic. If you are deciding which to use, read USB mic vs audio interface first.
Step 1: Select your recording device
Connect your mic before launching Audacity. In the Audio Setup toolbar (or Edit > Preferences > Audio Settings), set:
- Recording Device: your audio interface or USB mic.
- Recording Channels: 1 (Mono) for a single vocal mic. Recording a single mic in stereo just wastes space and puts the voice on one side.
- Project Sample Rate: 44100 or 48000 Hz.
If your microphone needs phantom power, enable 48V on your interface — see what is phantom power. Interface drivers and connections are covered in how to set up an audio interface.
Step 2: Set your recording level
Audacity’s input slider does not replace your interface gain. Set the gain on your interface while you sing at full volume, watching Audacity’s recording meter. Click the meter to enable monitoring of levels, and aim for peaks around -12 to -6 dB — not touching 0, which clips. Strong, clean levels at the source are basic gain staging.
Step 3: Monitor through headphones
Always wear closed-back headphones so the backing track does not bleed into the mic. To hear yourself live, enable Transport > Transport Options > Software Playthrough — but be aware Audacity’s software monitoring adds noticeable latency. If you hear an annoying delay, turn software playthrough off and monitor directly from your audio interface’s hardware monitoring instead, which is zero-latency. This is the same audio latency issue every DAW faces.
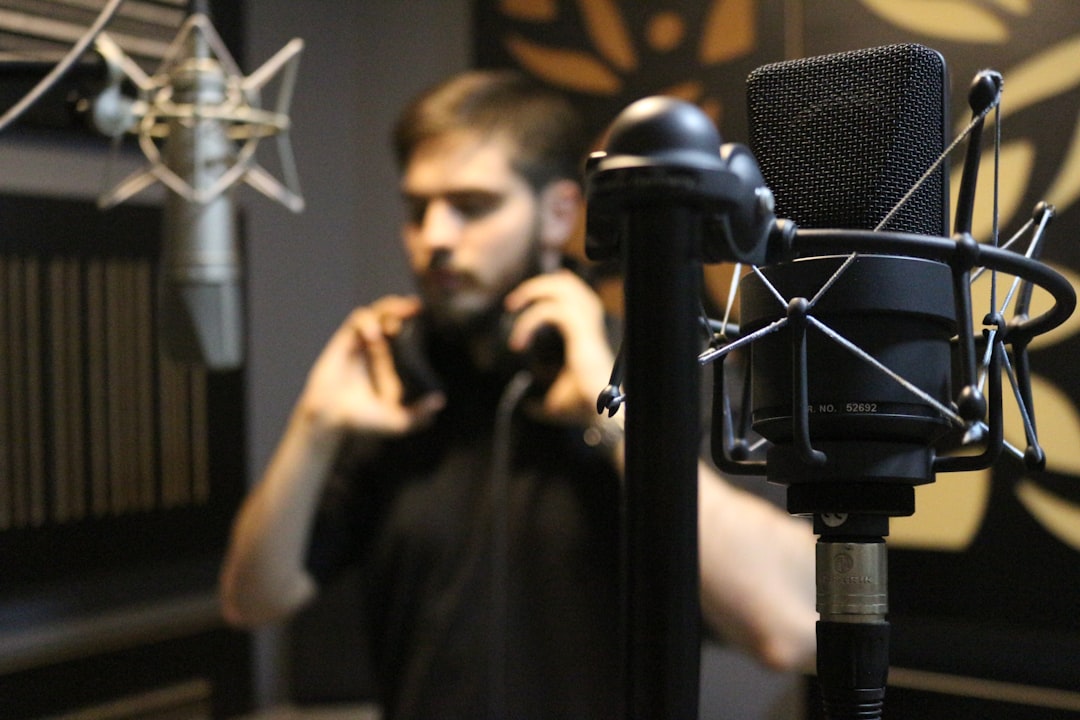
Step 4: Position the mic and record
Place the mic about a hand’s width from your mouth, slightly off-axis, with a pop filter to control plosives. Distance and angle shape your tone, as explained in microphone placement for vocals. Press the red Record button (or R) to start, and Space to stop. Each new recording lands on its own track, so you can capture several takes and choose later — a few vocal recording tips go a long way towards getting a usable take faster.
Step 5: Clean up the take
Audacity is strong at simple editing and noise reduction:
- Remove background noise: select a short patch of silence, open Effect > Noise Reduction, click “Get Noise Profile”, then select the whole track and apply. Use a light setting so you do not introduce artefacts.
- Trim and silence: cut unwanted regions and use Effect > Special > Silence Audio to clean gaps between phrases.
- Normalise or amplify: use Effect > Volume and Compression > Normalize to set a consistent peak level.
- Basic dynamics and tone: a gentle compressor and a high-pass filter (Effect > EQ and Filters) tidy up the vocal.
Step 6: Export your vocal
When finished, use File > Export Audio to save as WAV for further mixing in another DAW, or MP3 for sharing. Audacity is excellent for capture and tidy-up, but for serious vocal mixing you may move the WAV into a more featured DAW and follow how to mix vocals. For the broader workflow, see recording vocals at home and the recording techniques hub.
Get a clean signal before you ever press Record
Most of what makes an Audacity vocal sound amateurish happens before recording, not in the editing stage. Audacity will faithfully capture whatever reaches the mic, including room echo, computer fan noise and harsh plosives, and no effect fully undoes those once they are baked in. Spend your effort on the source and the clean-up steps become almost unnecessary.
The room matters more than the software. A small, soft room kills reflections, so record in a space with a bed, curtains, a wardrobe of clothes or a sofa nearby rather than a bare, tiled room. If you can hear an obvious echo when you clap your hands, the mic will hear it too. Aim the mic away from hard walls and windows, and keep your laptop as far from the mic as the cable allows so its fan does not creep into quiet passages.
Set a consistent distance and stick to it. If you drift towards and away from the mic between takes, levels and tone will jump around and editing several takes together becomes a chore. A pop filter doubles as a handy distance guide: keep a steady gap between it and your lips. Singing slightly across the mic rather than straight into it softens harsh consonants without changing your distance.
Common mistakes to avoid
A few recurring errors trip up people recording vocals in Audacity for the first time:
- Pushing levels too hot. Recording near 0 dB to sound “loud” risks clipping, and a clipped vocal cannot be repaired. Leave headroom and raise the volume later with Normalize or Amplify.
- Relying on software playthrough. If monitoring feels laggy, the fix is hardware monitoring on your interface, not fighting Audacity’s latency settings.
- Over-using noise reduction. Heavy settings strip high frequencies and leave a watery, underwater tone. A light touch on a genuinely quiet room beats aggressive processing on a noisy one.
- Recording in stereo with one mic. It does not add width; it just doubles the file size and lands the voice on one side. Use mono.
- Editing on the only copy. Keep your raw takes. Export a flat WAV before you start cutting and processing so you can always go back to the original.
When to move on from Audacity
Audacity is a destructive editor, meaning its effects are applied permanently to the audio rather than as adjustable layers you can re-tweak later. That is fine for capturing takes, removing noise and exporting a clean WAV. Once you want to comp several takes together, automate volume, stack reverb and delay, or tune timing against a backing track, a non-destructive DAW will serve you better. If you are on a Mac, the same workflow in recording vocals in GarageBand gives you non-destructive tracks for free. A common, sensible workflow is to record and tidy in Audacity, export a WAV, then mix elsewhere — you lose nothing by starting free.
Frequently asked questions
Why is there a delay when I hear myself in Audacity?
Audacity’s software playthrough adds latency. For zero-delay monitoring, turn software playthrough off and use your audio interface’s built-in hardware monitoring instead.
Should I record vocals in mono or stereo in Audacity?
Record a single vocal mic in mono. One mic captures a mono source, so a stereo recording just duplicates or pans it unhelpfully and doubles the file size.
How do I remove background noise in Audacity?
Select a quiet section, run Effect > Noise Reduction and click “Get Noise Profile”, then select the whole track and apply with a light setting. Avoid heavy reduction, which makes the voice sound watery.
Can I record vocals over a backing track in Audacity?
Yes. Import the backing track with File > Import > Audio, then record your vocal onto a new track while it plays. Wear closed-back headphones so the backing does not bleed into the mic, and monitor through your interface to avoid timing drift from latency. This is the core of recording a cover song at home.
Is Audacity good enough for professional vocals?
Audacity captures and cleans vocals very well, which is most of the battle. For detailed mixing — comping takes, automation and non-destructive effects — you will get further by exporting a WAV and mixing in a fuller DAW, but the recording itself can absolutely be release-quality if the source is clean.


