
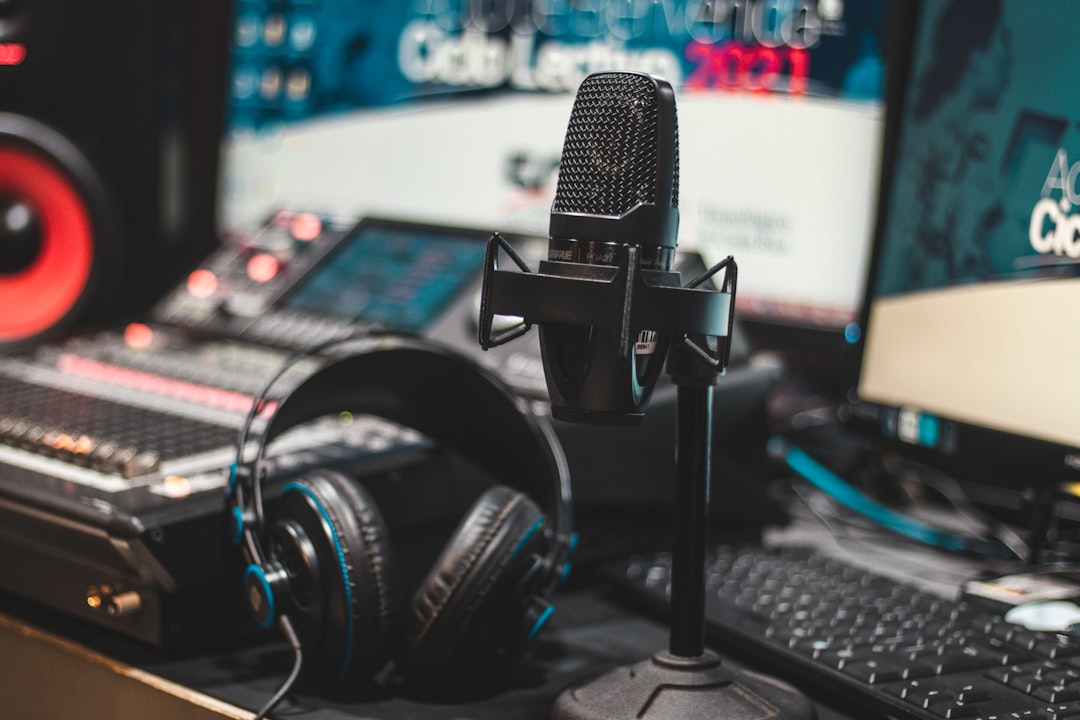
To record a guitar amp, place a dynamic microphone close to one speaker in the cabinet, point it between the centre and edge of the cone, set a clean level into your interface, and capture the tone you have already dialled in. Most great recorded electric guitar tones come from one well-placed mic on a good-sounding amp.
This is the classic approach for electric guitar. For amp-free options like DI and amp sims, see our wider guide to recording electric guitar.
Step 1: Get the tone right in the room first
The microphone only captures what the amp produces, so dial in the amp before you record. Set the gain, EQ and volume so it sounds good at the volume you will track at. A small valve amp pushed a little usually records better than a large amp barely ticking over. Trust your ears in the room first.
Keep in mind that an amp behaves differently at performance volume than at bedroom level. Valve amps in particular open up and compress as the power section works harder, and the speaker itself moves more air, so the tone you hear at a whisper is not the tone you will capture loud. Set the amp where it genuinely sounds best, then bring the mic to it rather than turning the amp down to suit the mic.
If you are choosing a valve amp to record, our guide to the best tube amps for guitar includes low-wattage models that break up at more manageable home volumes.
Step 2: Choose your microphone
- Dynamic mic: the standard choice. A Shure SM57 is the industry workhorse for guitar cabs — it handles high volume, rejects room sound, and has a midrange bump that suits guitars. The Sennheiser MD 421 is another classic.
- Condenser mic: a small-diaphragm or large-diaphragm condenser can capture more detail and air, often used a little further back or as a second mic.
- Ribbon mic: smooth and natural on bright amps, but more fragile and quieter.
If you are unsure which type to use, condenser vs dynamic microphones explains the trade-offs, and large vs small diaphragm condensers helps if you go condenser.
Step 3: Position the mic on the speaker
Position is where the tone really lives. Putting the mic right up against the grille is a form of close miking, and it gives you a tight, isolated sound to start from. Start here and adjust by ear:
- Distance: place the mic close, almost touching the grille cloth, for a tight, present sound. Pull it back a few inches for more air and room.
- Left to right: aim at the centre of the cone (dust cap) for the brightest, most aggressive tone. Move toward the edge of the cone for a warmer, darker sound. Somewhere between the two is usually the sweet spot.
- Angle: straight on is brightest; angling the mic slightly tames harshness.
If the cab has multiple speakers, pick the one that sounds best — they are rarely identical. These same placement principles echo our microphone placement approach: small moves, big changes.
A reliable way to find the sweet spot is to listen while you move. Put on headphones, monitor the mic, and slowly slide it from the dust cap out toward the edge while someone plays a repeating part. You will hear the tone shift from bright and biting to round and dark, and one position will simply sit right for the song. Mark that spot so you can return to it. Tiny moves of even a centimetre change the balance more than most EQ plugins will later, which is why getting it right at the source saves so much work at the mix.
Step 4: Set levels and record clean
Plug the mic into your interface (no phantom power needed for a dynamic; a condenser needs phantom power). Play the loudest part you will perform and set the interface gain so peaks land around -12 to -6 dBFS, leaving headroom so nothing clips. Loud cabs put out a strong signal, so you often need less gain than you expect. Clean capture is the start of good gain staging. Connecting and configuring your interface is covered in how to set up an audio interface.
Step 5: Multi-mic and room options (optional)
- Two close mics: a dynamic plus a condenser on the same speaker can be blended for the best of both — but watch phase. Keep the capsules level and flip polarity if the blend sounds thin. Our guide to recording with two microphones covers the phase pitfalls in detail.
- Room mic: a mic a few feet back captures natural ambience to mix in for size. This works best in a decent-sounding room — see acoustic treatment for home studios.
The key with any multi-mic setup is phase relationship. When two mics are different distances from the speaker, the same sound arrives at slightly different times, and where the waveforms misalign you lose low end and body. The simplest fix is to keep the capsules the same distance from the grille, then audition the polarity switch on one channel and keep whichever setting sounds fuller. If you blend a close mic with a room mic, nudge one track a few milliseconds in your DAW until the combined tone is at its biggest.
Step 6: Common mistakes to avoid
- Recording too quiet: a great amp at bedroom volume rarely captures well. Get it loud enough to come alive, then control the room and the take.
- Chasing tone with EQ instead of mic position: if it sounds harsh or boxy, move the mic before you reach for a plugin. Position fixes most problems for free.
- Ignoring phase on a second mic: blending without checking polarity is the most common reason a multi-mic guitar sounds thinner than a single mic.
- Stacking too much gain: very high amp gain blurs the attack and muddies a dense mix. A slightly tighter tone almost always sits better than it sounds soloed.
- Printing effects you cannot undo: heavy reverb or delay baked into the take limits your choices later.
Step 7: Tips for a usable take
- Record dry and add effects later where you can, so you keep options open at mix.
- Commit to a tone you like rather than recording flat and fixing everything afterward.
- If neighbours or volume are a problem, a low-wattage amp or a DI plus amp sim is a practical alternative, covered in recording electric guitar. You can also track a clean DI now and reamp it through a real cab later.
For more techniques, browse the recording techniques hub.
Frequently asked questions
What is the best mic to record a guitar amp?
A dynamic mic like the Shure SM57 is the standard first choice — it handles loud cabs, rejects room sound and flatters guitar midrange. Condensers and ribbons add detail or smoothness when you want a different character.
Where should I point the mic on the speaker?
Aim near the centre of the cone for a brighter, more aggressive tone and toward the edge for a warmer one. Start with the mic close to the grille between centre and edge, then move it by small amounts and listen.
Do I need to mic the amp loud?
You need it loud enough to sound good, since most amps open up with volume. But a close mic only hears the speaker, so you do not need it deafening — a small amp at a moderate level records very well.
Should I record guitar in mono or stereo?
A single close mic gives you a mono track, which is exactly what most rock and pop guitars want — it is solid, focused and easy to place in a mix. Stereo width usually comes from double-tracking two separate performances panned left and right, not from putting two mics on one cab.
Why does my recorded amp sound worse than it does in the room?
Most often the mic is in a dull spot on the cone or too far back, picking up an untreated room. Move the mic closer and toward the centre of the cone, check it is on the best-sounding speaker, and make sure nothing is clipping on the way in.



