
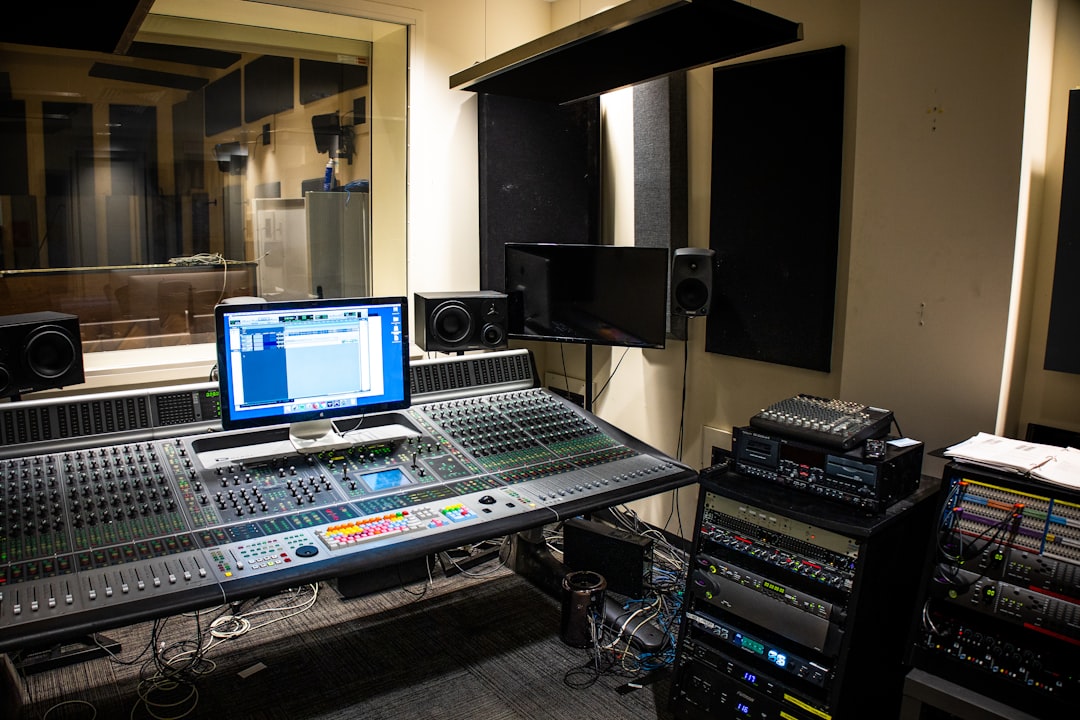
Used with restraint, mix bus saturation is the secret behind why professional mixes sound cohesive, warm, and loud without sounding crushed. Saturation adds harmonics — subtle new frequency content that the ear reads as richness, weight, and “expensive” — and applying a touch across the whole mix bus glues the elements together the way an analog console or tape machine once did for free. The catch is that too much turns glue into grit and mud in seconds, so this guide gives you concrete drive amounts and a workflow that keeps the benefits and skips the harshness.
Think of it as seasoning, not a main ingredient. On the mix bus you want an effect you can feel more than hear, revealing itself only when you bypass it.
What mix bus saturation actually does to your sound
Saturation generates harmonic distortion. The two flavors that matter are even-order harmonics (2nd, 4th), which sound warm, round, and pleasing, and odd-order harmonics (3rd, 5th), which sound edgier and more aggressive. Tape and tube-style saturators lean toward even harmonics, which is why they are the go-to for gentle bus warmth. Transistor and transformer models add more odd content and bite.
Two useful side effects come along for free. First, saturation gently rounds off transient peaks, acting like a very fast, soft limiter that can add 1 to 3 dB of perceived loudness without the pumping of a hard limiter. Second, the added harmonics thicken thin sources, which is why a lightly saturated mix feels fuller even at the same measured level. If your mix already sounds thin, our guide to making a mix fuller pairs well with the moves below.
How to set up mix bus saturation without overdoing it
Place the saturator on your mix bus, typically after your bus EQ and glue compression but before the final limiter. Start with these steps:
- Start with drive near zero and creep up. Push the drive or input until the meter shows just 1 to 2 dB of harmonic activity or until you can only just hear a change when toggling bypass. On most plugins that is a very modest setting — resist the urge to turn it up because “more is warmer.”
- Match levels with the mix/output. Saturation makes things louder, and louder always sounds better in a quick comparison. Trim the output so the saturated and bypassed signal are the same perceived loudness, then judge honestly.
- Choose the character. For subtle glue on a full mix, a tape or tube algorithm and its even harmonics is the safest choice. Save aggressive transistor models for individual tracks.
- Use a mix/blend knob if you have one. Running saturation at 20 to 50 percent wet in parallel keeps your transients clean while the harmonics fill in underneath.
A flexible modern option here is FabFilter Saturn, which lets you drive different frequency bands by different amounts — invaluable on a bus, as you will see next.
The one move that prevents muddy mix bus saturation
The biggest mistake is letting saturation distort the low end. When you drive a full-range signal, the loud bass and kick generate the most harmonics, and those new low-mid harmonics pile up around 150 to 400 Hz — exactly where mud lives. The mix gets cloudy and the low end loses definition.
The fix is multiband or frequency-selective saturation. Either use a plugin that lets you high-pass the drive so frequencies below roughly 120 to 150 Hz are saturated much less, or split the bus so the sub and low-bass stay clean while the mids and highs get the harmonic treatment. If your saturator has no band control, sidechain-style tricks aside, the simplest workaround is to saturate a duplicate of the mix that is high-passed at 150 Hz and blend it in parallel. This single habit is the difference between saturation that adds sparkle and saturation that adds sludge.
Genre-specific starting points for mix bus saturation
Different material wants different amounts. Use these as informed starting points, then trust your ears:
- Acoustic, jazz, folk: The lightest touch. A tape emulation at very low drive, adding maybe 1 dB of harmonics, keeps the natural dynamics while warming the top end.
- Pop and rock: A little more push. Tube or console saturation with the highs (say above 3 kHz) driven slightly harder adds presence and helps the mix cut on small speakers.
- Hip-hop, electronic, and loud genres: Here saturation doubles as a loudness tool. Drive the mids and highs for aggression, but be religious about keeping sub-bass out of the saturation so the low end stays tight and punchy.
Whatever the genre, the reference-track habit keeps you honest. Compare your saturated mix against a professional record in the same style at matched loudness, and check that you are adding richness rather than fatigue. A quick loudness and spectrum sanity check in our audio tools hub takes seconds and catches over-saturation before it ships.
Where saturation fits in the bigger picture
Mix bus saturation is one link in a chain, not a rescue tool. It works best on a mix that is already balanced: if the arrangement is cluttered or the low end is untamed, no amount of harmonic warmth will fix it, and driving harder only makes the problems louder. Get the balance right first, add glue compression, then place saturation as the final bit of cohesion before your limiter.
Applied this way — modest drive, level-matched judgment, low end protected — mix bus saturation gives you the warmth, glue, and perceived loudness that used to require an expensive console, all from a plugin you already own. Add it last, keep it subtle, and let the improvement reveal itself the moment you hit bypass. For the surrounding processing, our guide to setting up a mix bus chain shows exactly where saturation sits alongside EQ, compression, and limiting.



