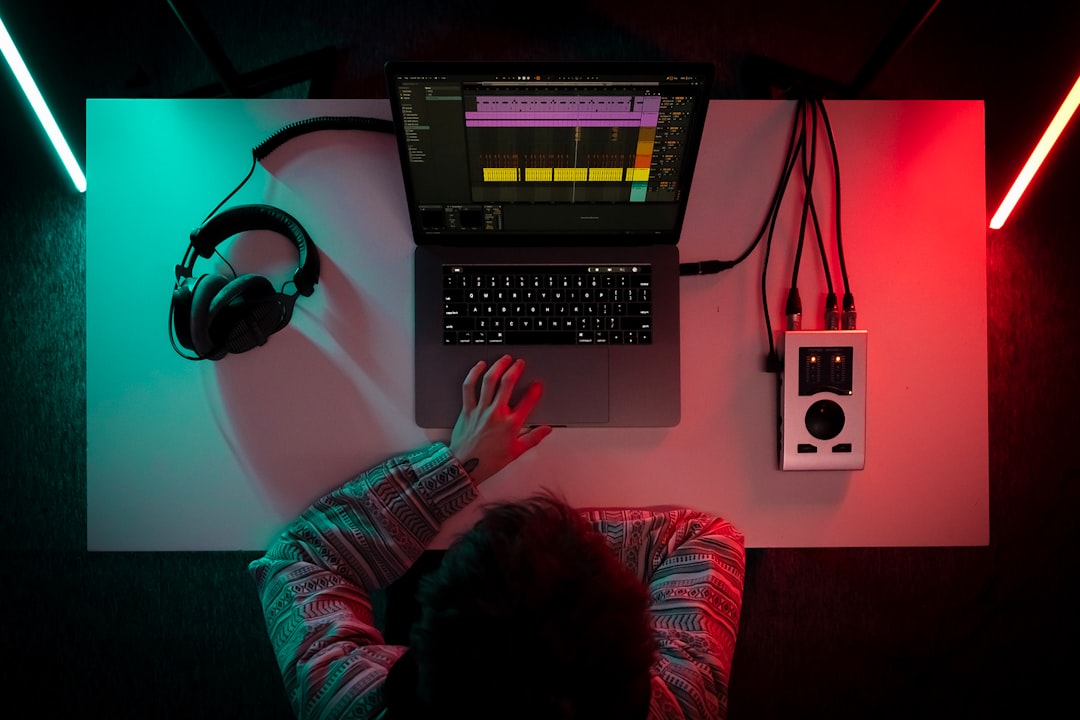
Warping is how Ableton Live stretches audio to fit your project tempo without changing pitch, and it’s the feature that makes loops, samples and recorded takes lock to the grid. If you want to know how to warp audio in Ableton, the short version is: double-click a clip to open it in the Clip View, turn on Warp, set your Warp Markers, and choose the Warp Mode that suits the material.
This guide walks through the workflow step by step so your clips stay in time and sound natural. It applies to recent versions of Live; exact menu wording can shift between updates, so focus on the workflow rather than a single button location.
What warping actually does
When Warp is enabled, Live analyses the audio and places Warp Markers at transients (the sharp attacks of a sound). Each marker pins a point in the audio to a point in musical time. Live then time-stretches the material between markers so it follows your Set’s tempo. Turn Warp off and the clip plays back at its original speed regardless of project tempo.
It helps to think of warping as a relationship between two clocks. The audio has its own internal clock, fixed at the speed it was recorded. Your Set has a separate clock running at the project tempo. A Warp Marker is simply a peg that ties one moment on the audio clock to one moment on the musical clock. Add a marker on beat one of bar two and tell Live it belongs there, and everything between that peg and the previous one is gently sped up or slowed down so the two clocks agree. Understanding this makes the whole feature far less mysterious: you are not editing the sound, you are editing where its moments land in time.
How to warp a clip step by step
- Drop the audio into a track and double-click the clip so it opens in the Clip View at the bottom of the screen.
- Enable Warp using the Warp toggle in the clip’s Sample box. Live will analyse the file and lay down markers automatically.
- Check the analysis. For rhythmic material, play it back against Live’s metronome. If it drifts, the auto-detected markers need cleaning up.
- Set Warp Markers manually by double-clicking on a transient in the waveform. Drag a marker left or right to pull that beat into place. Surrounding audio stretches to follow.
- Use “Warp From Here” (right-click a marker) when a loop has a steady tempo. It re-warps everything after that point based on the detected straight feel, which is faster than nudging every beat.
Choosing the right Warp Mode
The Warp Mode controls the stretching algorithm, and the wrong one introduces artefacts. The main options:
- Beats — best for drums and percussive loops. Preserves transients well.
- Tones — good for monophonic pitched material like bass or a single vocal line.
- Texture — suits pads, ambience and dense polyphonic sounds.
- Re-Pitch — changes pitch with tempo, like speeding up a record. Useful for that classic sampler sound.
- Complex / Complex Pro — designed for full mixes and complex material such as a whole song or a stereo vocal. Complex Pro gives the cleanest results on vocals but uses more CPU.
Audition a couple of modes on the actual material rather than guessing. The right choice is usually obvious within a few seconds of playback.
A useful rule of thumb is to match the mode to how the sound behaves over time. Percussive material lives in its transients, so Beats mode protects those sharp attacks at the cost of smearing sustained tails — perfectly fine for drums, poor for a pad. Sustained or harmonically rich material is the opposite: it has few clear transients but lots of continuous tone, which is exactly what Texture and Complex are built to handle. If a drum loop sounds gated or stuttery, you are usually in Beats mode with the transient settings too aggressive; if a vocal sounds watery or phasey, you are usually in a mode that is trying to preserve transients it cannot find. Switching to the appropriate mode fixes most of these problems instantly, before you reach for any other tool.
Common warping tasks
Match a loop to your tempo: enable Warp, confirm the loop’s bar length using the segment BPM and the loop’s start marker, then let Live conform it. If terms like project BPM still feel slippery, getting that concept straight first makes warping far easier to follow. Fix a slightly-off recorded take: warp only the beats that drift, leaving the rest untouched so the performance keeps its natural feel. Tighten a sloppy drum recording: Beats mode plus markers on each hit, then quantise the markers to the grid.
Common mistakes to avoid
Most warping problems come from a handful of repeatable errors. Knowing them in advance saves a lot of frustration.
- Trusting auto-warp blindly. Live’s analysis is good but not perfect, especially on loops with swing, fills or a soft first downbeat. Always confirm bar one is on bar one before you do anything else — if the very first marker is wrong, every marker after it inherits the error.
- Over-warping a human performance. Snapping every transient dead to the grid can suck the life out of a take. Correct only the beats that genuinely drift and leave the natural push and pull alone.
- Using one mode for everything. A project rarely sits in a single Warp Mode. Set the mode per clip to match the material instead of leaving everything on the default.
- Stretching too far. The bigger the gap between the original tempo and the target tempo, the more audible the artefacts. Heavy stretches betray themselves quickly, particularly on vocals and cymbals.
- Forgetting to save warp settings. If you have spent time warping a sample you will reuse, save the analysis so you do not redo the work every time you load it.
Warping pairs naturally with other Live techniques. Once your clips are in time, you can use Session View to launch and arrange them, or learn how to automate parameters in Ableton to add movement. For broader timing work across any DAW, see our guide to time-stretching audio.
Keep your timing honest
Warping is powerful but not magic. Heavy stretching always costs some audio quality, so record as close to the target tempo as you can and warp only to correct, not to transform. If you’re cleaning up vocal timing, our wider notes on mixing vocals and the mixing and mastering hub cover what to do once the takes sit in the pocket.
Frequently asked questions
Why does my warped audio sound robotic or smeared?
You’re likely using the wrong Warp Mode or stretching too far. Switch to Complex Pro for vocals and full mixes, Beats for drums, and reduce the amount of stretching by recording nearer the target tempo.
How do I stop a clip from warping at all?
Turn off the Warp toggle in the Clip View. The clip then plays at its original speed and ignores your Set’s tempo, which is what you want for one-shots and sound effects.
What’s the difference between warping and quantising audio?
Warping stretches audio to match tempo; quantising audio snaps the detected transients to the grid. In Live you often warp first to enable the grid relationship, then quantise the Warp Markers to tighten timing.
Does warping reduce audio quality?
Any time-stretching alters the sound to some degree, but small corrections in a well-chosen Warp Mode are usually inaudible in a busy mix. The quality cost rises with the size of the tempo change, so the closer your recording sits to the project tempo, the less the warp engine has to work and the cleaner the result.
Can I warp a whole finished song to a new tempo?
Yes. Place the file on a track, enable Warp, set Complex or Complex Pro as the mode, and confirm the downbeat lines up with bar one. Modest tempo shifts hold up well; large jumps will start to introduce audible artefacts, so keep the change conservative if the original needs to stay pristine.


